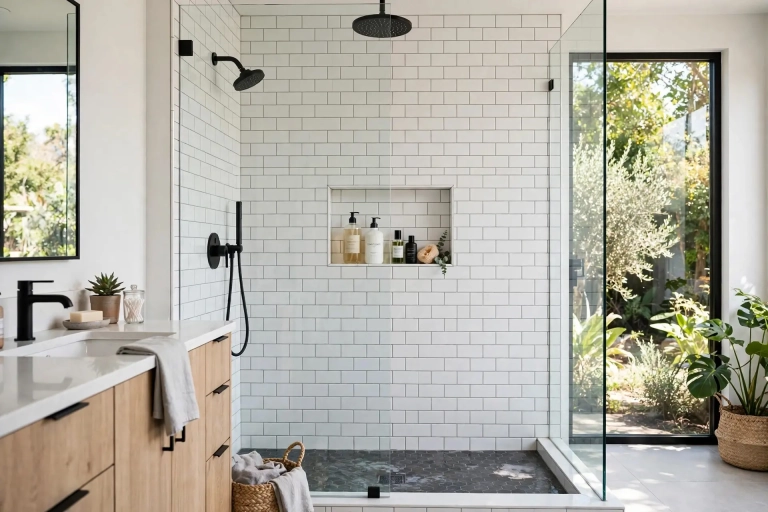
Shower Floor Slope: The Numbers That Stop Standing Water

If water sits in a puddle on your shower floor after you turn the tap off, nothing is wrong with your tile or your grout. The shower floor slope is wrong. It is the single most common reason a beautiful new shower disappoints its owner within a month, and it is almost impossible to fix after the fact without tearing the floor out.
The number itself is not complicated. What catches people out is how that number interacts with the size of the shower, where the drain sits, and the size of the tile they picked. This guide walks through all four, with the arithmetic done for the shower sizes most people actually build.
The number: one quarter inch per foot
A shower floor should fall at least 1/4 inch for every foot of horizontal distance toward the drain. That works out to a slope of about 2 percent. It is the minimum written into building codes based on the International Residential Code, and it is also the practical minimum at which water reliably moves across tile and grout instead of sitting in surface tension.
There is an upper limit too. Somewhere past about 1/2 inch per foot, the floor starts to feel like a slope you can notice underfoot, which is uncomfortable to stand on and genuinely unsafe when wet. So the usable window is roughly 1/4 to 1/2 inch per foot, and most tile setters aim for the low end of it, at 1/4 to 3/8 inch per foot, to keep the floor feeling level while still draining.
Local amendments exist, so confirm the requirement with your building department before a shower pan inspection. The 1/4 inch per foot figure is the near universal baseline.
Turning the slope into total fall for your shower
Here is where people get confused. The slope is per foot, but what you need to build is a total height difference between the perimeter of the shower and the drain. That depends on the longest run from any wall to the drain.
Measure from the drain to the farthest corner or wall, convert to feet, and multiply by 1/4 inch. Worked examples at 1/4 inch per foot:
- 36 by 36 inch shower, center drain. Longest run is 18 inches, or 1.5 feet. Total fall is 3/8 inch.
- 60 by 32 inch shower, center drain. Longest run is 30 inches, or 2.5 feet. Total fall is 5/8 inch.
- 36 inch deep shower, linear drain at the back wall. Run is the full 36 inches, or 3 feet. Total fall is 3/4 inch.
- 48 by 48 inch shower, drain offset to one corner. Longest diagonal run is about 60 inches, or 5 feet. Total fall is 1 1/4 inches.
That last example is the one worth staring at. Moving the drain to a corner in a large shower more than triples the total fall compared with a centered drain. You end up with a floor that drops over an inch across it, which affects your curb height, your door bottom clearance, and how the floor actually feels. This is the real argument for keeping a drain centered or close to it in a square shower, and for using a linear drain instead of a corner drain when the shower is large.
If you are still settling the footprint, our guide to shower size covers the minimums and the dimensions that feel generous, and the slope maths above is a reason to decide the drain position at the same time.
Where the drain should go
Center drain
The default, and still the right answer for most showers up to about 42 inches square. It gives you the shortest runs and the least total fall, and the four way slope is easy for any tile setter to form. The downside is purely visual. A center drain means your tile has to be cut to pitch in four directions, which only works cleanly with small tile.
Linear drain along one wall
A linear drain at the back wall or along one side lets the whole floor pitch in a single direction, like a ramp. That is the only geometry that makes large format tile work on a shower floor, because a flat tile can sit on a single plane slope without rocking. It is also what makes a curbless shower practical.
The catch is the one from the arithmetic above: a single direction slope means the run is the full depth of the shower, so the total fall is larger. In a 36 inch deep shower that is 3/4 inch, which you have to absorb in your floor build up.
Offset or corner drain
Sometimes the existing drain line forces this and you have no choice. It is workable in a small shower and awkward in a large one. If you are stuck with a corner drain in a shower bigger than about 42 by 42 inches, run the numbers before you commit, because the total fall may exceed what your subfloor height allows.
The mistake almost nobody mentions: tile size versus slope
This is where most shower floors go wrong even when the slope is correct, and it is the part that inspiration photos quietly hide.
A tile is a rigid flat plane. A shower floor with a center drain is not a plane, it is four planes meeting at a point, with valleys running from each corner to the drain. A large tile cannot follow that shape. Set a 12 by 12 inch tile on a four way pitched floor and it will either rock, sit high at one corner, or need so much thinset under one edge that it eventually cracks or debonds.
The practical rules:
- Center drain: use mosaic sheets, typically 1 to 2 inch tiles. The grout joints between small tiles let the surface follow a compound slope. Penny round, 2 inch hex and 1 inch square mosaics all work for this reason, not just because they look good.
- Linear drain: a single plane slope, so you can use large format tile and even run the same tile from the bathroom floor into the shower. This is the only way to get that seamless look you have seen on Pinterest.
- Anything 4 inches or larger on a center drain: expect problems. If you want bigger tile, change the drain, not the tile.
Slip resistance points the same way. Small tiles mean more grout lines per square foot, and grout lines are what your foot actually grips. A shower floor in large polished tile is both a drainage problem and a traction problem.
Pre slope: the layer people forget
If your shower uses a traditional sheet membrane pan liner, the slope has to exist twice. The mortar bed underneath the liner needs its own pitch toward the drain, called the pre slope, and then the mortar bed above the liner is sloped again.
The reason is simple. The liner is the actual waterproof layer, and a small amount of water always gets through tile and grout and reaches it. If the liner sits flat, that water pools on top of it indefinitely, which is how a shower that looks perfect develops a smell. With a pre slope, water reaching the liner runs to the weep holes at the drain and leaves.
A missing pre slope is one of the most common defects in older showers and in DIY builds. If you are hiring the work out, asking whether the pan will be pre sloped is a quick way to find out whether you have a tile setter who knows showers.
Modern foam shower pan systems and sheet membrane systems come with the slope already formed, which removes this problem entirely. That is a genuine reason to prefer them over a site built mud pan if you are doing the work yourself.
Other things the slope decides
- Your door clearance. The floor is lower at the drain and higher at the perimeter, so a door sweep sized at the high point may drag at the low point. Check both.
- Your bench. A bench sits on the sloped floor, so its seat needs to be set level, not parallel to the floor. Our guide to shower bench dimensions covers the height to aim for once you account for that.
- Curbless feasibility. A curbless shower needs the total fall plus the floor build up to fit within the depth of your floor framing, usually by recessing the subfloor. On a concrete slab this is often straightforward. On a second floor over joists it may not be possible without structural work.
- Niche placement. Nothing to do with slope directly, but the same planning stage. See shower niche size for where to put one.
How to check an existing shower
You do not need tools for the rough version. Pour a cup of water at each corner of the shower floor and watch. It should move toward the drain without hesitating. Water that sits, or that moves partway and stops, tells you the slope is short somewhere.
For an actual measurement, set a 2 foot level with one end at the drain and lift the far end until the bubble centers. The gap underneath the raised end should be about 1/2 inch, since a 2 foot level at 1/4 inch per foot gives you 1/2 inch of fall. Much less than that and you have found your puddle.
Frequently asked questions
Can I fix a shower floor slope without removing the tile?
Realistically, no. The slope lives in the mortar bed under the tile, so correcting it means taking the floor out. The only things worth trying first are clearing a partially blocked drain and checking whether the drain grate sits too high, both of which can cause pooling in a floor that is otherwise sloped correctly. If neither is the issue, the floor is the fix.
Is a steeper slope better for drainage?
Only up to a point. Past about 1/2 inch per foot the floor becomes noticeably tilted, uncomfortable to stand on, and more slippery. Anything you gain in drainage speed you lose in safety and comfort. Aim for 1/4 to 3/8 inch per foot.
Why does water pool around my shower drain specifically?
Usually because the drain assembly was set slightly too high relative to the finished tile. The drain grate should be at or a hair below the surrounding tile surface. If it stands proud, the tile right around it becomes a shallow ring that holds water no matter how well the rest of the floor is sloped.
Does a curbless shower need more slope than a regular one?
The slope requirement is the same. What changes is that the slope has to be contained entirely inside the shower area so water does not run out into the bathroom, which generally means a linear drain near the entry side or at the back wall and a recessed subfloor. The engineering is harder, not the slope.
What tile size can I use on a shower floor?
With a center drain, stay with mosaic tile of about 1 to 2 inches so the surface can follow the compound slope. With a linear drain the floor is a single plane and large format tile works, including running the bathroom floor tile straight into the shower. Also check the manufacturer slip rating, since a floor tile needs more texture than a wall tile.
The takeaway
Shower floor slope comes down to 1/4 inch per foot toward the drain, measured along the longest run, with 1/2 inch per foot as the comfort ceiling. Work out your total fall before you pick a drain position, because a corner drain in a big shower can triple it. Then let the drain choose your tile: mosaic for a center drain, large format only with a linear one. Get those three decisions lined up and standing water stops being a possibility.