

A freestanding tub is the most photographed object in modern bathroom design, and also the one people most often regret. Not because the tubs are bad, but because the decision usually gets made from a photo instead of a floor plan. The photo never shows the 8 inches of dead space behind the tub that has to be cleaned, or the fact that the faucet added four figures to the plumbing bill.
This guide covers freestanding tub ideas that hold up in a real bathroom. You will get the clearance numbers that decide whether a tub fits, the honest tradeoffs against a built in tub, the faucet decision that quietly sets your budget, and the styling that makes the tub look intentional instead of stranded in the middle of the room.
First, Find Out If One Actually Fits
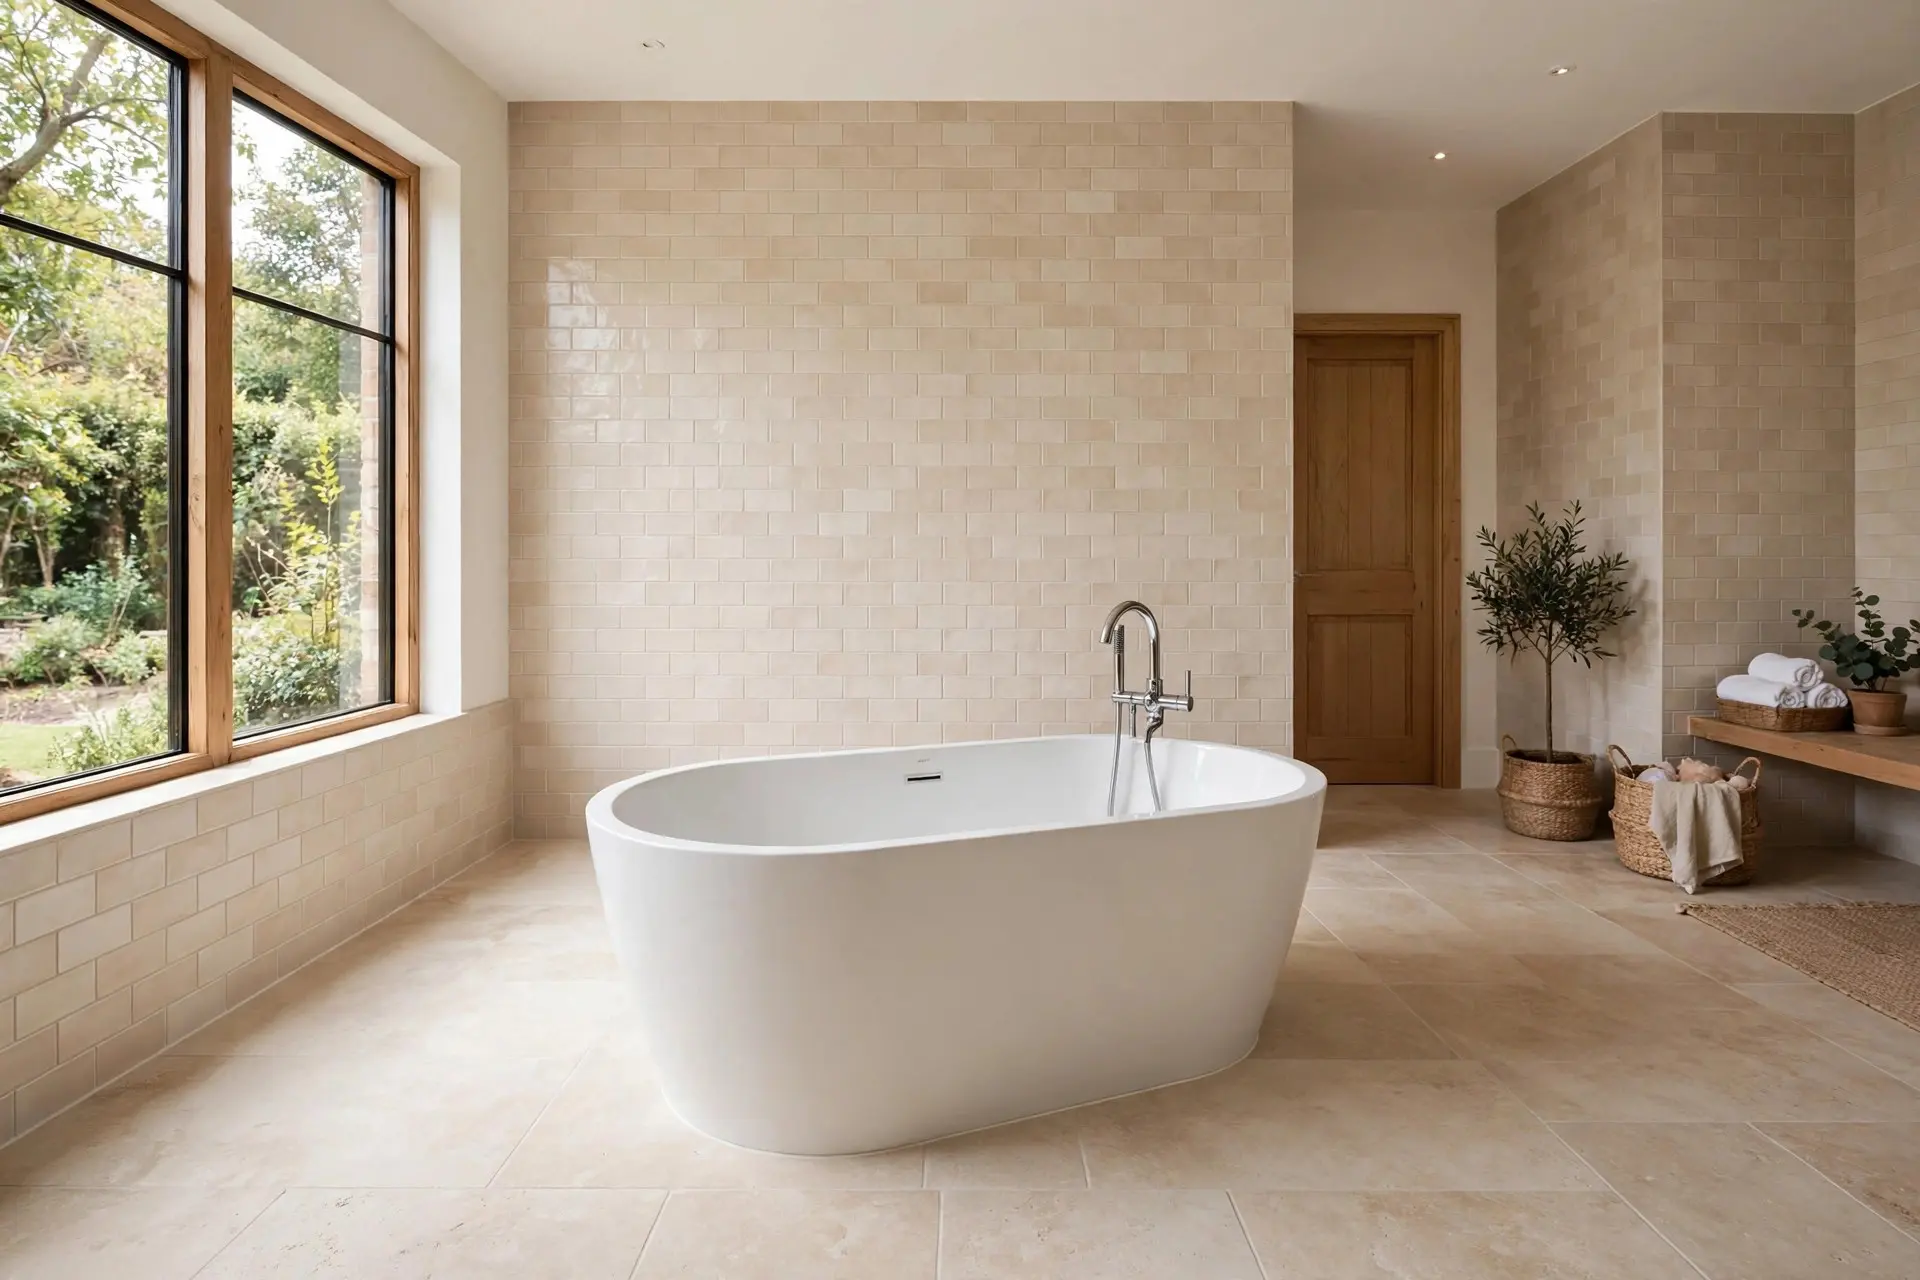
A freestanding tub needs clearance on every side, which is the whole difference between it and an alcove tub that hides three of its edges inside walls. That clearance is not decorative. You need it to clean behind the tub, to reach the faucet, and to get in and out without bracing against a cold wall.
A useful planning shortcut is the 6 and 12 rule. Allow at least 6 inches of combined space across the sides and around 12 inches of total front to back clearance, on top of the tub itself. In practice that means a 60 inch tub wants roughly 66 inches of wall to wall space, a 66 inch tub wants about 72 inches, and a 72 inch tub wants 78 inches or more.
Building code adds its own floor: bathtubs typically need a clear access area of at least 34 inches wide by 21 inches deep in front of the tub. That is the space you stand in to dry off, and it is the first thing that disappears when someone squeezes an oversized tub into a small room.
One more proportion check that keeps bathrooms from looking crowded: the tub and its surrounding clearance should take up roughly 30 to 40 percent of the total bathroom floor area. Much more than that and the room becomes a tub with a toilet attached.
The measuring exercise worth doing
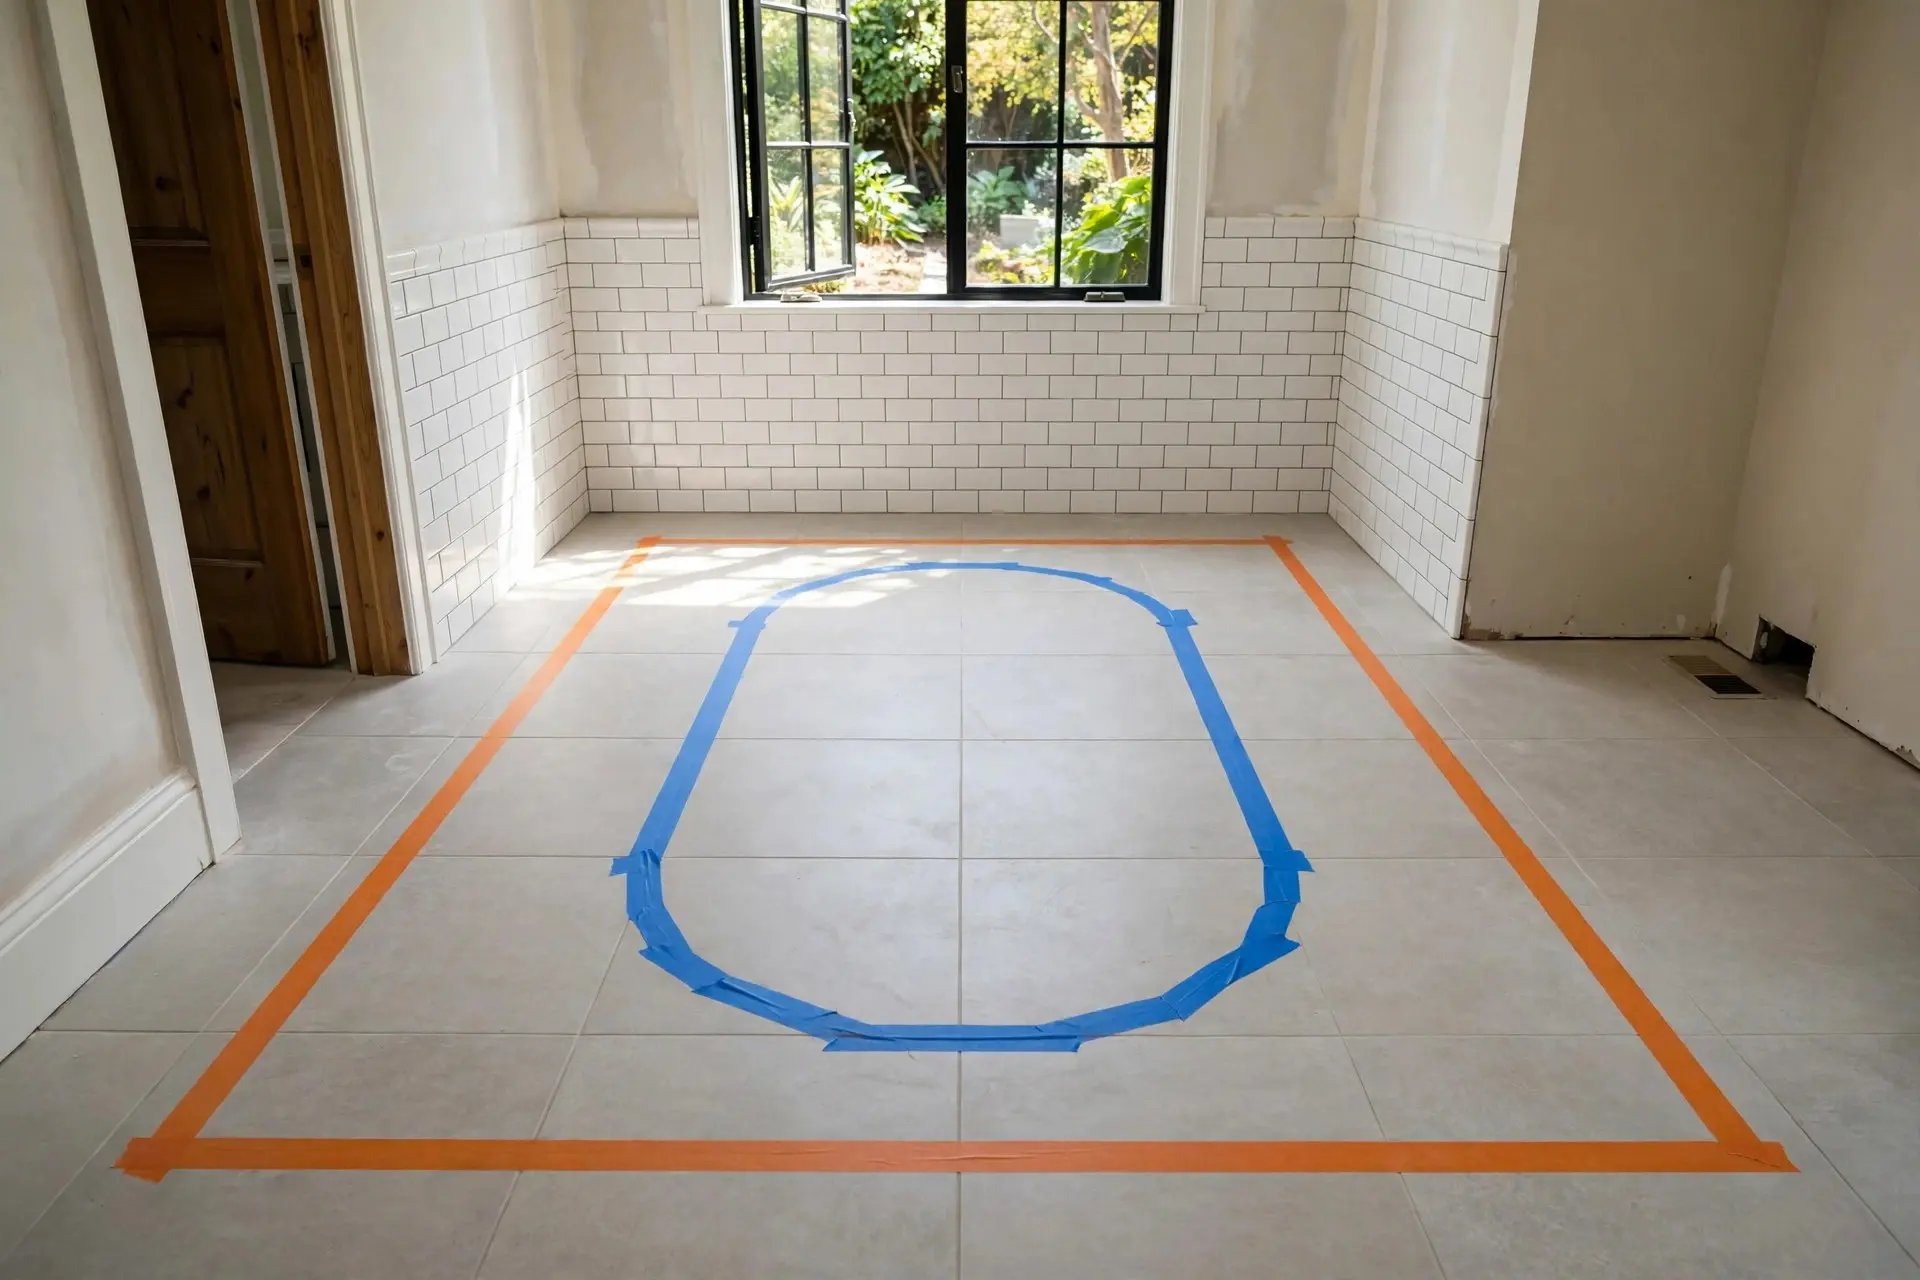
Before buying anything, tape the tub footprint onto your bathroom floor with painter’s tape. Add the clearance zone in a second color. Then live with it for two days. Open the vanity drawers. Walk to the shower. Swing the door. Most freestanding tub mistakes reveal themselves within 48 hours of tape on the floor, and tape costs almost nothing.
Freestanding or Built In: The Honest Comparison
Most articles treat this as a style question. It is mostly a practical one.
Where freestanding wins
- It becomes the focal point of the room without any other decorating effort.
- You can place it anywhere the plumbing allows, including under a window or at an angle.
- Many soaking models are deeper than a standard alcove tub, which is the actual reason to have a tub at all if you use it.
- It is a single object, so replacing it later does not mean retiling three walls.
Where built in wins
- Storage. A built in tub gives you a ledge. A freestanding tub gives you nowhere to put the shampoo, so you need a separate side table or niche.
- Showering. Combining a shower with a freestanding tub is awkward and usually means a separate shower, which costs space and money.
- Cleaning. The gap behind a freestanding tub collects dust, hair, and dropped bottles, and it is genuinely annoying to reach.
- Cost. The tub itself is only part of it. Floor mounted faucets, extra floor space, and sometimes reinforced framing add up fast.
If you are working with a compact bathroom where every inch is already spoken for, look at a wet room layout instead. It solves the small bathroom problem differently and sometimes better.
The Faucet Decision Sets Your Budget

This is the part most people find out about too late. A freestanding tub has no deck for a faucet, so the water has to come from somewhere else. You have three options and they are not priced anywhere near each other.
- Floor mounted tub filler. The dramatic one from the photos. It requires plumbing run up through the floor, which means opening the floor and, in an upstairs bathroom, the ceiling below. Beautiful, and the most expensive path.
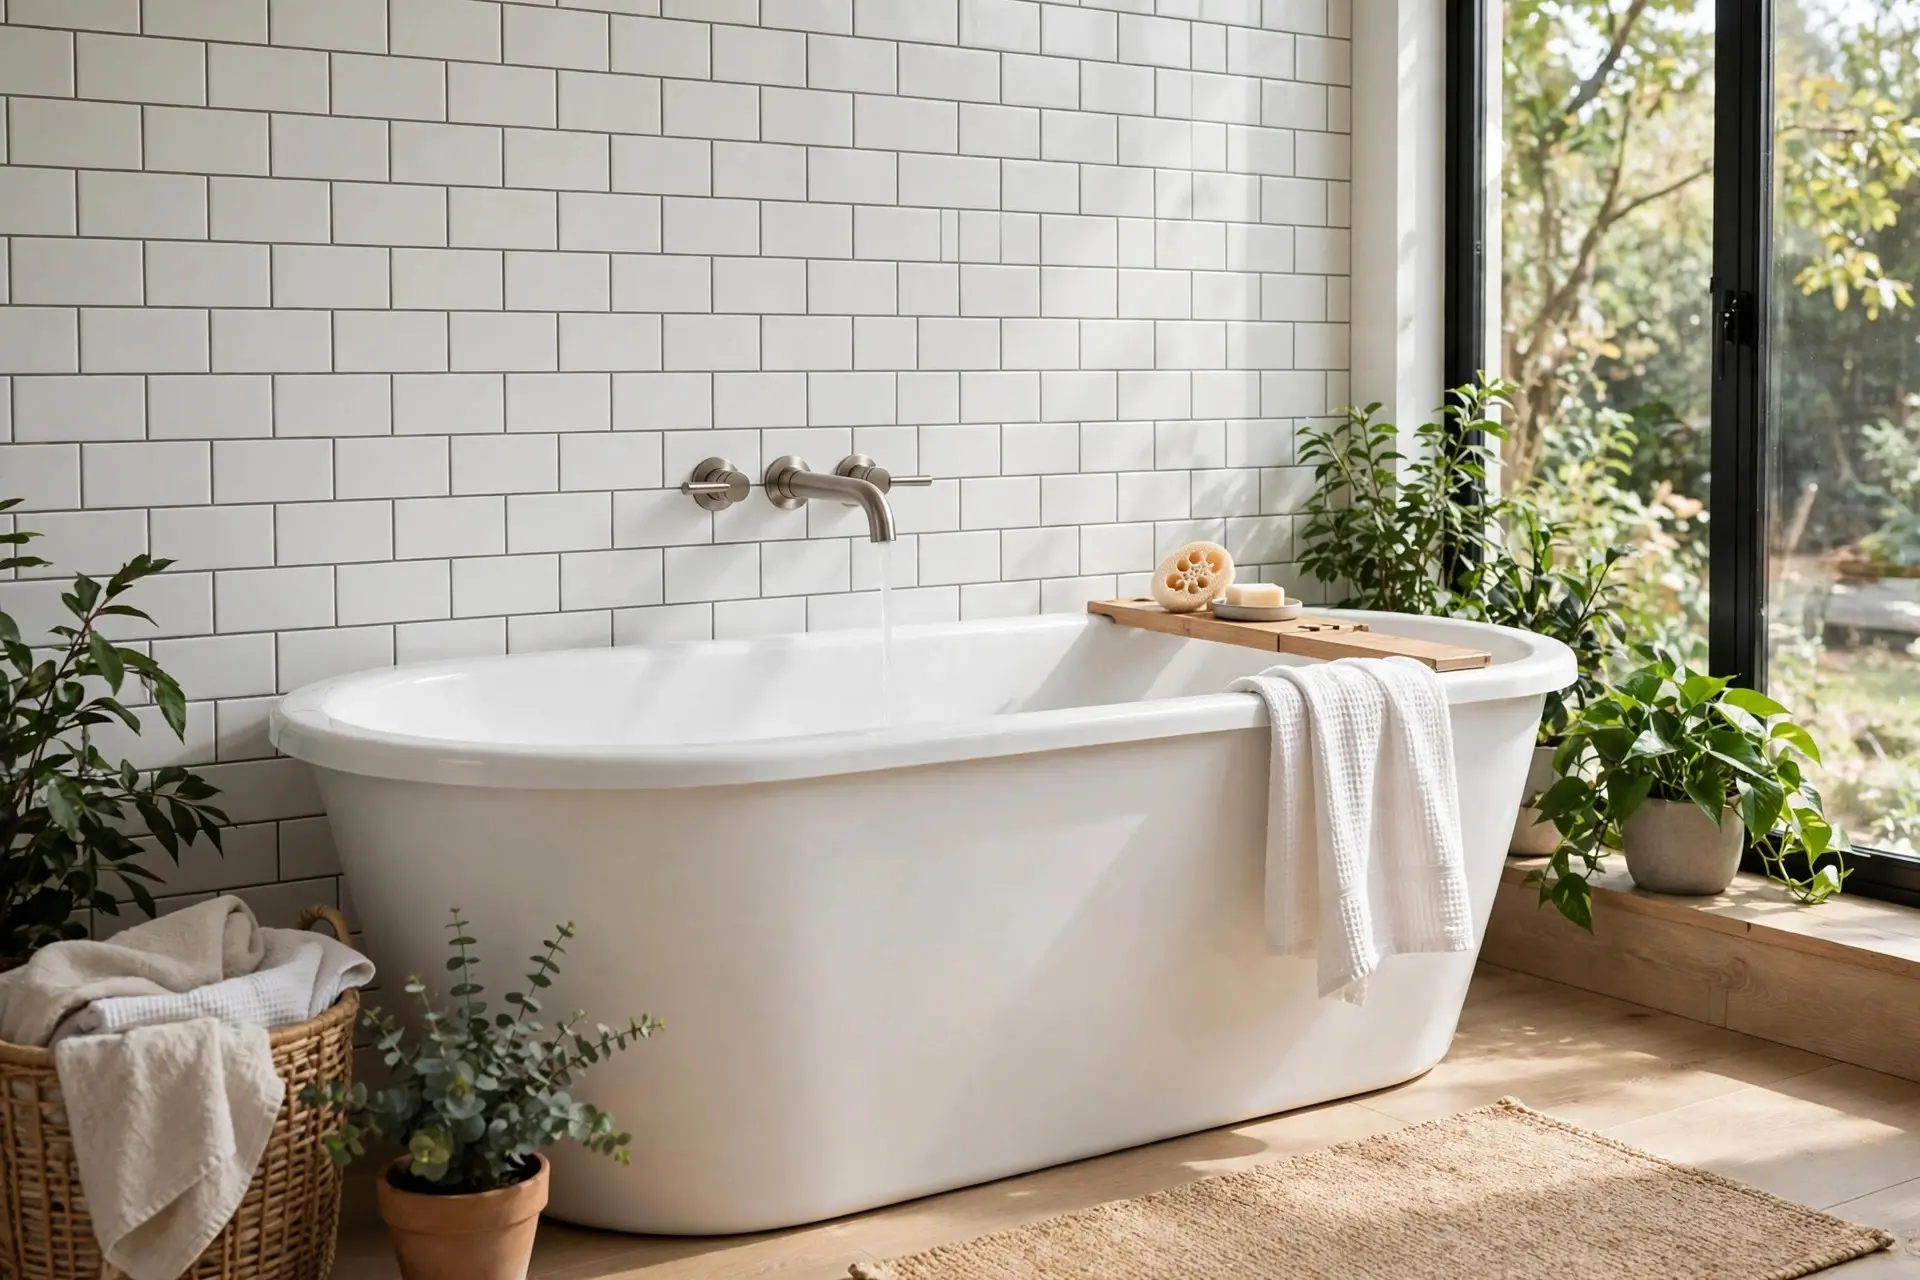
- Wall mounted filler. Cheaper and tidier if the tub sits against a wall. Limits where the tub can go, since it now has to live within reach of that wall.
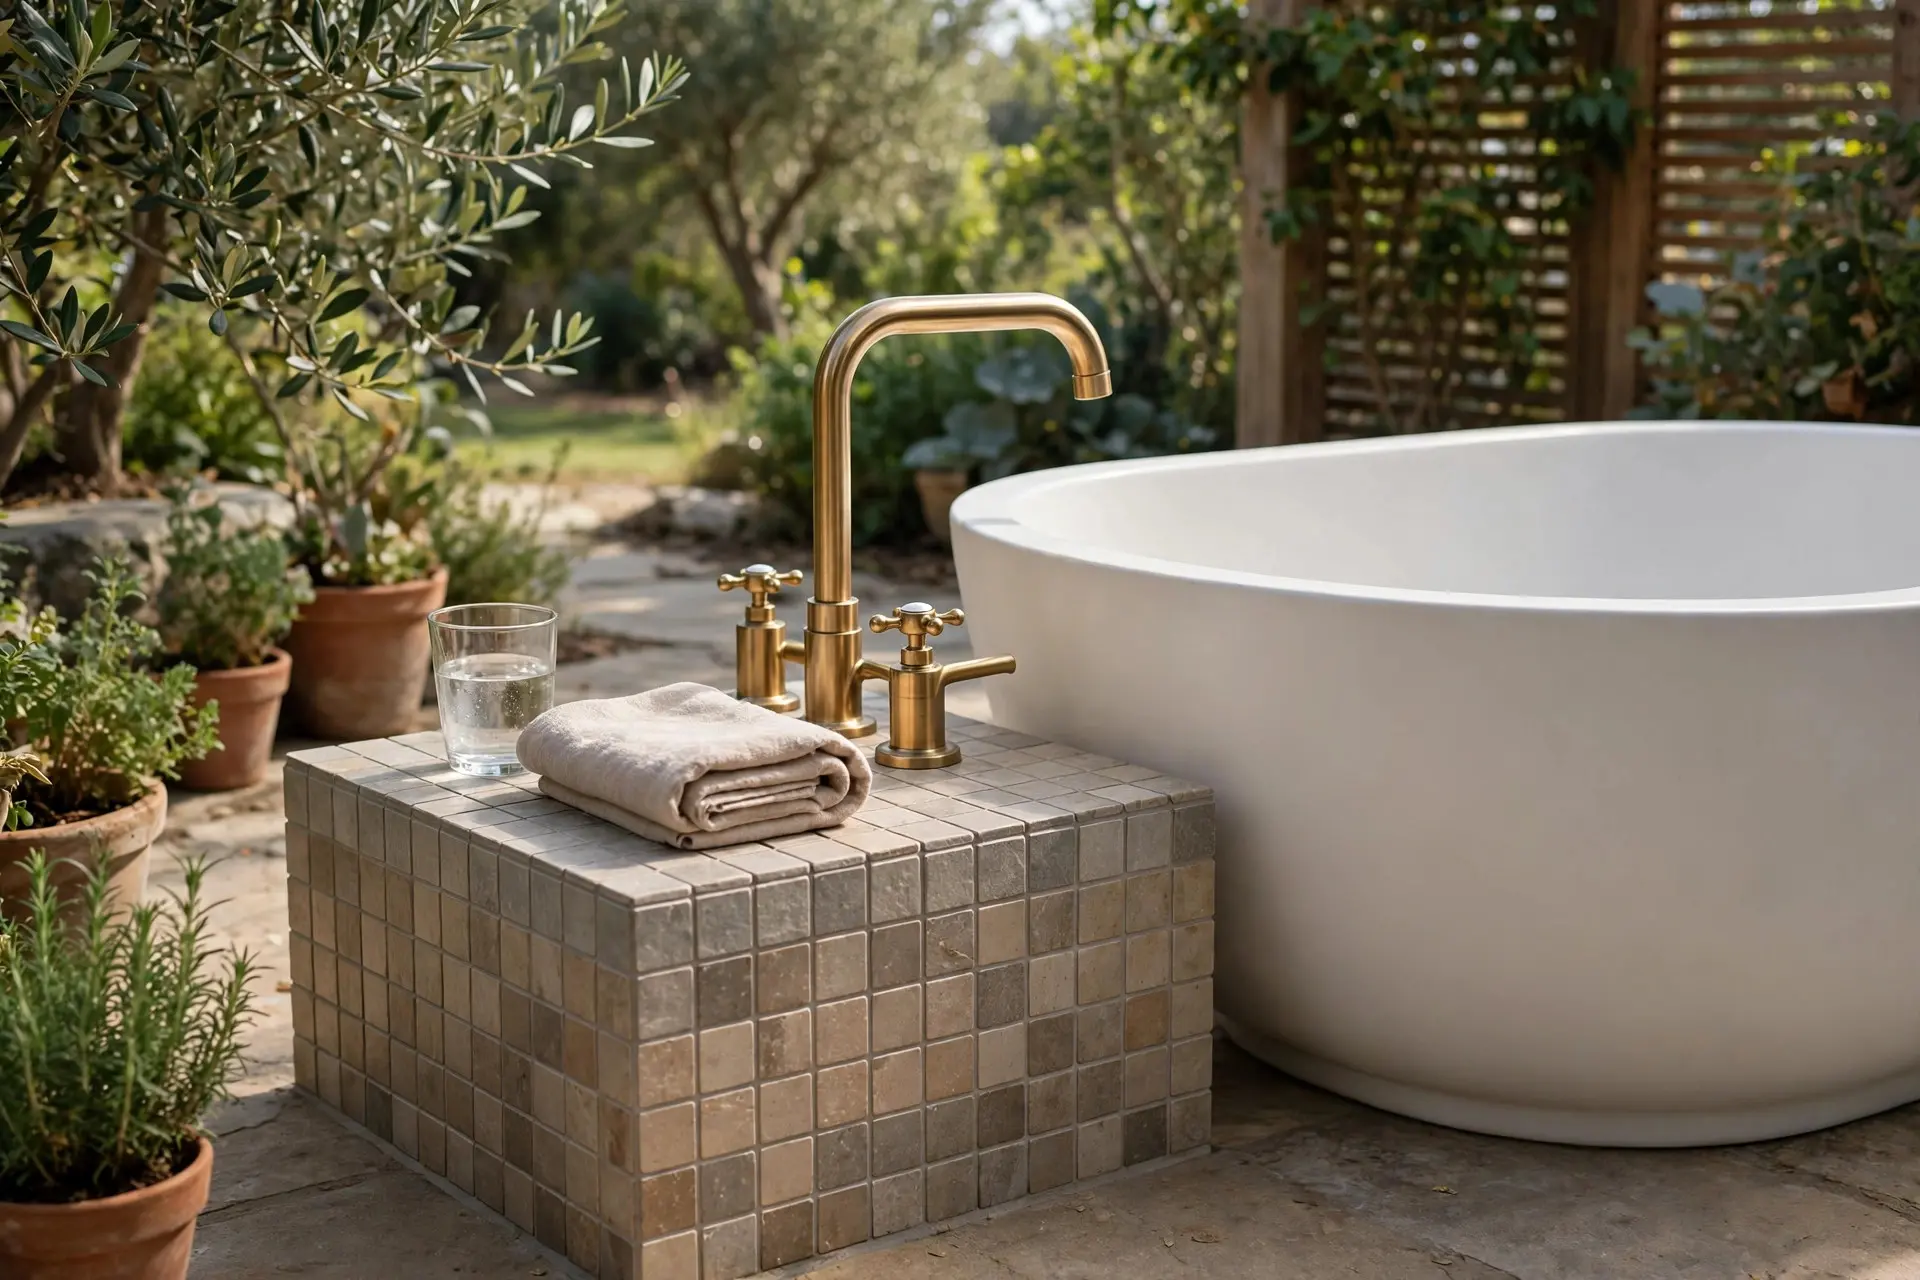
- Deck mounted on a plinth or ledge. A small tiled or stone shelf beside the tub carries the faucet. Less dramatic, much cheaper than opening a floor, and it gives you somewhere to set a glass down.
Whichever you choose, get the placement decided before anyone pours a floor or closes a wall. Moving a tub filler after the fact is one of the more expensive corrections in a bathroom remodel. And check the faucet’s flow rate against your tub’s capacity. A deep soaking tub paired with a low flow filler means a long, cold wait.
Shapes, and What Each One Is Really For
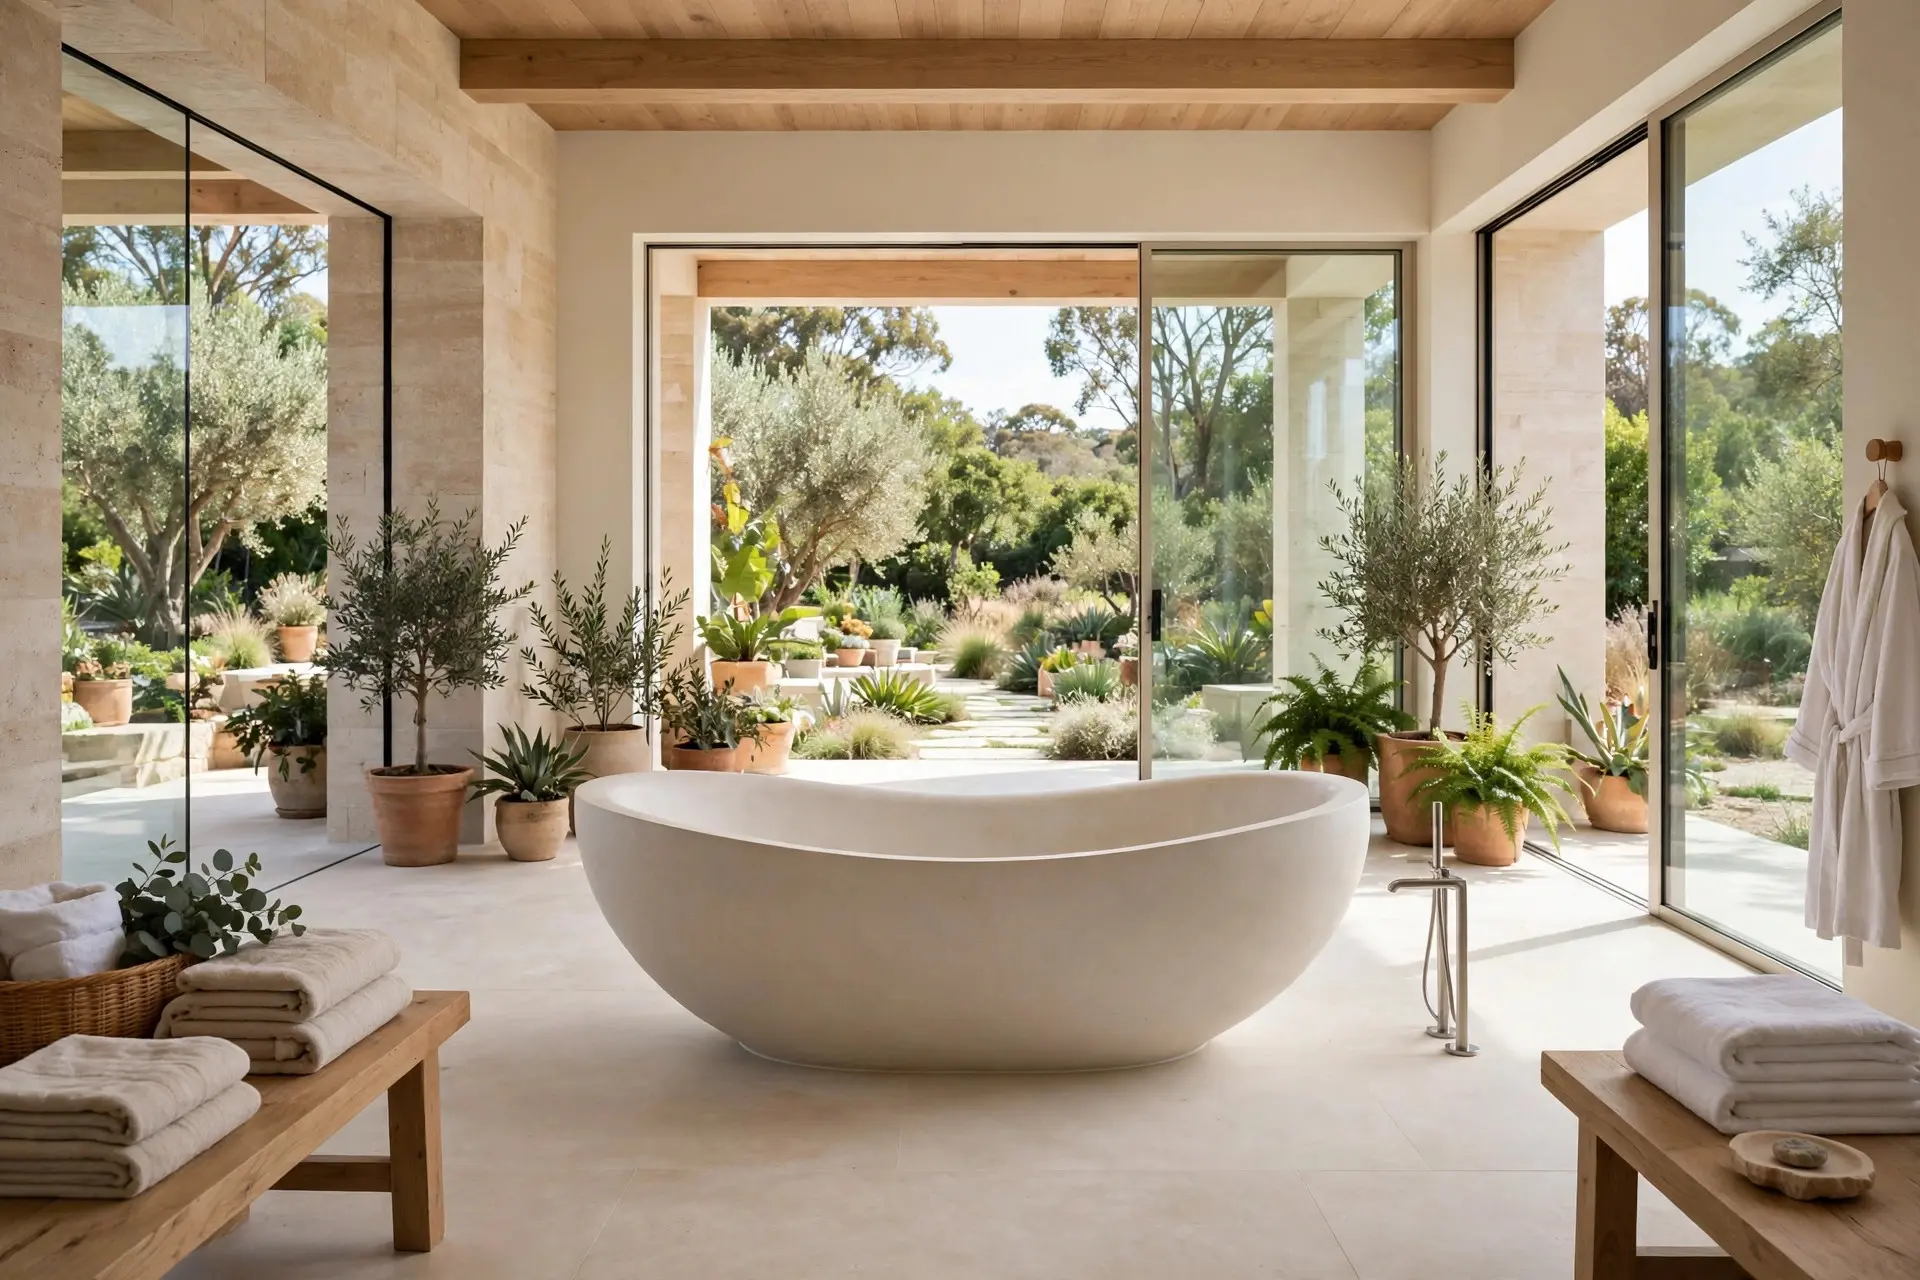

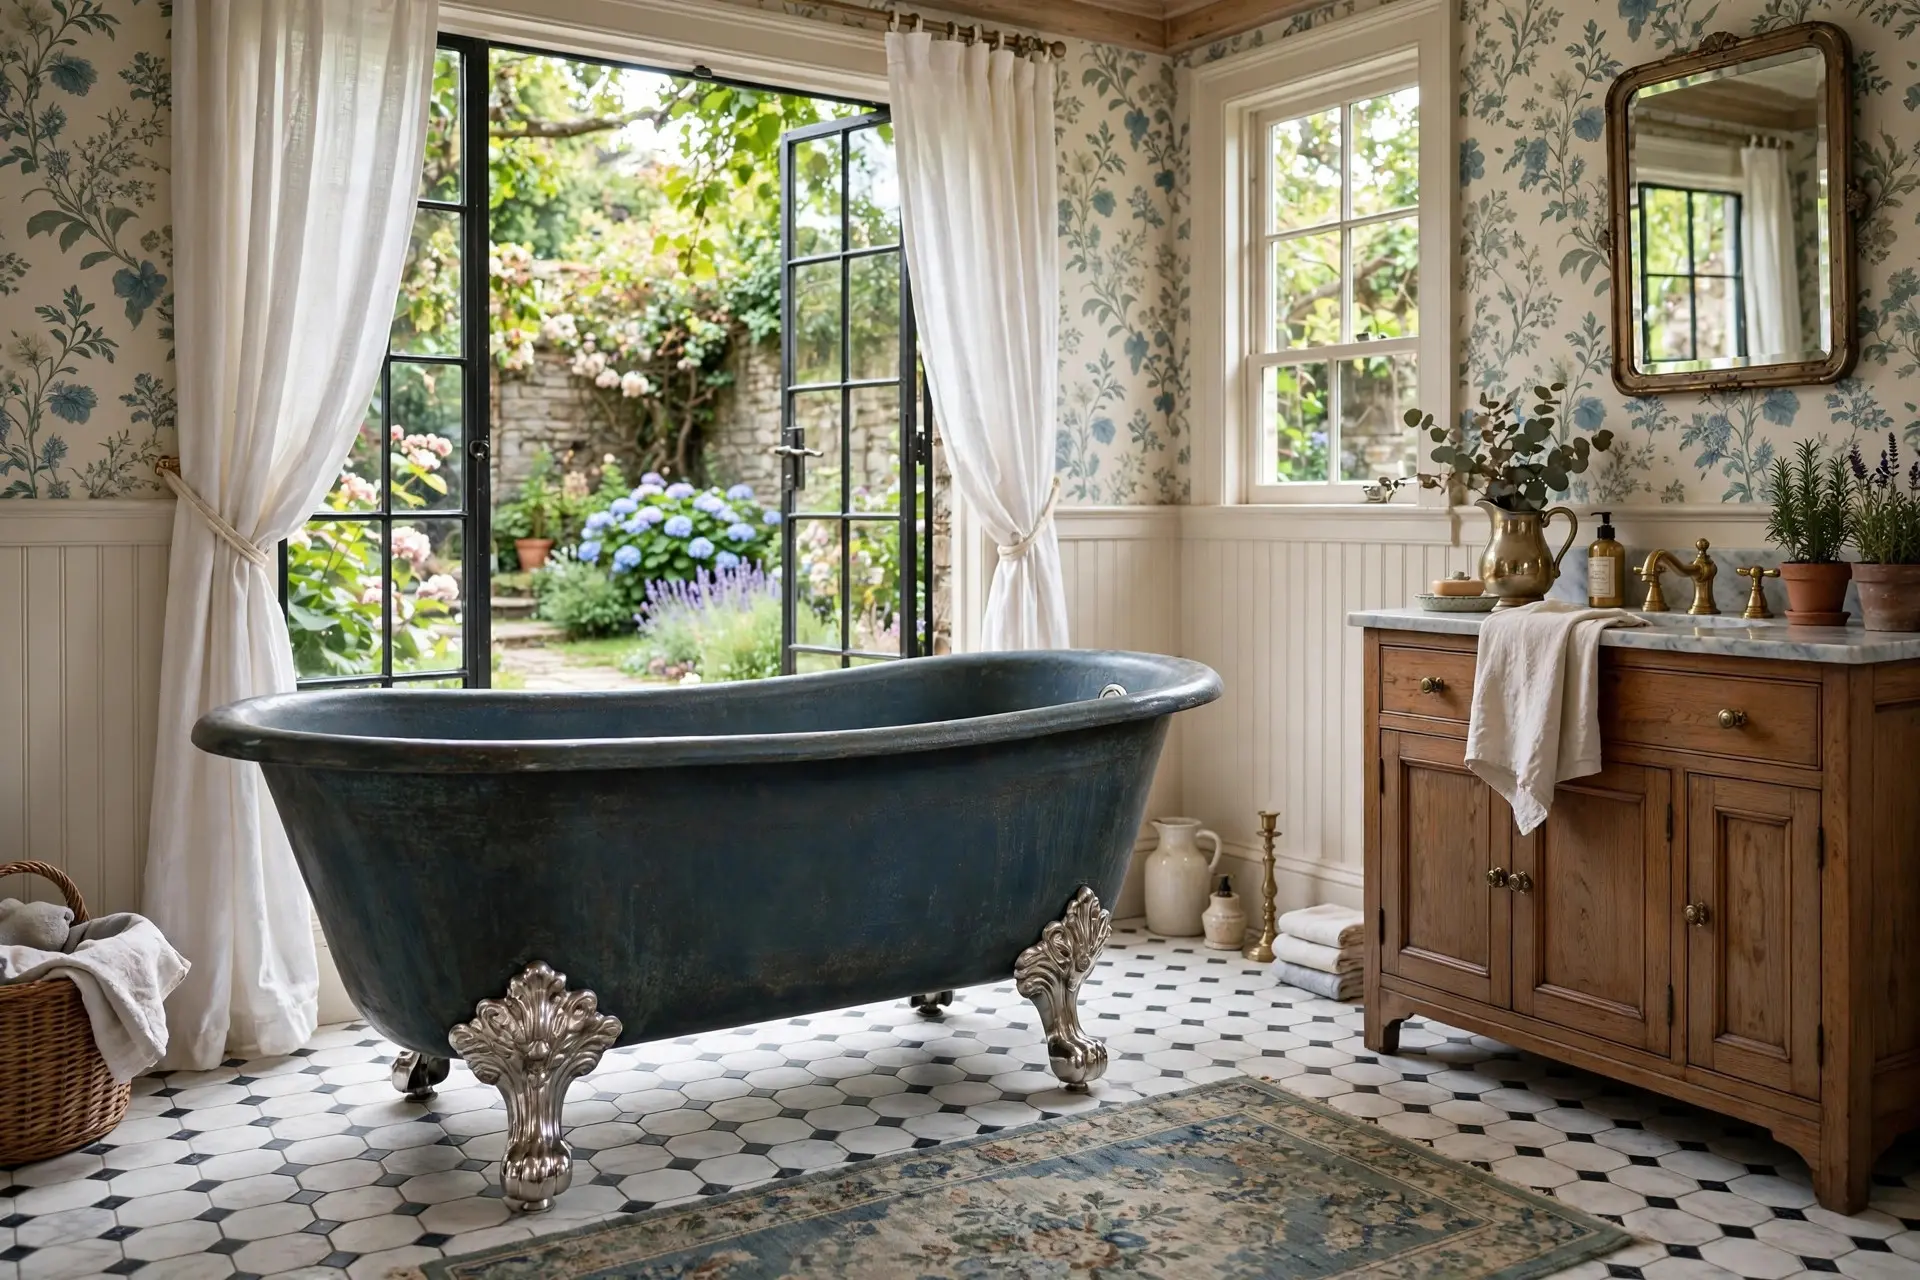
Oval and egg shaped
The soft, sculptural option. It looks best with space around it, so it rewards a larger bathroom. Comfortable for one person reclining, less so for sitting upright. If you want the tub to read as a piece of sculpture in the room, this is the shape that does it.
Slipper and double slipper
One raised end, or two. The raised back supports your neck, which makes long soaks genuinely more comfortable. A double slipper looks symmetrical and elegant, but the faucet ends up in the middle, and so does your back if you are tall.
Rectangular and square
The most space efficient freestanding shape, because the corners are not wasted. It suits modern and Japandi bathrooms and sits comfortably against a wall. If your bathroom is on the smaller side, this shape gives you the most bathing volume per square foot.
Clawfoot
The vintage choice. It has real charm, and the raised feet make the floor beneath easier to clean than a tub that sits flush. The tradeoff is that cast iron clawfoot tubs are heavy, and a full tub plus a person is a serious load. If yours is going on an upper floor, have someone check the floor structure first.
Styling a Freestanding Tub So It Looks Intentional
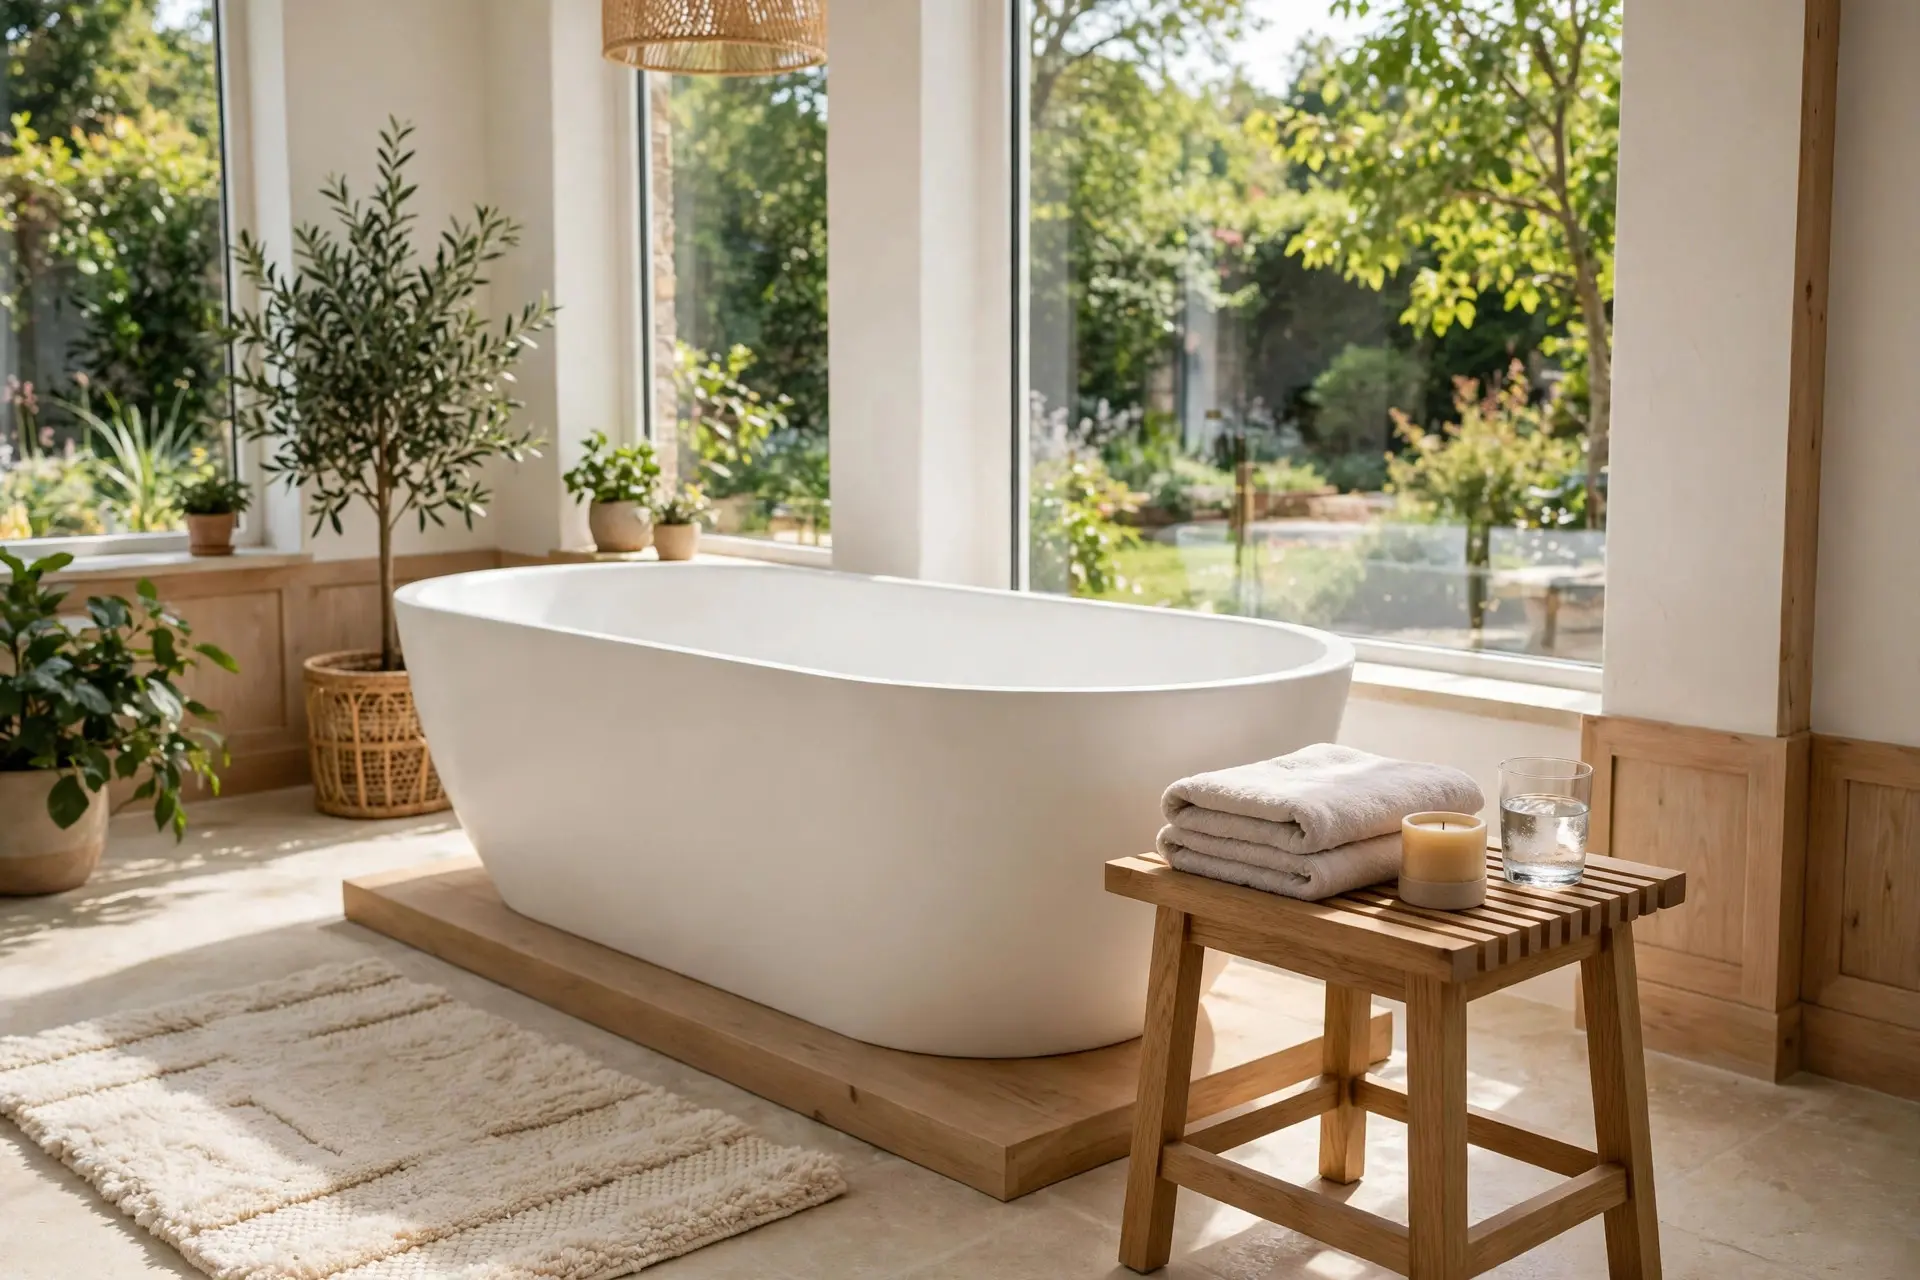
A freestanding tub floating in an empty room looks unfinished, not luxurious. What makes it read as designed is the small amount of stuff arranged around it.
- Give it a surface. A small stool, a narrow side table, or a tiled plinth. Somewhere for a towel, a candle, and a drink. Without one, the tub is beautiful and impractical.
- Anchor it with a rug. A washable bath mat or flatweave rug alongside the tub stops the floor from looking like an empty plain. Make sure it is something you can actually launder.
- Put something behind it. A window, a tiled feature wall, a large piece of art in a frame rated for humidity, or a tall plant. A tub against a blank wall looks abandoned.
- Light it properly. A sconce or pendant near the tub, on a dimmer, does more for the atmosphere than any accessory. Confirm the fixture is rated for bathroom use and keep it clear of the tub zone your electrical code defines.
- Keep the floor finish continuous. Running the same tile under and around the tub makes the room feel larger. Our bathroom tile design guide covers which patterns hold up in a wet zone.
Materials, Weight, and the Question of Heat
The material affects three things you will notice every time you use the tub: how long the water stays warm, how heavy the tub is, and how it feels to touch.
- Acrylic. Light, warm to the touch, affordable, and easy to move up a staircase. It can scratch and flex slightly. The practical default for most homes.
- Cast iron. Holds heat well and feels solid. Very heavy, especially once filled, so floor structure matters.
- Stone resin and solid surface. Warm, matte, and sculptural, with good heat retention. Sits at the higher end of the price range.
- Copper and natural stone. Striking and expensive. Both need specific maintenance, so read the care instructions before you fall in love.
Whatever the material, ask for the filled weight, which is the tub plus the water plus the person. If the bathroom is above ground floor, have a professional confirm the floor can carry it. This is a cheap question to ask before installation and a very expensive one afterward.
Frequently Asked Questions
How much space do you need around a freestanding tub?
Plan for at least 6 inches of combined clearance across the sides and around 12 inches front to back on top of the tub dimensions. A 60 inch tub therefore wants roughly 66 inches of wall to wall space. Code also generally requires a clear access area of at least 34 inches wide by 21 inches deep in front of the tub.
Can a freestanding tub work in a small bathroom?
Sometimes, if you choose a compact rectangular model and place it against a wall with a wall mounted filler. Keep the tub and its clearance to roughly 30 to 40 percent of the floor area. If that does not work, an alcove tub or a wet room layout usually serves a small bathroom better.
Is a floor mounted tub filler worth it?
Only if the tub genuinely sits away from every wall. It requires running plumbing through the floor, which is the most expensive of the three faucet options. A wall mounted filler or a small deck plinth achieves the same function for considerably less.
Are freestanding tubs hard to clean?
The tub itself is easy. The gap behind and beneath it is not, which is why the clearance numbers matter. Clawfoot styles are easier underneath because you can reach a mop between the feet. A tub that sits flush to the floor with only a few inches behind it is the hardest to keep clean.
Do I need to reinforce the floor for a freestanding tub?
It depends on the material and the floor. Acrylic tubs are usually fine on a standard floor. Cast iron, stone, and large capacity soaking tubs can be heavy enough once filled that a professional should check the structure, especially above the ground floor.
The Short Version
Tape the footprint on your floor before you buy. Add the clearance. Decide the faucet early, because it sets the budget. Pick the shape for how you actually bathe rather than how it photographs. Then give the tub a surface, a rug, and something behind it, and it will look like a designed room rather than a showroom display that wandered in.