Pendant Light Spacing: How Far Apart Should Your Pendants Hang

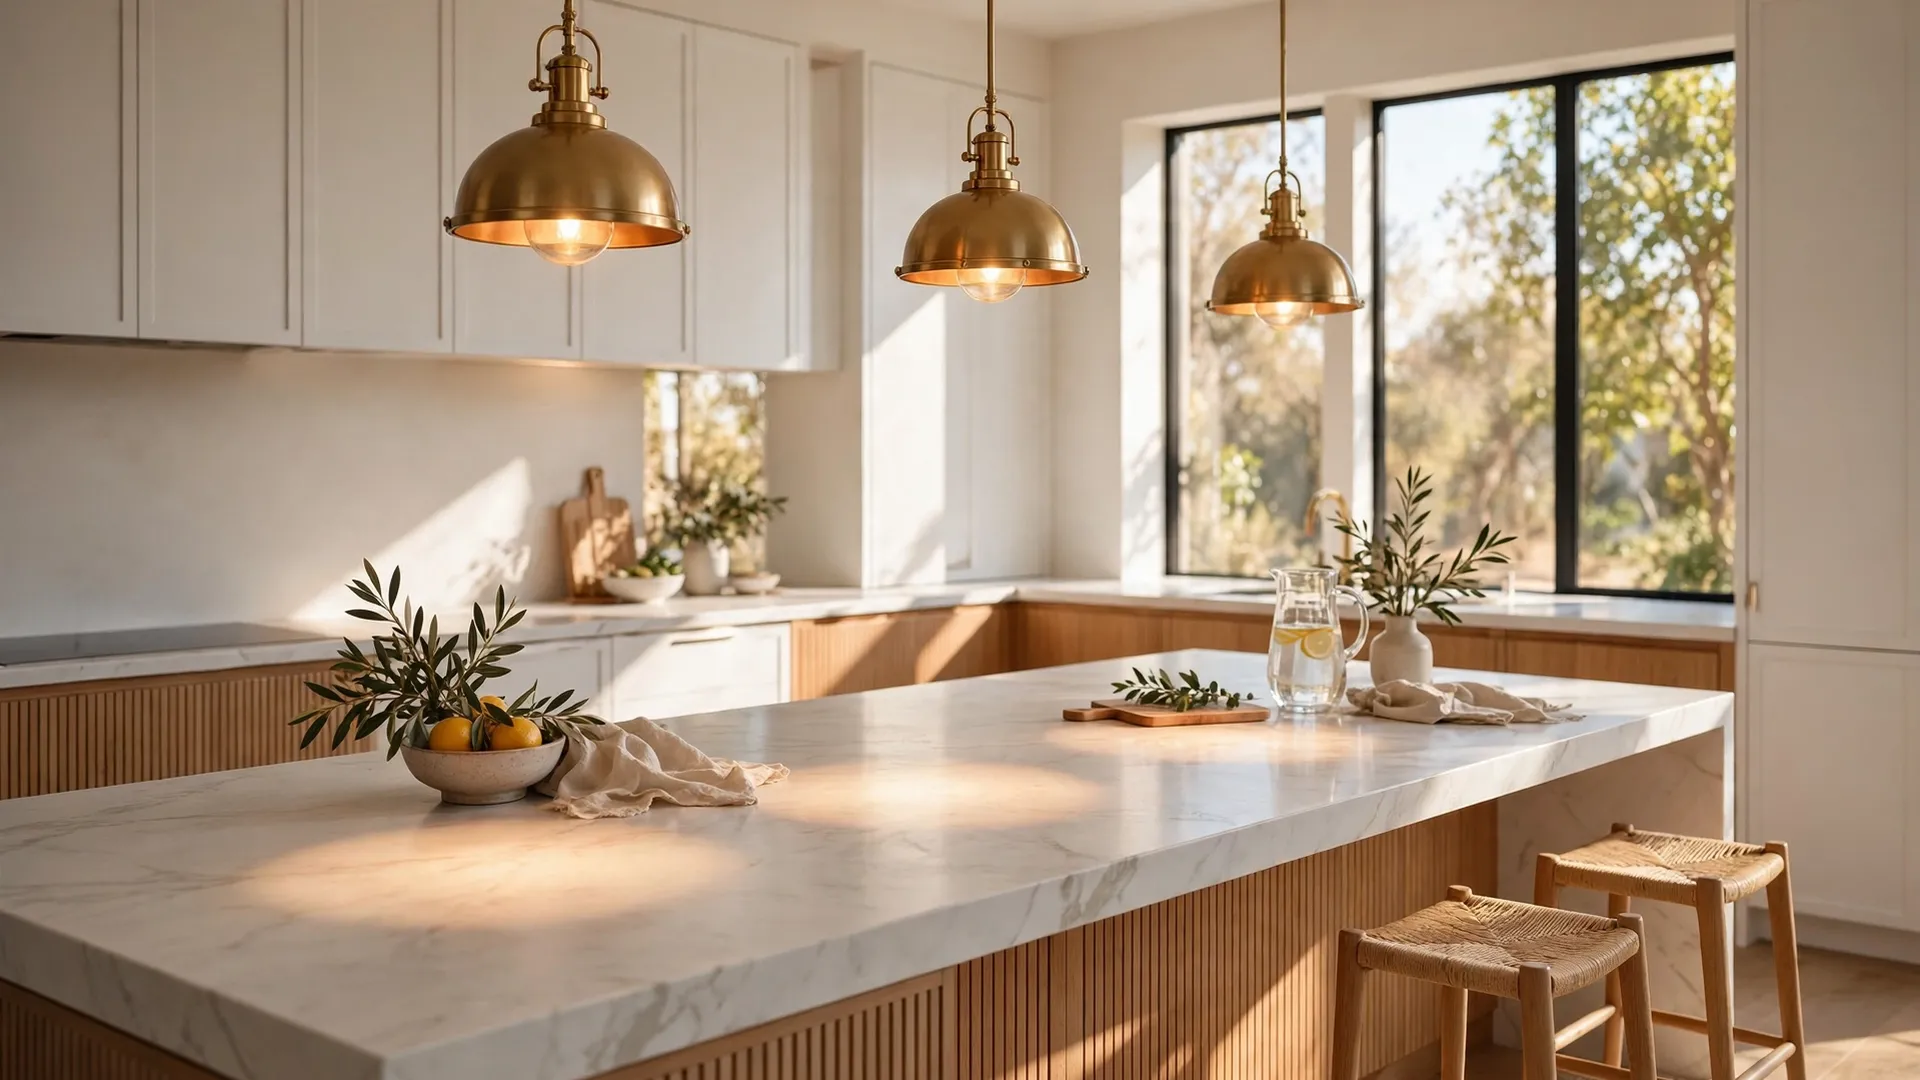
When Maria finished her kitchen renovation, she stood back and frowned. Three brand new brass pendants hung over her white island, yet the middle glowed like a spotlight while both ends sat in shadow. Her contractor had spaced them by eye, and the eye had lied. After one weekend of moving them to even twenty eight inch gaps, the whole kitchen came alive. Maria had discovered what lighting designers already know. The answer always comes down to pendant light spacing.
The Golden Rule of Pendant Light Spacing
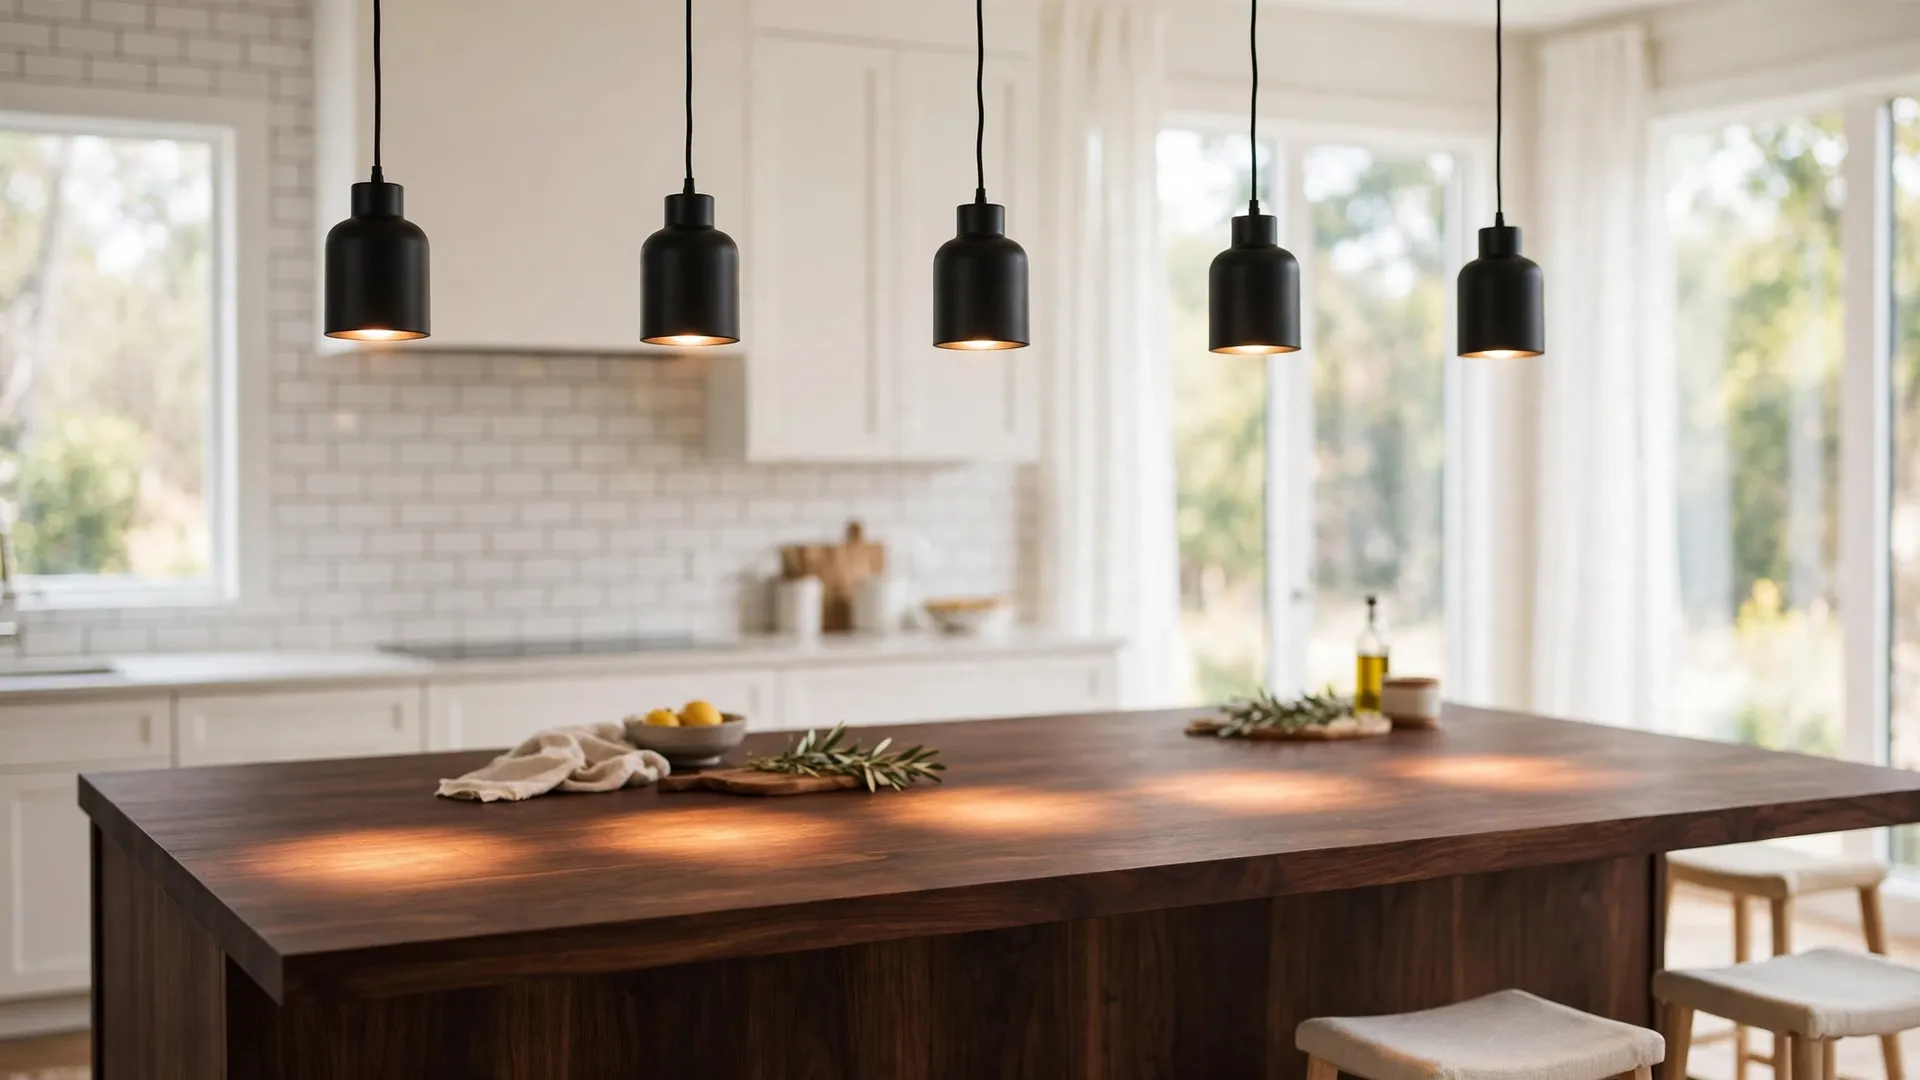
Professional lighting designers follow one simple range for pendant light spacing. Keep twenty four to thirty inches between the centers of your pendants, measured from the center of one fixture to the center of the next, not edge to edge. This window balances two jobs at once. It keeps the light pools overlapping for smooth, even coverage, and it gives each fixture enough breathing room to look intentional instead of crowded.
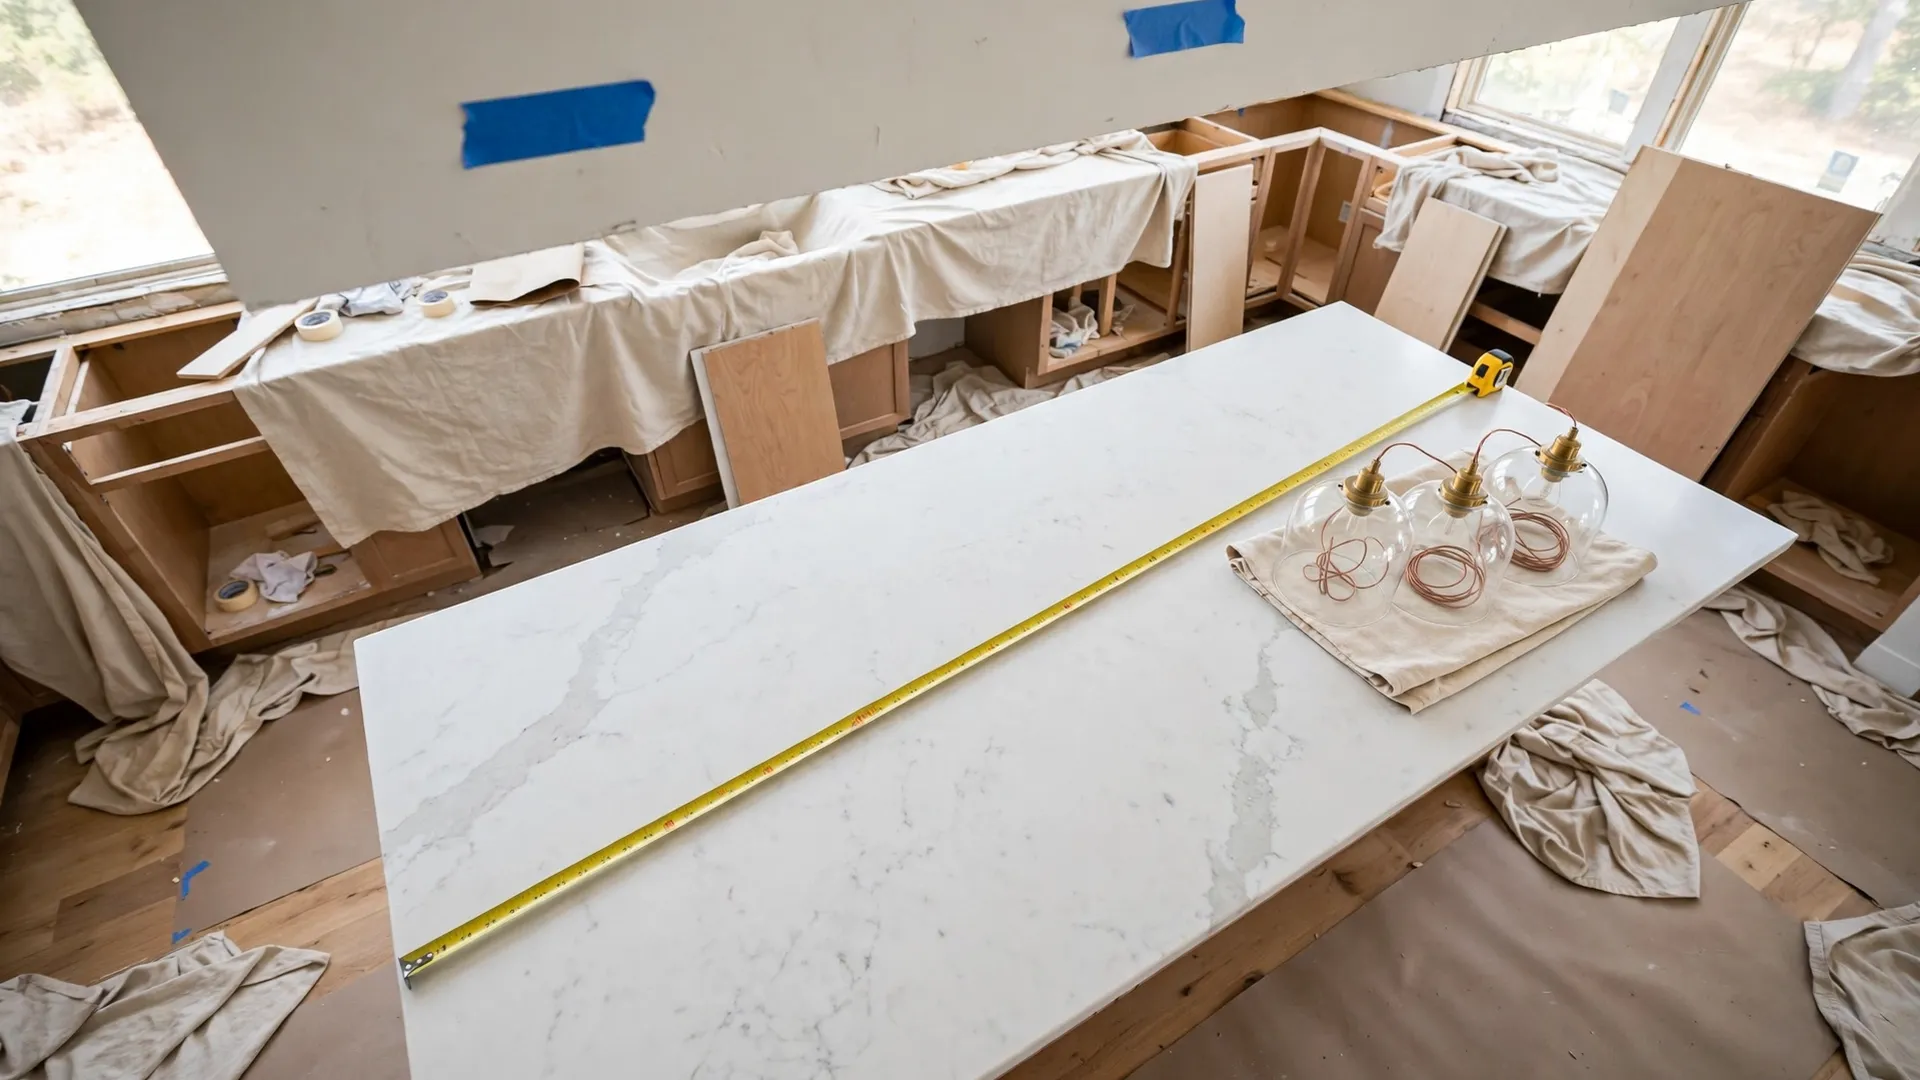
Why does this range exist? Each pendant throws a cone of light downward, and slight overlap between two cones gives smooth, even coverage across the surface. The Illuminating Engineering Society recommends even illuminance for work surfaces. Pull the pendants closer than twenty four inches and the cones stack into one harsh hot spot. Push them past thirty inches and dark gaps open between them. The National Kitchen and Bath Association echoes this thinking in its kitchen lighting guidelines.
Size matters too. Mini pendants with narrow shades sit happily at the tight end of the range, while wide drum shades or large globes need the full thirty inches, sometimes more. As a rule of thumb, the gap between shades should measure at least half the shade diameter.
Measure Your Island Before You Drill a Single Hole
Grab a tape measure before you touch a ladder. The island itself tells you how many pendants fit and how far apart they should hang.
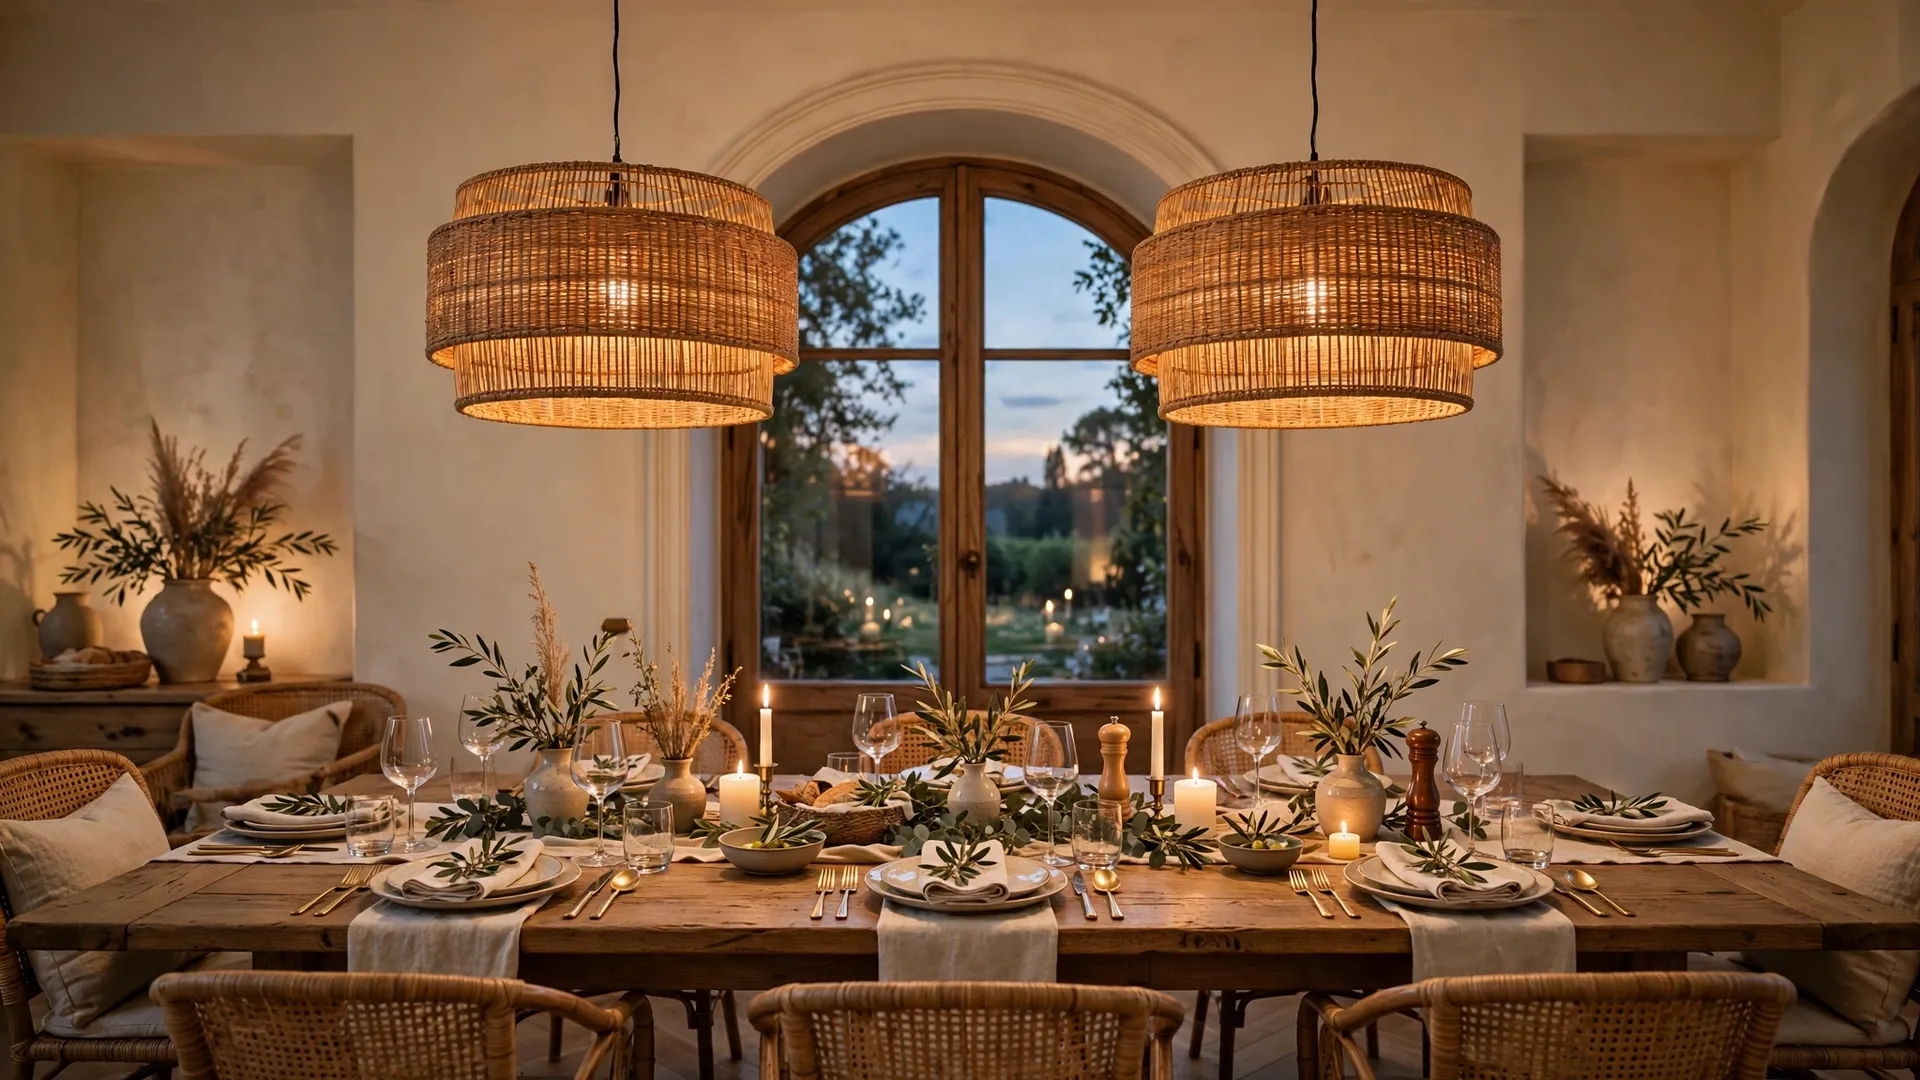
Pendant Light Spacing Over a Kitchen Island
Here is the formula designers use for pendant light spacing over a kitchen island. Measure the island length and subtract twelve inches from each end to keep the end pendants away from the edges. Then divide the remaining length by the number of gaps, which is always one less than the number of fixtures.
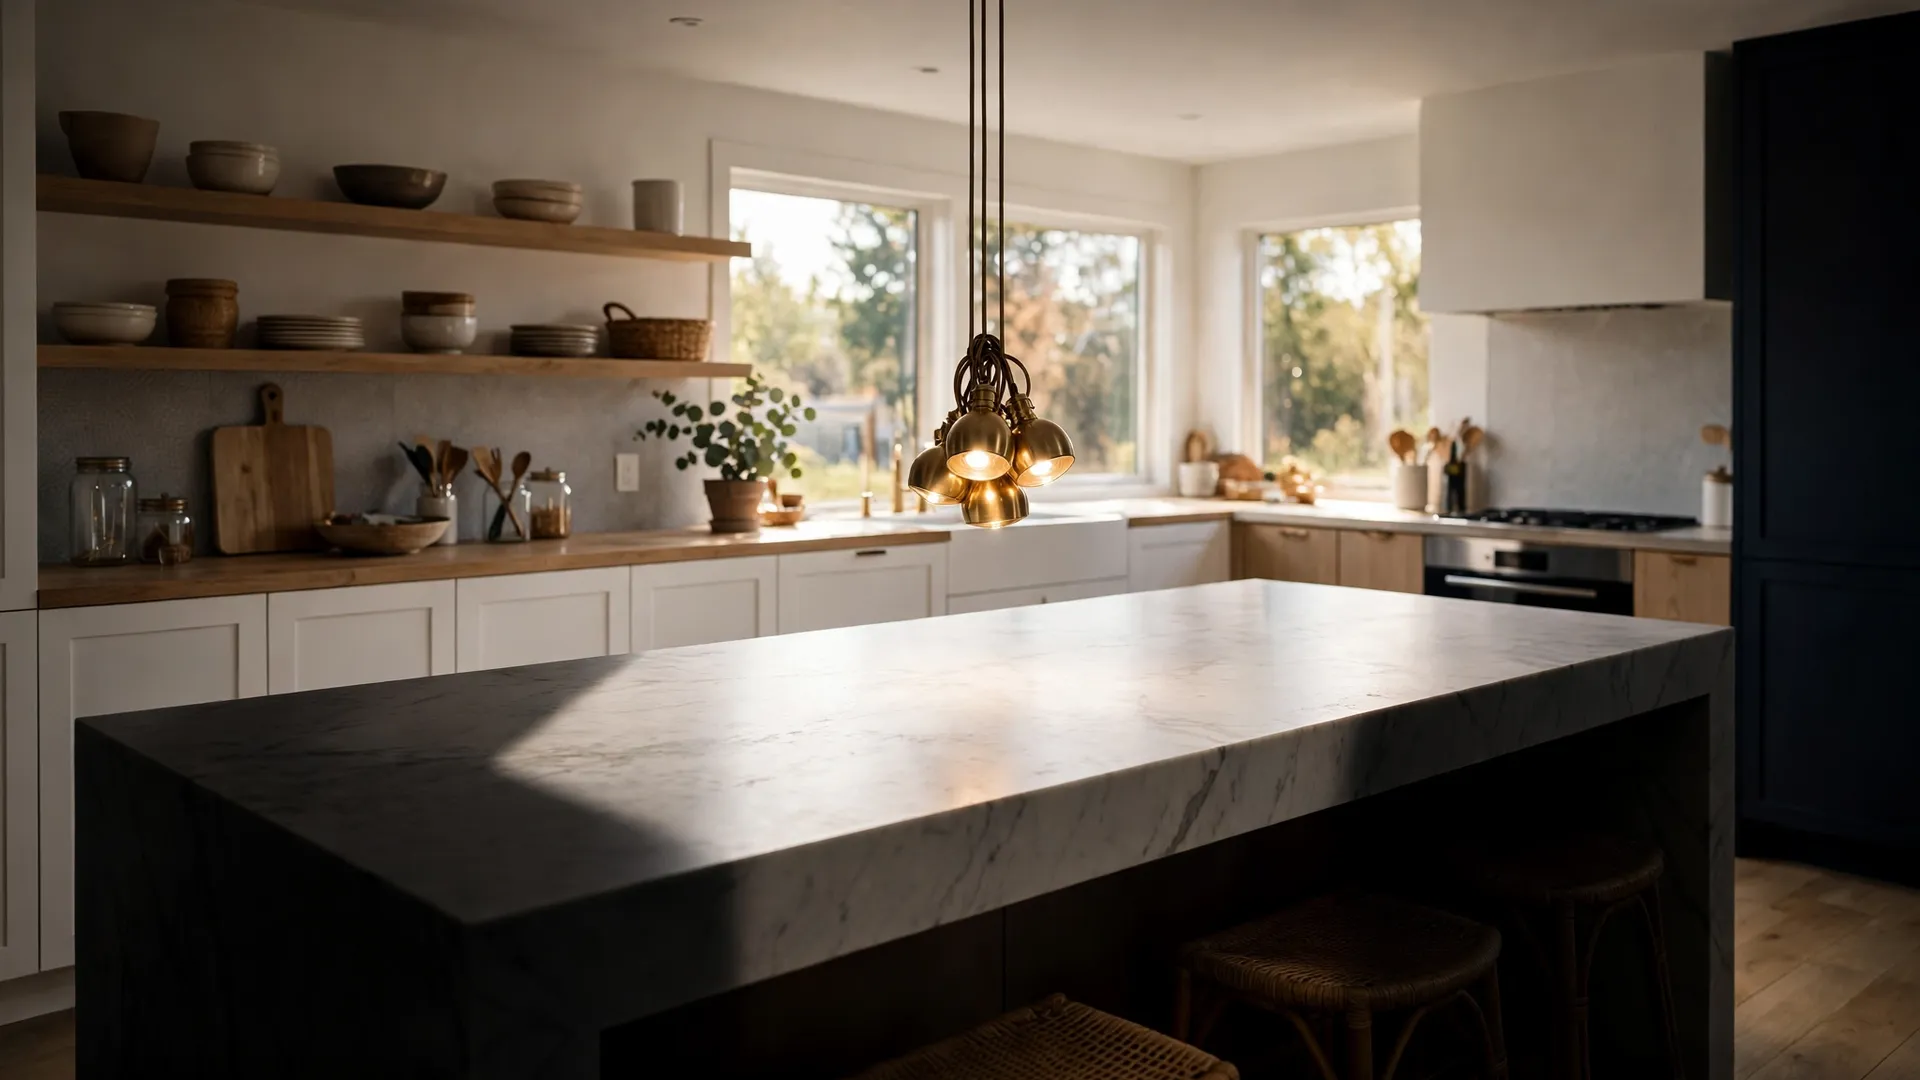
Take an eight foot island, ninety six inches long. Subtract twenty four inches total and you get seventy two inches of usable length. Three pendants create two gaps, and seventy two divided by two gives thirty six inches, which sits a little wide. Four pendants create three gaps, and seventy two divided by three lands at twenty four inches, right inside the golden range.
A six foot island works out neatly. Seventy two inches minus twenty four leaves forty eight inches, and three pendants with two gaps give twenty four inches exactly. Two pendants on the same island would stretch forty eight inches apart, far too wide. This math removes the guesswork.
How Far Apart to Hang Pendants Over a Dining Table
Dining tables follow the same logic with softer rules. Two or three pendants usually do the job. Aim for the same twenty four to thirty inch center to center distance, and center the whole arrangement over the table, not over the room.
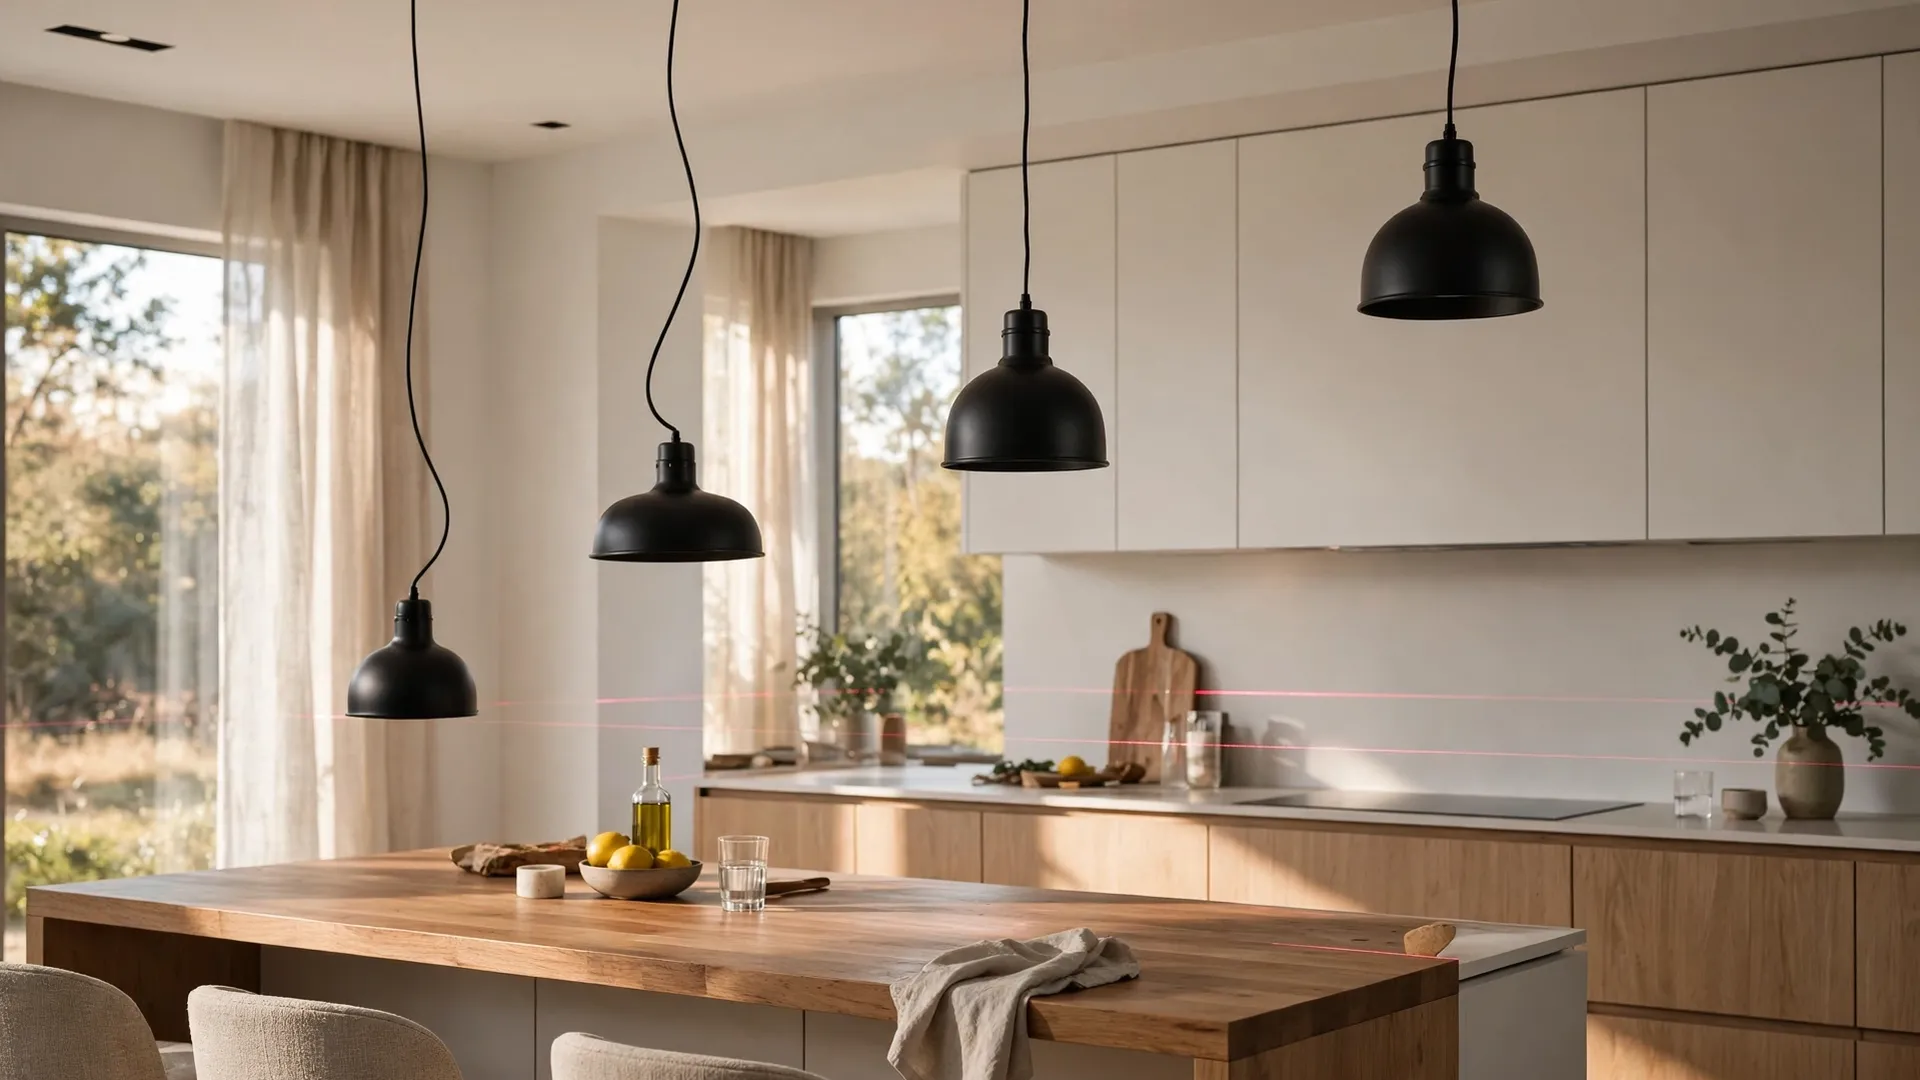
For a six foot dining table, two pendants spaced about thirty inches apart look balanced. An eight foot table takes three pendants at roughly twenty eight to thirty inches. Hang them thirty to thirty four inches above the tabletop so the setting feels intimate while seated guests still see each other.
Odd Numbers Create the Prettiest Rows
Designers almost always hang pendants in odd numbers. Three or five give you a natural center fixture, which makes the row feel anchored and symmetrical. Two pendants can work over a small table, but they split the focus. If you need more light than three pendants provide, jump to five rather than four.
Pendant Spacing Mistakes That Ruin the Look
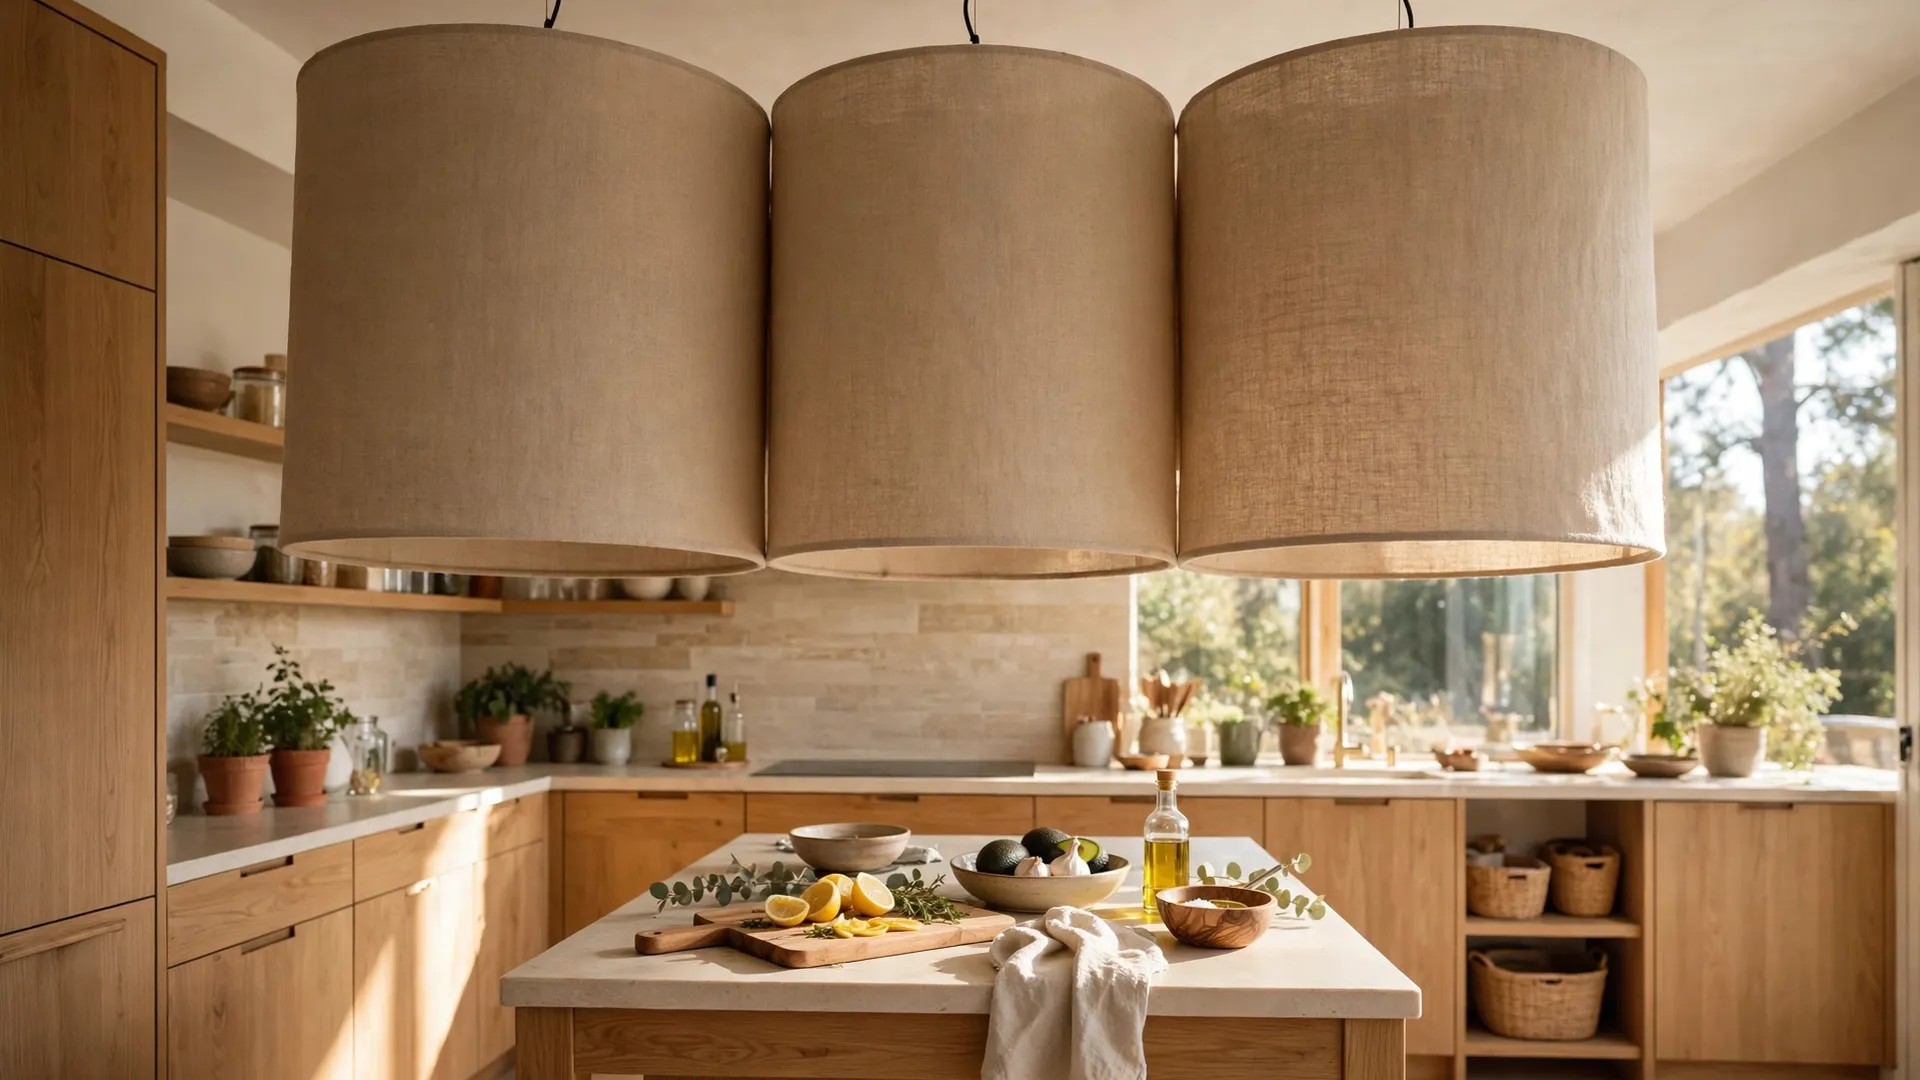
Most pendant problems trace back to four common mistakes, and every one of them is easy to fix. The first is hanging pendants too close together. Three mini pendants crammed eighteen inches apart read as one blob of brass, and the light cones merge into a single glaring pool while the ends stay dim. The second is spacing them too far apart. Forty inch gaps leave shadowy dead zones, and the island looks striped while food prep suffers in the dark bands. The third is forgetting the ends. End pendants need six to twelve inches of clearance from the island edge, or the whole row feels squeezed. The fourth is mixing perfect spacing with sloppy heights. Even flawless gaps cannot save pendants that hang at different levels, so use a laser level or a simple string line to keep every fixture dead level.
Height and Spacing Work as a Team
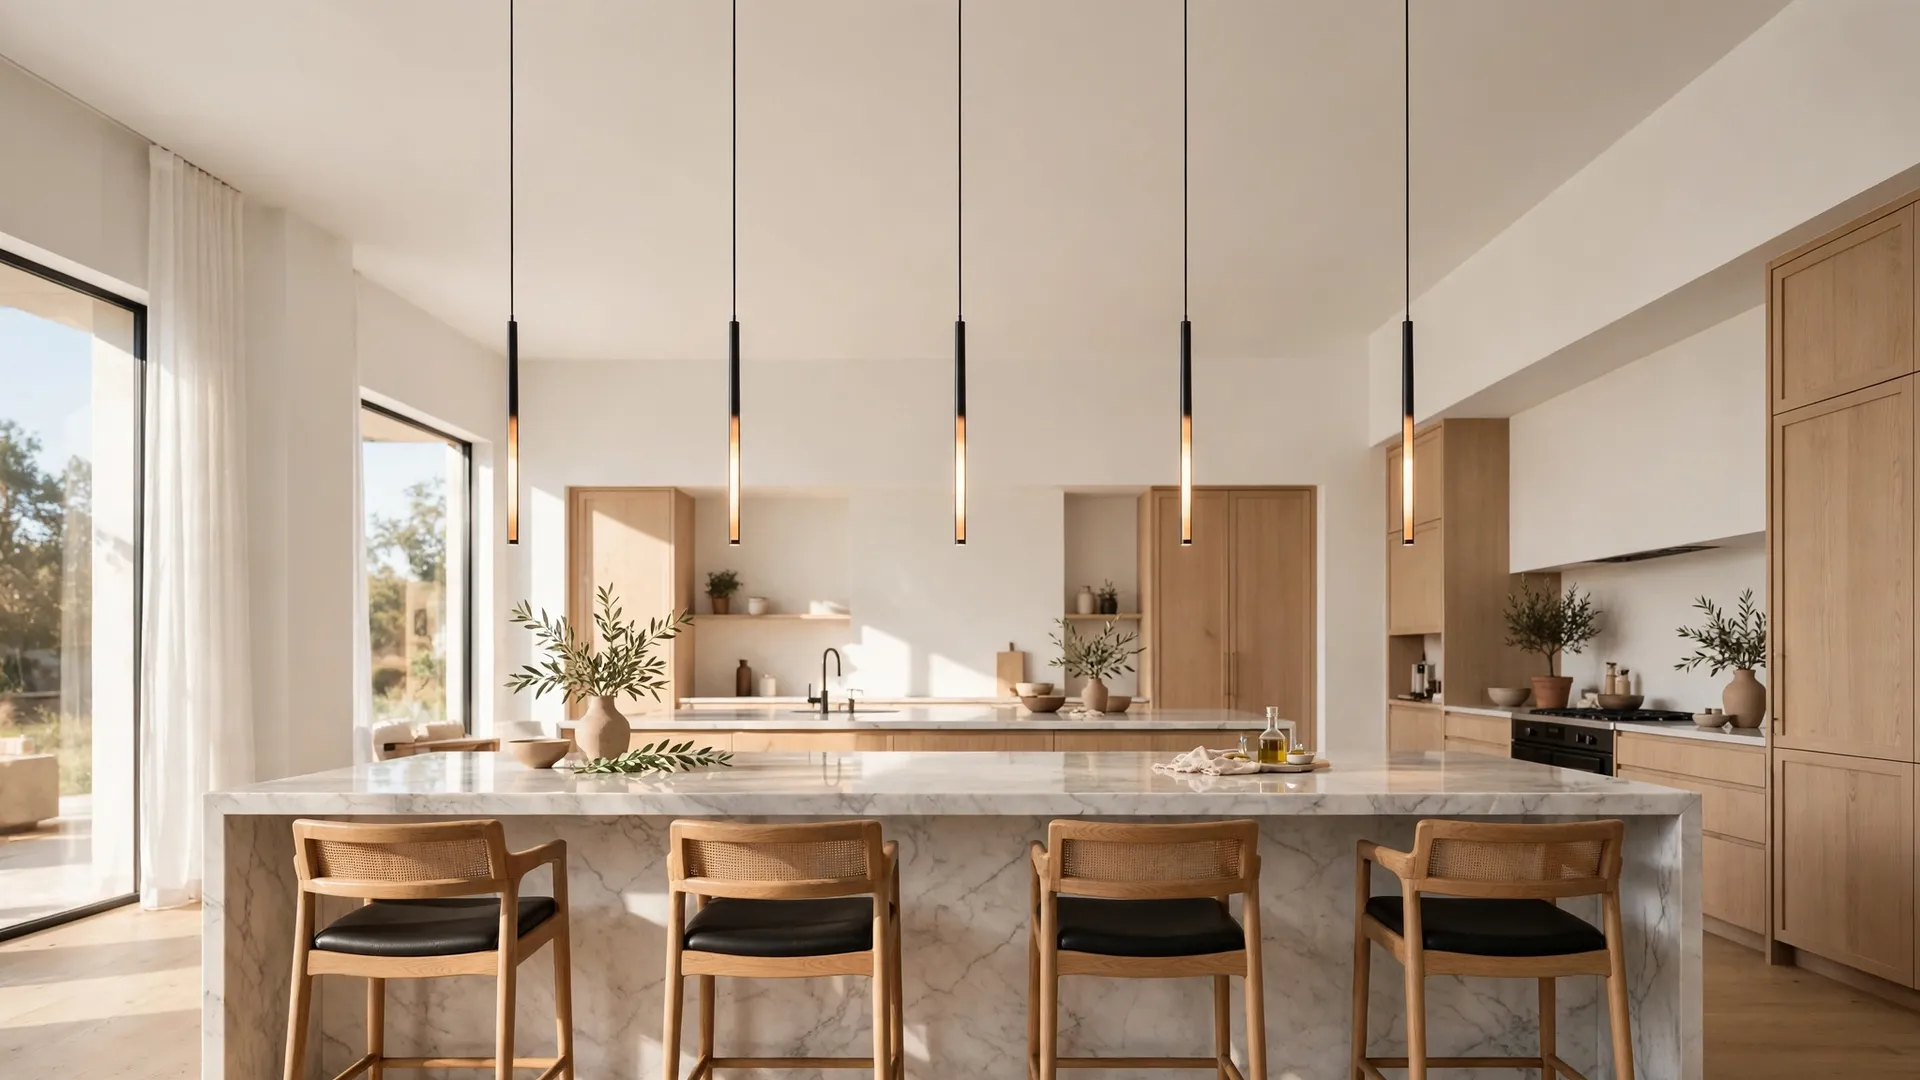
Horizontal distance is only half the puzzle. The standard pendant height above a kitchen island sits between thirty and thirty six inches from the countertop to the bottom of the shade. This keeps the fixtures out of your sight line while you chop, and it lets each light cone widen enough to overlap with its neighbors.
Raise pendants higher and the cones grow wider, which forgives slightly wide spacing. Drop them lower and the cones narrow, which demands tighter spacing. But flawless hang height never rescues careless pendant light spacing. Set both dimensions with the tape measure.
In rooms with ceilings above nine feet, add about three inches of hang height for every extra foot of ceiling so the fixtures stay visually connected to the island.
Match Pendant Size to the Gap
Shade diameter and spacing share a direct relationship. Bigger shades throw wider light cones, so they earn wider gaps. A ten inch mini pendant thrives at twenty four inches center to center, while a sixteen inch drum wants the full thirty inches and an eighteen inch globe may need thirty two to thirty four.
Here is a quick sizing check. Add up the shade diameters of your row and compare the total to your available island length. If the shades eat more than two thirds of the usable length, the row will look crowded. Either choose smaller fixtures or drop to fewer pendants. Lighting showrooms love selling oversized statement pendants, but a gorgeous fixture hung too tight loses all its drama.
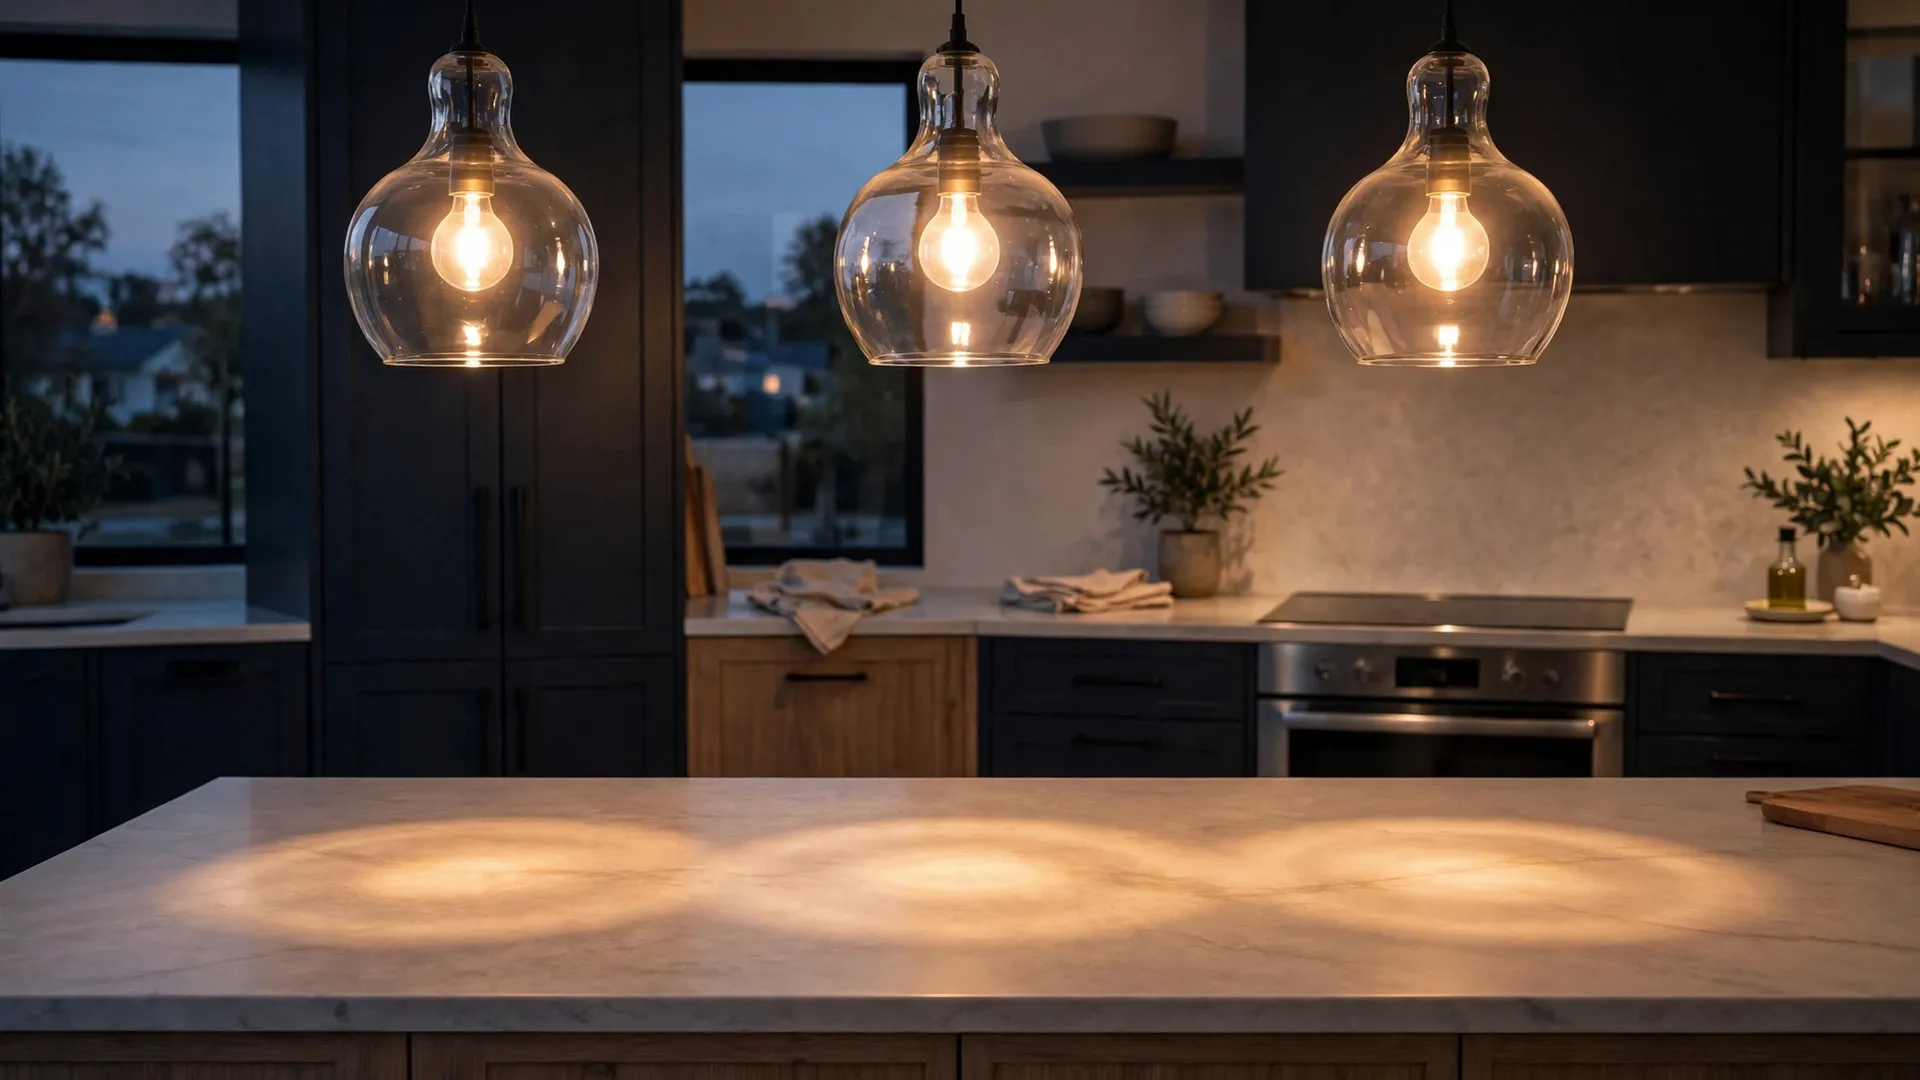
Finish matters too. Clear glass pendants show the bulb, so uneven gaps reveal themselves as uneven brightness. Opaque metal shades hide the source, which forgives small spacing errors.
Pick the Right Number of Pendants
The number of fixtures decides everything else. Too many pendants on a short island look like an airport runway. Too few on a long island leave dark, unfinished ends.
Start with the island length. Islands under six feet take two pendants, six to eight foot islands take three, eight to ten foot islands take four or five, and ten feet and beyond can handle five or a long linear fixture. These are starting points, not laws. Step back and look at the whole row before you drill. Keep your pendant light spacing consistent from one end to the other, because one uneven gap shouts louder than five perfect ones.
Scale the fixture size to the room as well. A grand kitchen with ten foot ceilings swallows tiny eight inch pendants, and a cozy galley drowns under massive twenty inch drums.
Small Spaces and Low Ceilings Need Special Care
Low ceilings compress every decision. With an eight foot ceiling, spacing carries more of the design weight. Choose smaller shades, ten inches or less, and keep gaps near twenty four inches. Flush mount or semi flush pendants with short stems beat long dangling cords in tight spaces.
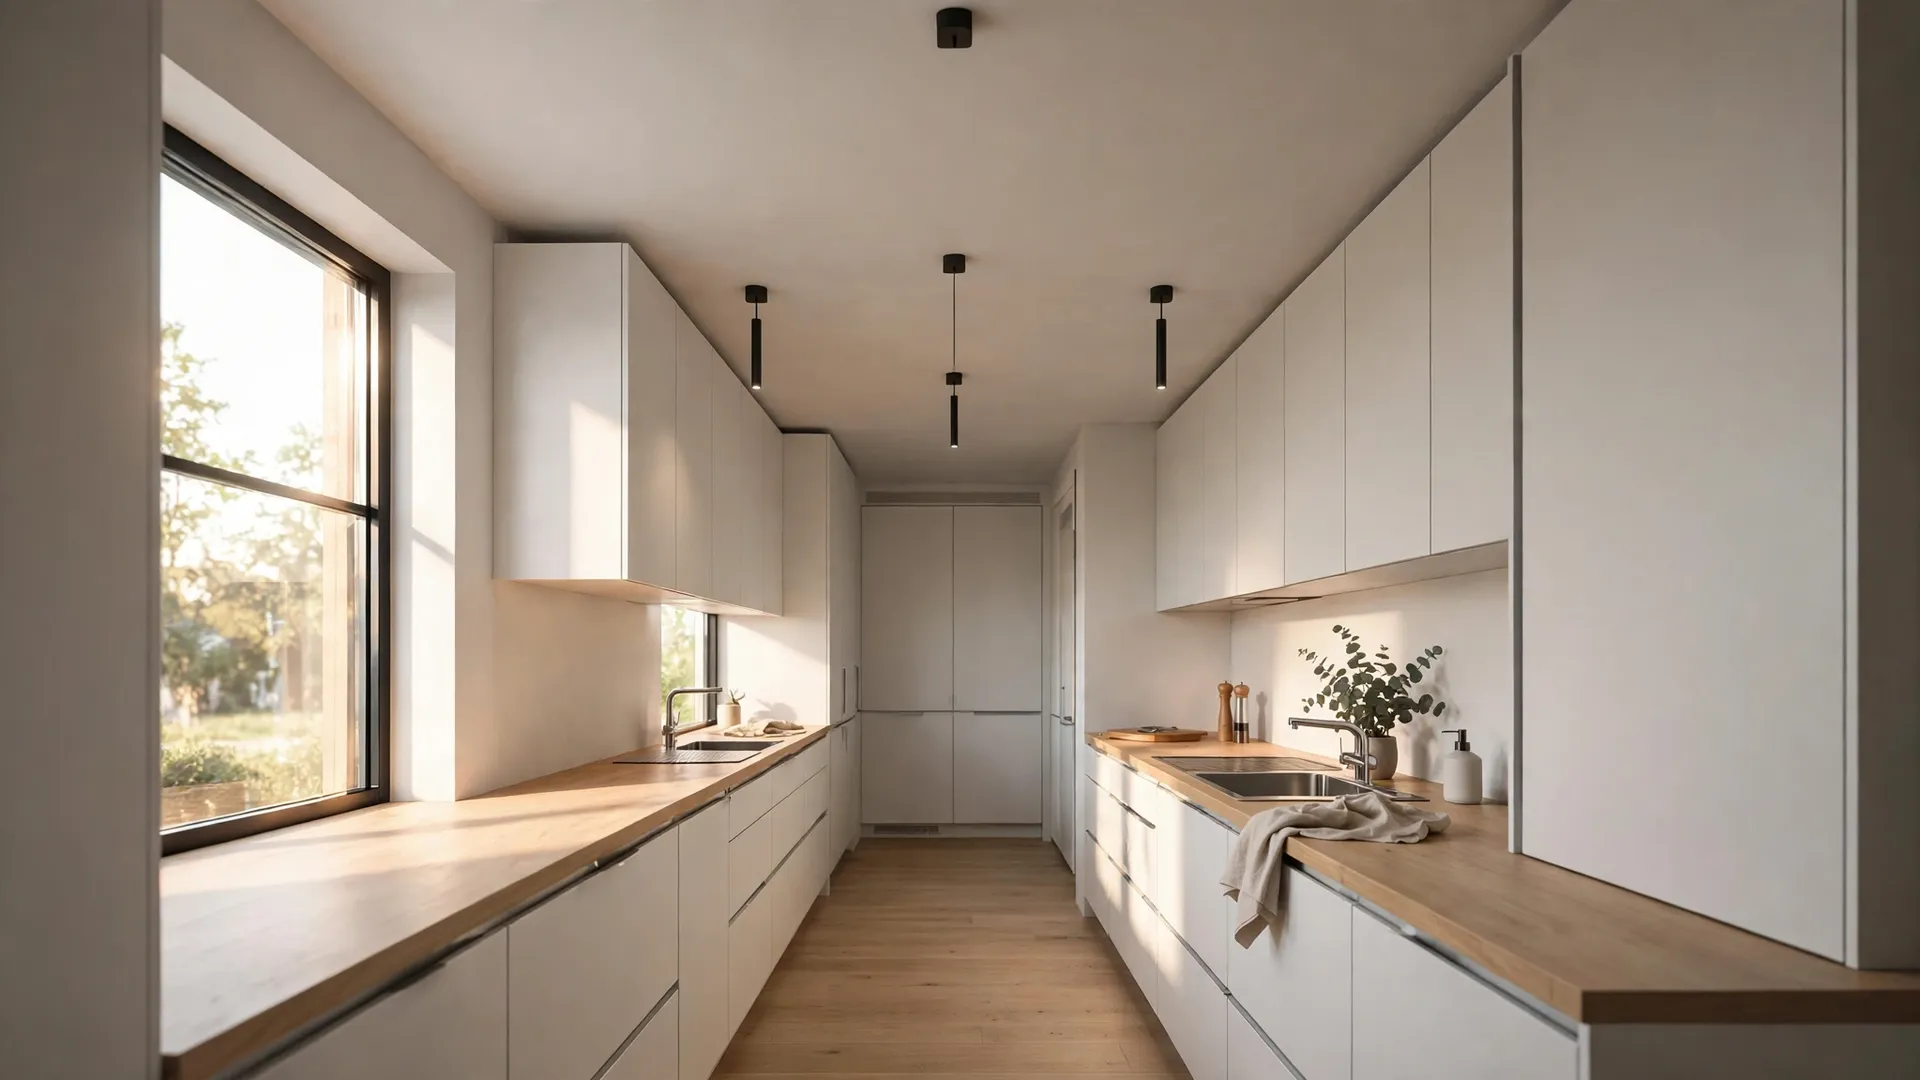
In a narrow galley kitchen, a single row of three slim pendants creates a beautiful rhythm without overwhelming the walkway. Keep the pendants high enough that nobody ducks under them while carrying groceries. Dimmers earn their keep here too, letting one row shift from bright task lighting to soft evening glow in small open concept spaces.
Choose Bulbs That Support the Layout
Spacing means little if the bulbs fight each other. Use identical bulbs in every pendant, same brightness and same color temperature. Mixed bulbs create visible bright and dim spots that no spacing formula can fix. For kitchens, twenty seven hundred to three thousand kelvin gives warm, appetizing light, and at least eight hundred lumens each delivers real task lighting.
Smart bulbs add flexibility when one pendant sits closer to a window and needs to match daylight. Whatever bulb you choose, buy one extra and keep it in a drawer. Replacing a burned out bulb with a different model breaks the seamless row you worked so hard to space.
Light Your Kitchen Like a Designer
You do not need a design degree to get this right. You need a tape measure, the twenty four to thirty inch rule, and the island formula. Measure first and mark the ceiling with painter's tape before you drill. Walk around the island, sit at the counter, and check the sight lines. Small adjustments at the tape stage cost nothing. With the right pendant light spacing, three simple fixtures can look like a custom designer installation.