Standard Kitchen Island Dimensions and Clearances That Actually Work


My friend planned her dream kitchen around a photo she loved. She ordered a nine foot island, and when the crew set it in place, her dishwasher door hit the island every single time. The mistake was not the photo. The mistake was the measurements. This guide to kitchen island size walks you through the standard dimensions and clearances that keep an island beautiful and usable, so you plan with confidence instead of guessing.
Rule 1: Measure the Walkways First, Then the Island
Most people start by picking an island length. Start with the walkways instead. A walkway is the open floor between your island and the cabinets, appliances, or walls around it. In a working lane, where you stand to chop, stir, or load the dishwasher, leave at least 42 inches. If the lane only carries foot traffic and no one works there, 36 inches is the absolute minimum. Anything narrower turns into a daily squeeze, especially with the oven door open. Grab painter’s tape and mark these lines on your floor before you order anything. You will see instantly whether your dream island fits or fights the room.

Rule 2: Let the Kitchen Set the Length
Standard islands run four to six feet long, which covers most kitchens well. Each seat needs about 24 inches of edge width, so a six foot island seats three people comfortably and an eight foot island seats four. Longer than eight feet and the slab starts to look like a runway, and you may need support legs under the countertop. In a narrow galley kitchen, a short four foot island often feels better than a long one that eats the walkways. The right kitchen island size never comes from a catalog. It comes from your floor plan, your walkways, and the way you actually move through the room.

Rule 3: Depth Decides What the Island Can Do
Depth matters as much as length. An island that only holds a worktop needs about 24 inches of depth. An island with cabinets on both sides needs 24 inches of cabinet plus overhangs, which lands near 36 to 42 inches deep. For a seating side, plan 12 to 15 inches of knee overhang beyond the cabinet. The most common rookie error is forgetting that countertops overhang the cabinet base by about an inch on each working side. Measure the cabinet box and the finished top separately, and write both numbers down before you sign anything.

Standard Kitchen Island Size for Counter Height
Most islands stand 36 inches tall, the same as your perimeter counters. That match lets you slide stools under one side and roll dough across the whole surface without a step. Raised bar sections stand 42 inches and need taller stools. Keep one height if you want a calm, modern look, and use the raised section only when the kitchen style asks for it. Consistent height also keeps sight lines open across the room, which matters in open plans.

Rule 4: Give Every Seat Its Own 24 Inches
Counter stools need elbow room. Plan 24 inches of island edge per person, and leave at least 15 inches of leg room from the seat edge to any cabinet or wall behind it. That back clearance lets people slide in and out without shoving anyone. A six foot edge holds three stools with space to spare. Cramming a fourth stool into the same span turns dinner into a contact sport, and guests will remember the discomfort longer than the meal. Sketch the stools on your tape layout and sit in imaginary chairs to test the spacing.

Rule 5: Respect the Appliance Doors
Measure every door swing before you finalize the island position. A dishwasher door drops about 24 inches. A range door opens down too. A refrigerator door swings wide. Keep 42 inches between the island and any appliance with a door that opens toward it, and you will never discover the collision after installation. This is the rule my friend wishes someone had told her. Her island choice looked perfect on paper and failed on the first day of real cooking. Open every door in your kitchen while the tape layout is on the floor, and you will catch the conflict while it is still free to fix.

Rule 6: Support the Overhang and Soften the Corners
Seating overhangs need solid support. Stone tops with more than 12 inches of overhang usually need brackets or corbels, and wood tops need them too at similar spans. Ask your fabricator before you finalize the design, because hidden steel plates change the cost. Round the island corners slightly if kids run through the kitchen. A small radius, even half an inch, softens the bump zone and makes the whole island feel friendlier. These small details never show in photos, but you feel them every day.
Rule 7: Small Kitchens Can Still Have Islands
The Kitchen Island Size Test for Small Spaces
Here is the math. Measure your room width and subtract 36 inches for each walkway on both sides. What remains is your maximum island depth. A kitchen ten feet wide leaves about 28 inches, which fits a slim 24 inch deep island with a bit of air. If the numbers do not work with 36 inch walkways, skip the island and choose a rolling cart or a peninsula instead. A peninsula anchors to a wall and gives you the extra surface without needing a second walkway. Honesty at this step saves thousands of dollars.
For small kitchens, a modest kitchen island size often wins. A two by four foot island can hold a prep zone, two stools, and storage, and it still leaves room to breathe. Add locking casters and the island becomes movable, which solves the holiday cooking problem in one move. Small does not mean sad. It means every inch earns its place.

Rule 8: Kitchen Island Size for Two Cooks: Keep 48 Inches
In the main prep lane, where the sink, stove, and island meet, stretch the clearance to 48 inches when two people cook together. One cook opens the oven while the other carries a hot pan, and nobody gets burned. If you cook alone most nights, 42 inches stays comfortable. This working triangle guidance comes straight from the National Kitchen and Bath Association, and kitchen designers quote it in nearly every plan. Think about your busiest cooking night, not your average one, and size the lane for that.
Rule 9: Match the Shape to the Room
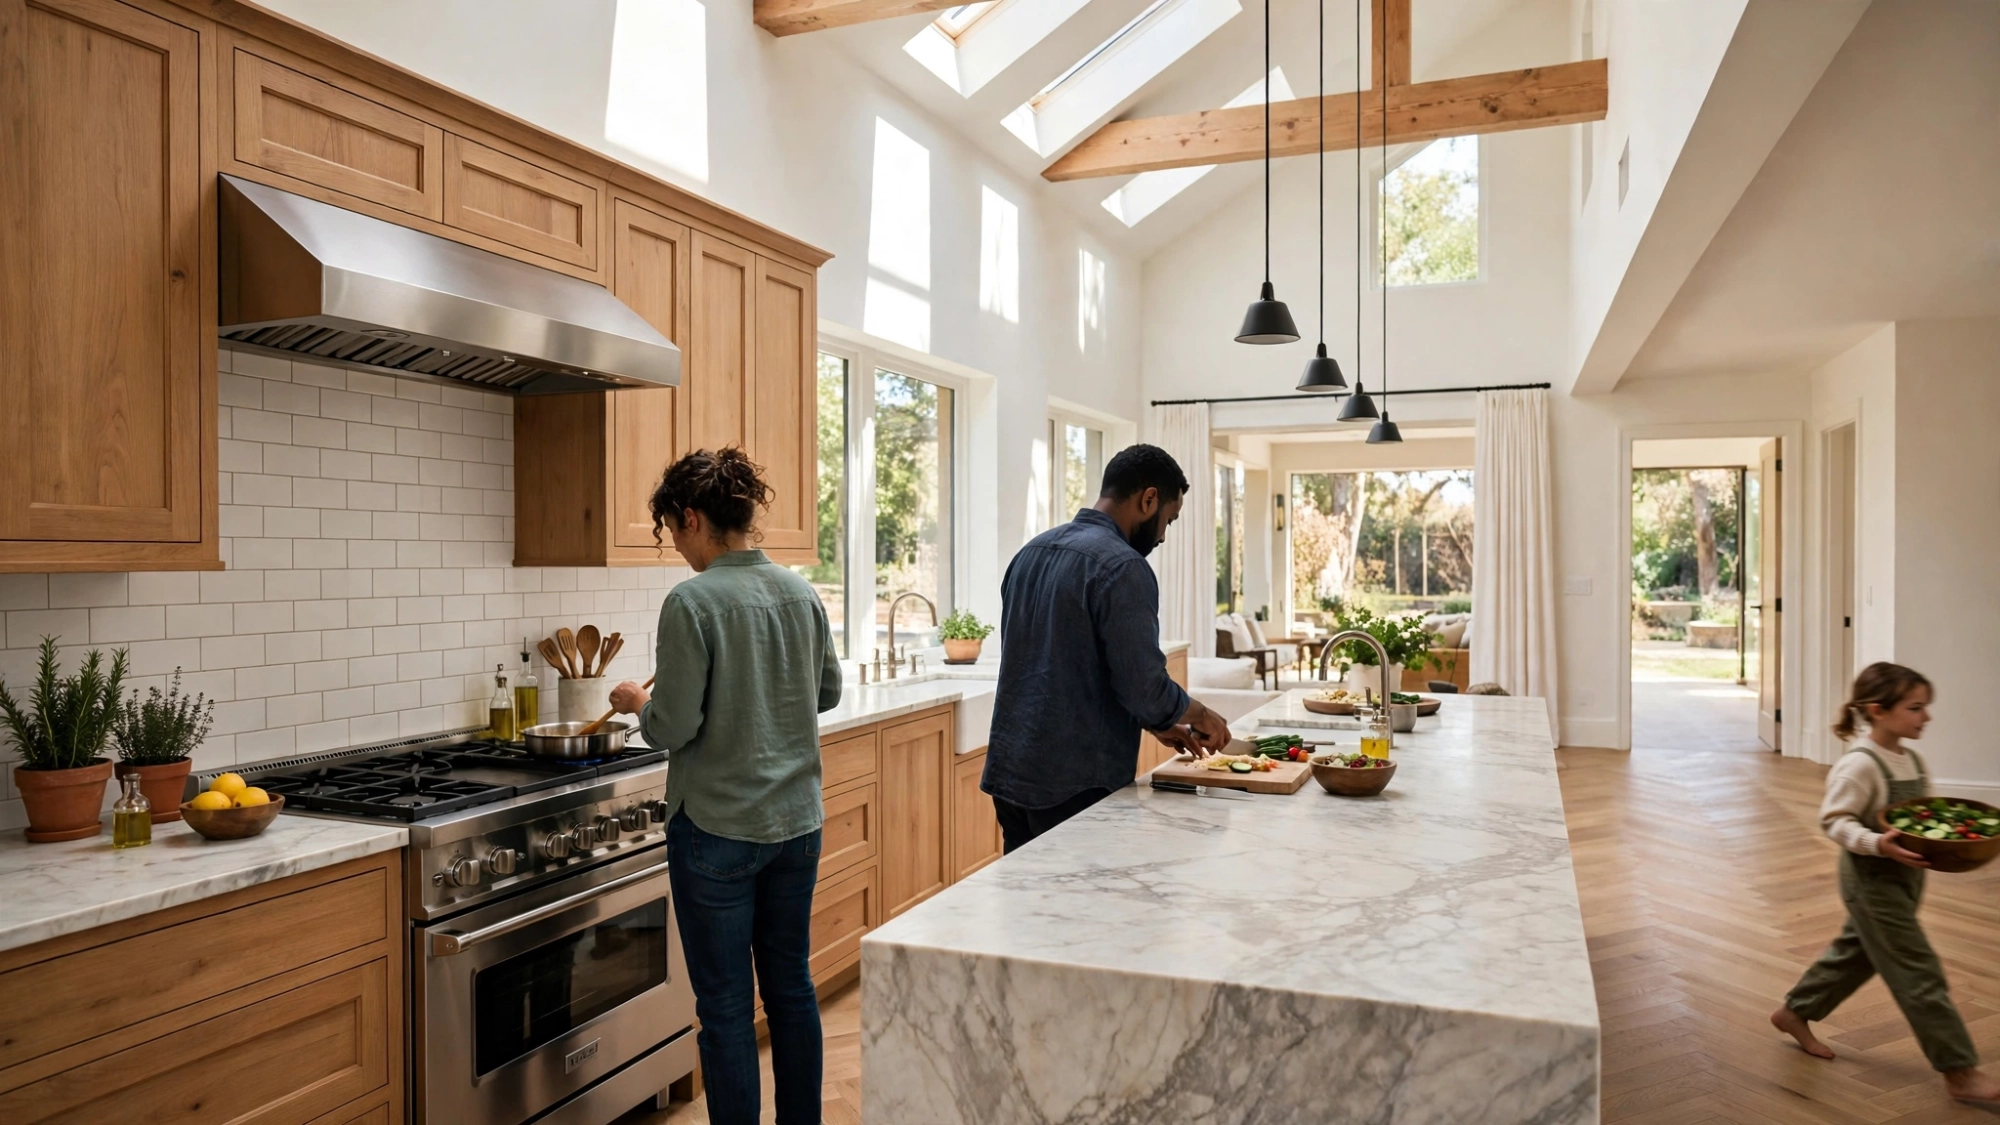
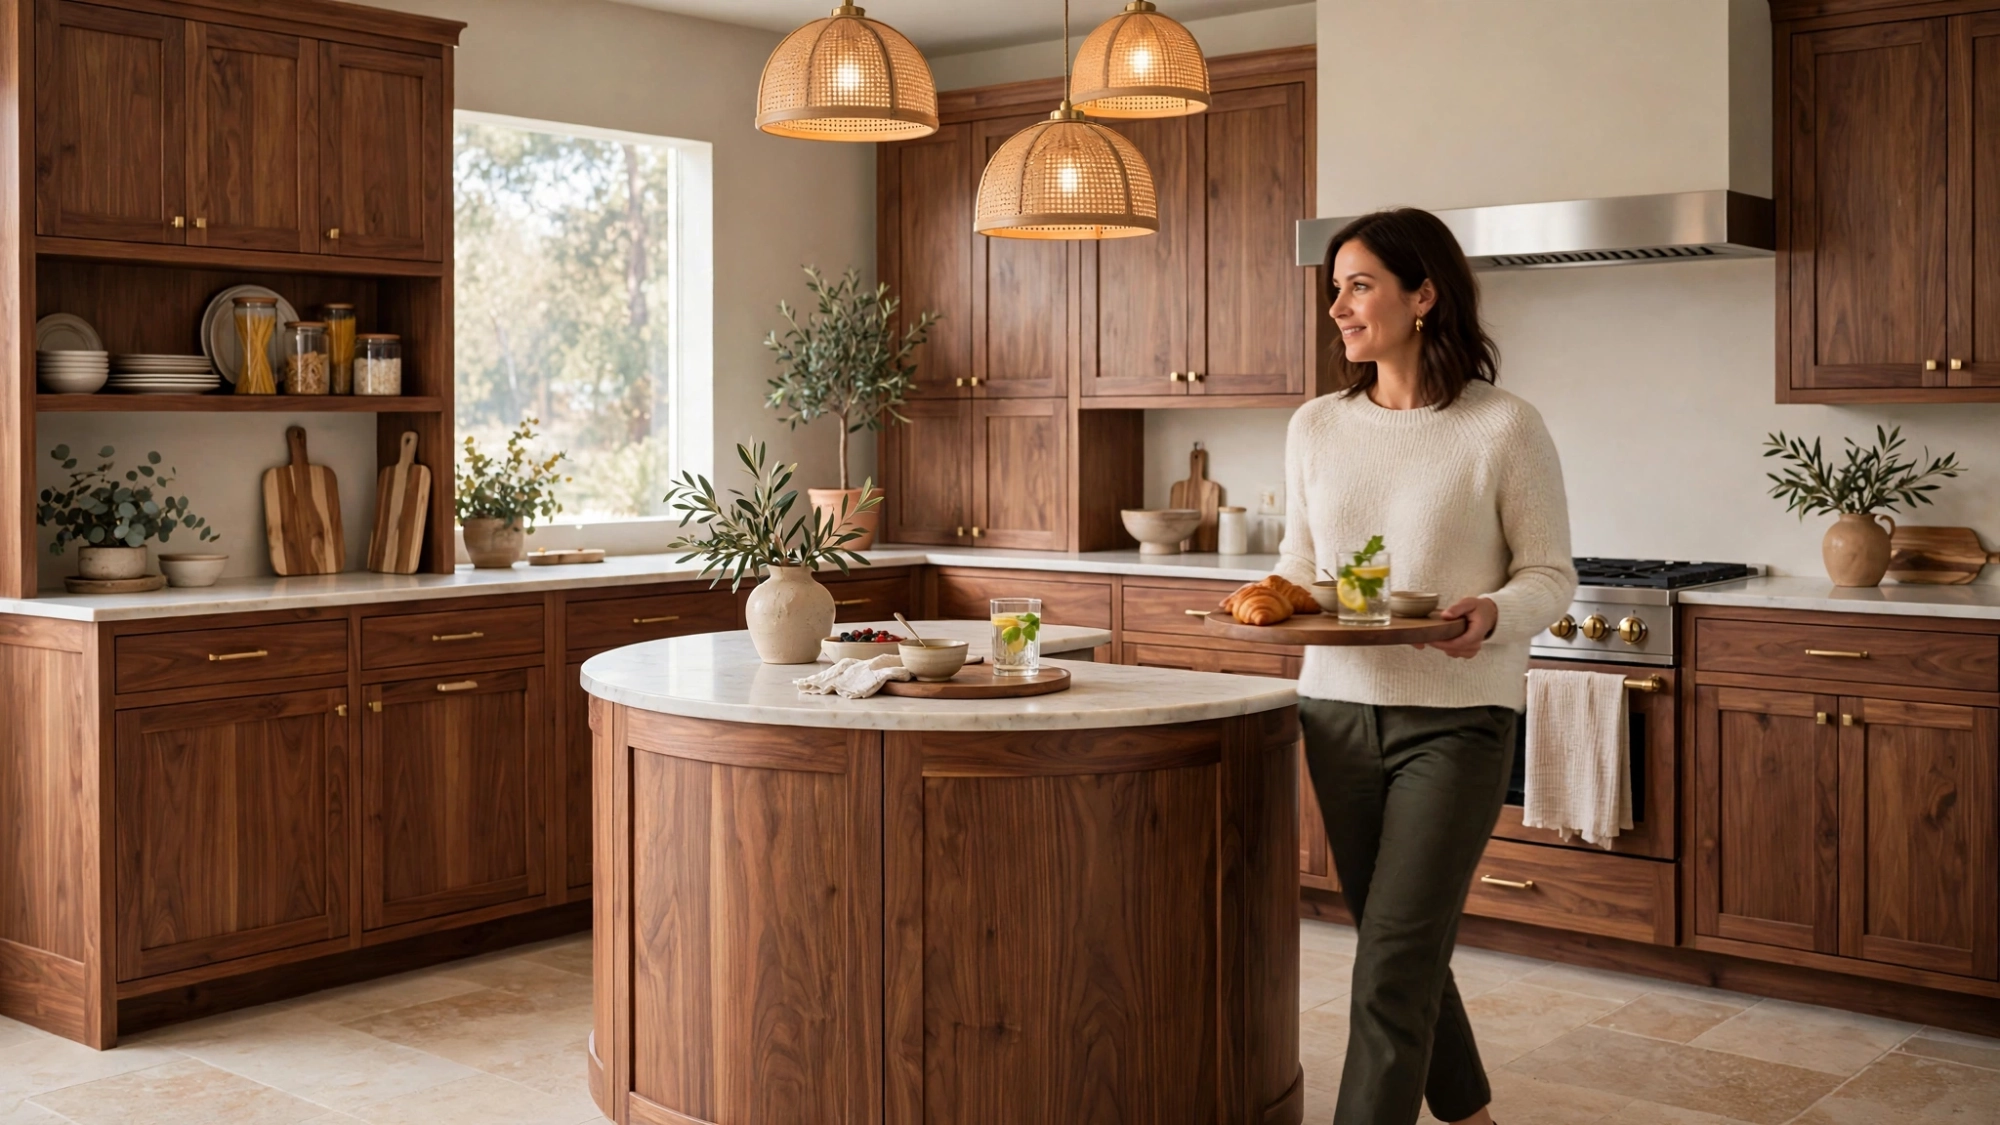
Rectangular islands suit galley and L shaped kitchens. Square islands anchor open plans and give four usable sides. L shaped or T shaped islands define zones in big rooms, with cooking on one leg and seating on the other. Curved ends soften a large island and improve traffic flow around it. Walk your floor tape layout at a normal pace. If you have to sidestep, the shape or the position is wrong. The island should invite movement, not choreograph it.
Quick Answers to Common Questions
What is the most common kitchen island size question people ask?
Whether bigger is always better. The answer is no. The most common mistake is maxing out length while starving the walkways. Comfort beats square footage every time, and a well sized island in a well planned kitchen outperforms a giant slab that blocks the dishwasher.
What is a good standard kitchen island size for a medium kitchen?
A safe starting point is four feet long by two feet deep at 36 inches tall, with 42 inch walkways on the working sides. Adjust up from there only if the floor plan allows it. Add seating overhang, stool spacing, and appliance clearances into the same drawing before you commit.
How much overhang do I need for island seating?
Plan 12 to 15 inches of knee space between the counter edge and the cabinet or support panel. Twelve inches works for quick breakfasts, while 15 inches keeps taller guests comfortable through a long dinner. Pair that with 24 inches of edge per stool and nobody fights for elbow room.
Plan It Once, Enjoy It for Years
Start with walkways, size length and depth to the room, honor the appliance doors, and support the overhangs. These nine rules turn a risky purchase into a confident plan. Get the kitchen island size right once, and your island becomes the spot everyone gathers around, the place where homework, holidays, and Tuesday dinners all happen.