

Every spring, someone posts a photo of a garden full of tulips and everyone saves it. What the photo does not show is that the work happened seven months earlier, on a cold afternoon in autumn, by someone kneeling in the dirt with a trowel.
Fall bulb planting is the rare garden job where a couple of hours now buys you an entire season later. It is also the job where small mistakes go unnoticed until spring, when the bulbs either come up beautifully or do not come up at all. This guide covers the exact depths, spacing, and timing that decide which of those happens, plus the design choices that make a bulb display look intentional rather than scattered.
When to Plant: Watch the Nights, Not the Calendar
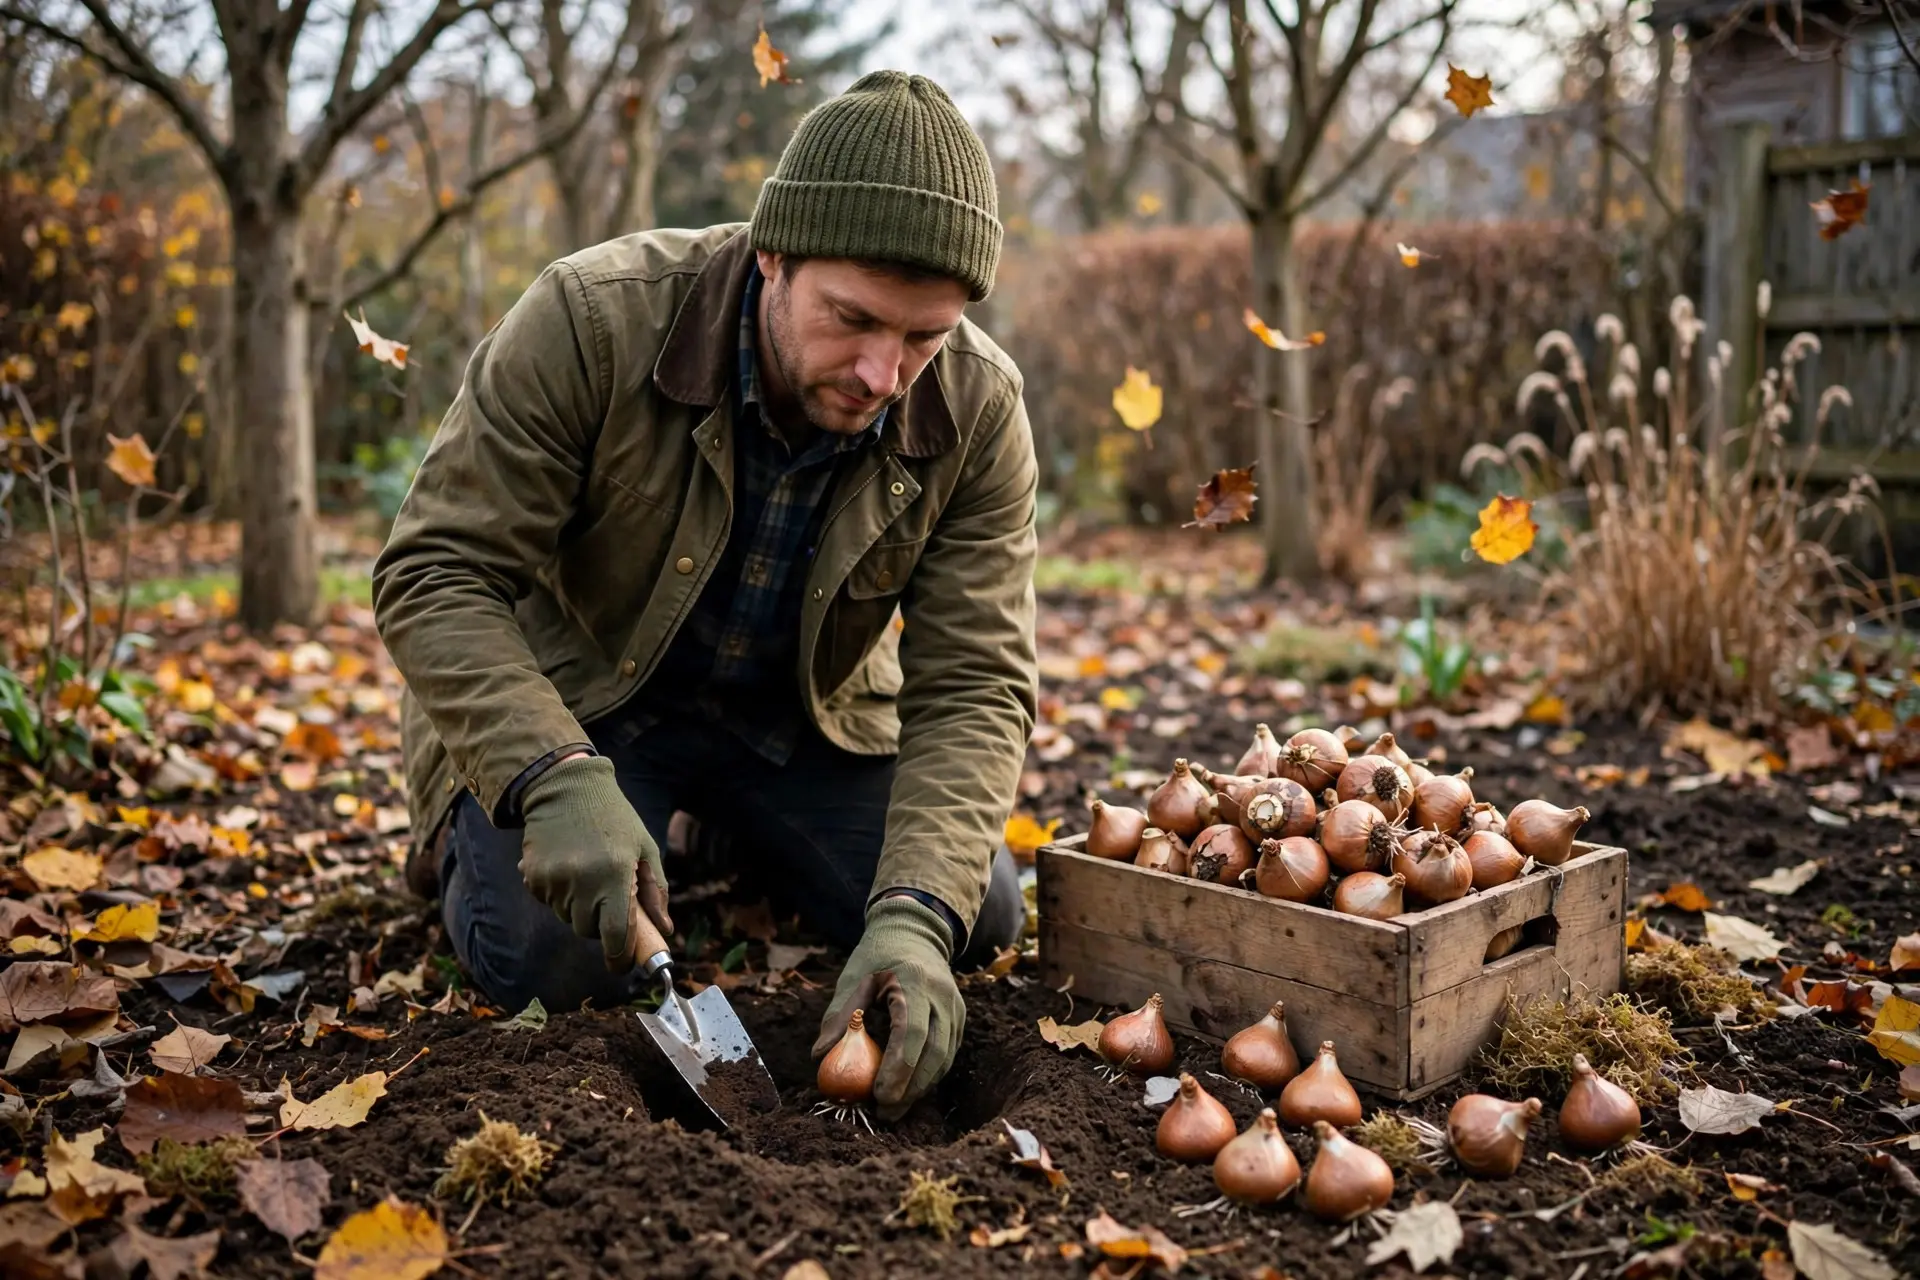
The common advice is to plant in October, which is useless if you live somewhere that is still warm in November or already frozen in September. The reliable signal is temperature, not date.
Plant your spring bulbs when nighttime temperatures are consistently sitting between 40 and 50 degrees Fahrenheit, and get them in before the soil freezes solid. That window gives the bulb enough warmth to push out roots and enough cold to trigger the dormancy it needs before blooming.
Two ways this goes wrong:
- Too early. Warm soil can encourage top growth in autumn. Green shoots that appear before winter get damaged by frost and the bulb wastes energy it needed for spring.
- Too late. If the ground freezes before roots establish, the bulb goes into winter unanchored. It may still flower, but often weakly.
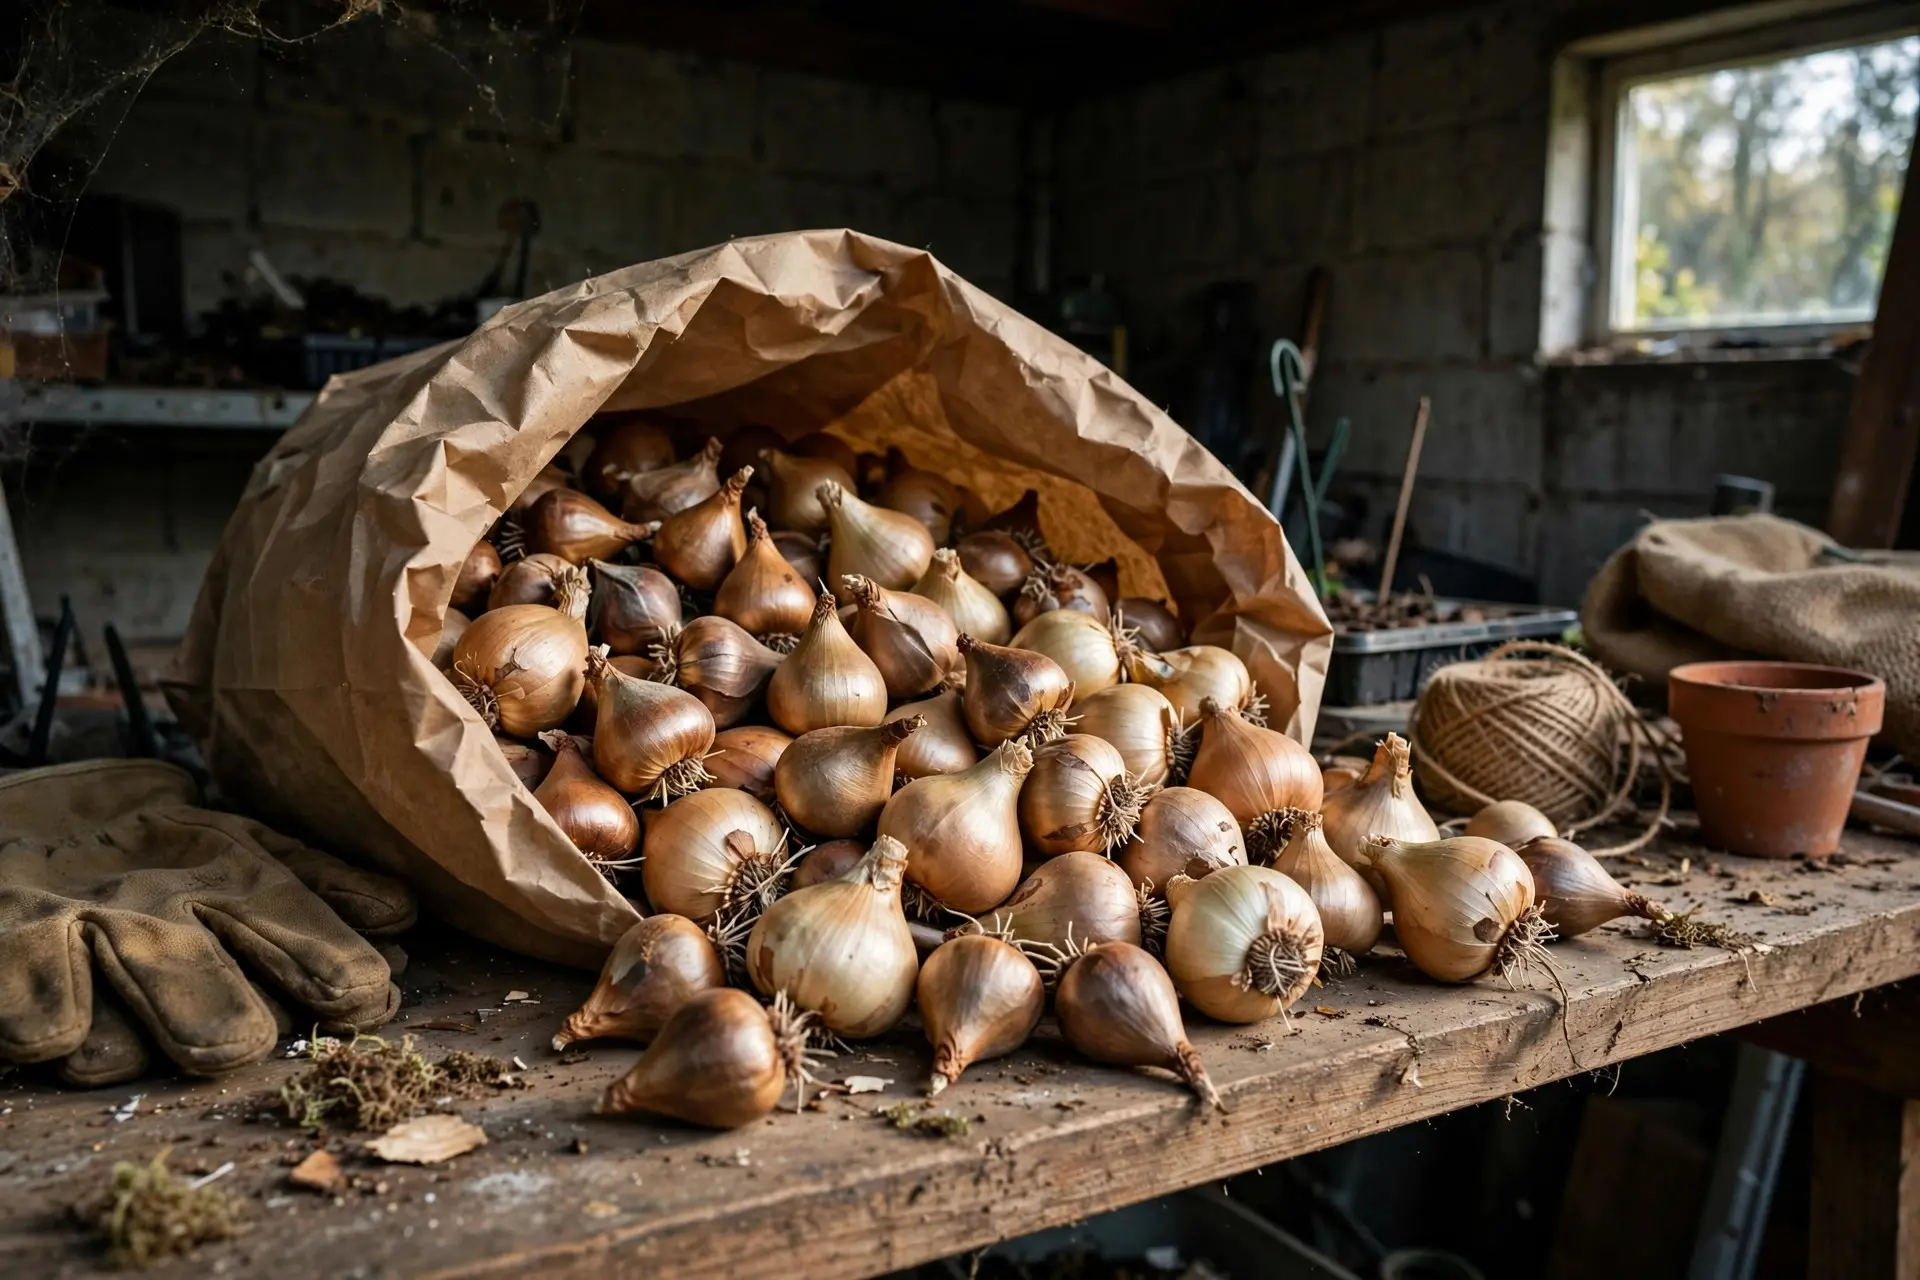
If you have already bought bulbs and the weather is not cooperating, keep them somewhere cool, dark, and dry until it does. A paper bag in a garage or basement is better than a plastic bag anywhere, because trapped moisture causes rot.
How Deep: The Rule and the Real Numbers
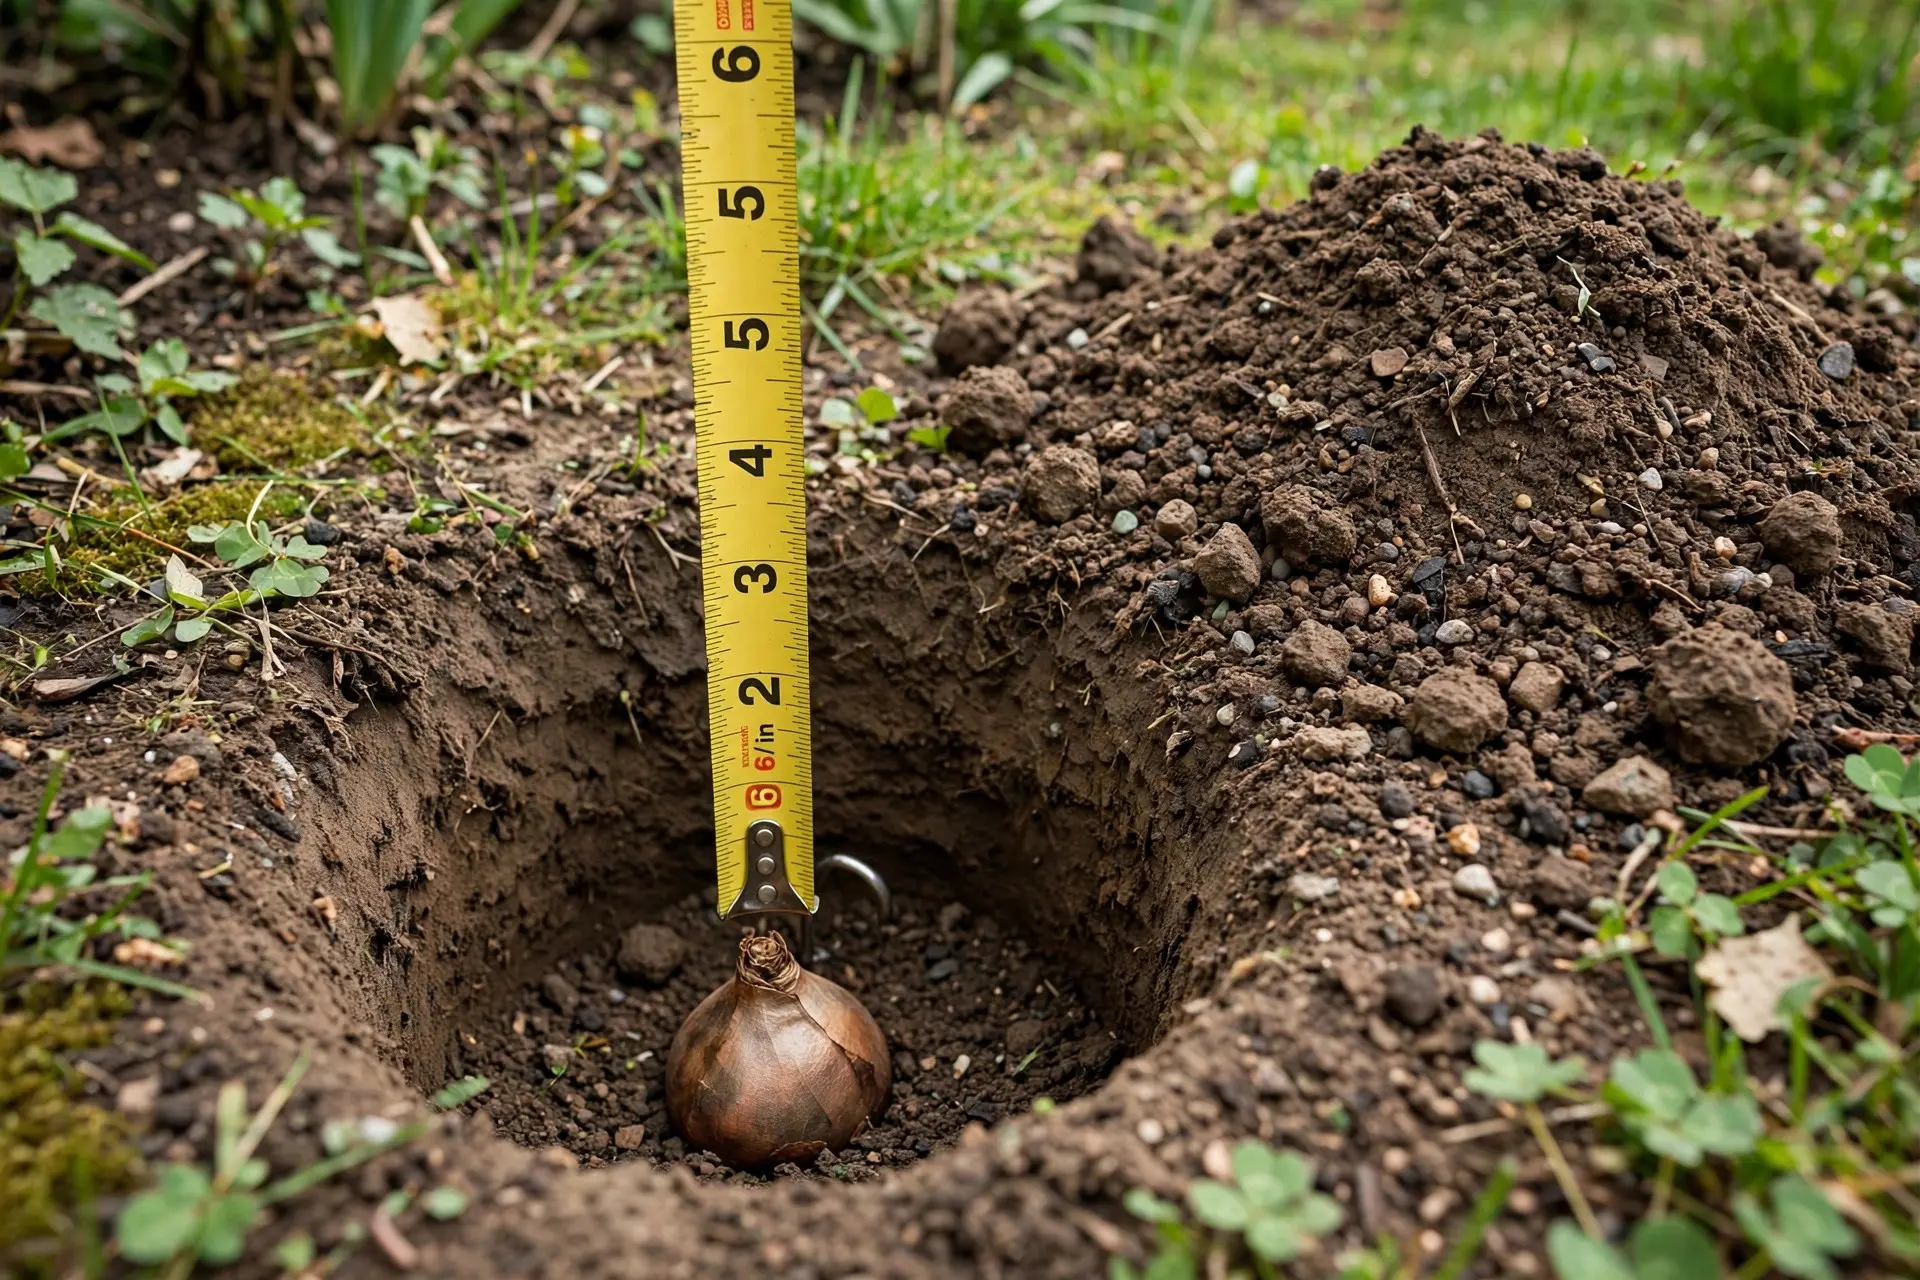
The rule that covers almost every spring bulb is this: plant the bulb two to three times as deep as the bulb is tall. Measure the bulb, multiply, dig. It works for bulbs you have never heard of and for ones whose label has fallen off.
For the two most common bulbs, the specific depths are:
- Large daffodils: about 6 inches deep.
- Miniature daffodils: 3 to 4 inches deep.
- Standard tulips such as Darwin Hybrids and Triumphs: 6 to 8 inches deep.
- Species or botanical tulips: around 4 inches deep.
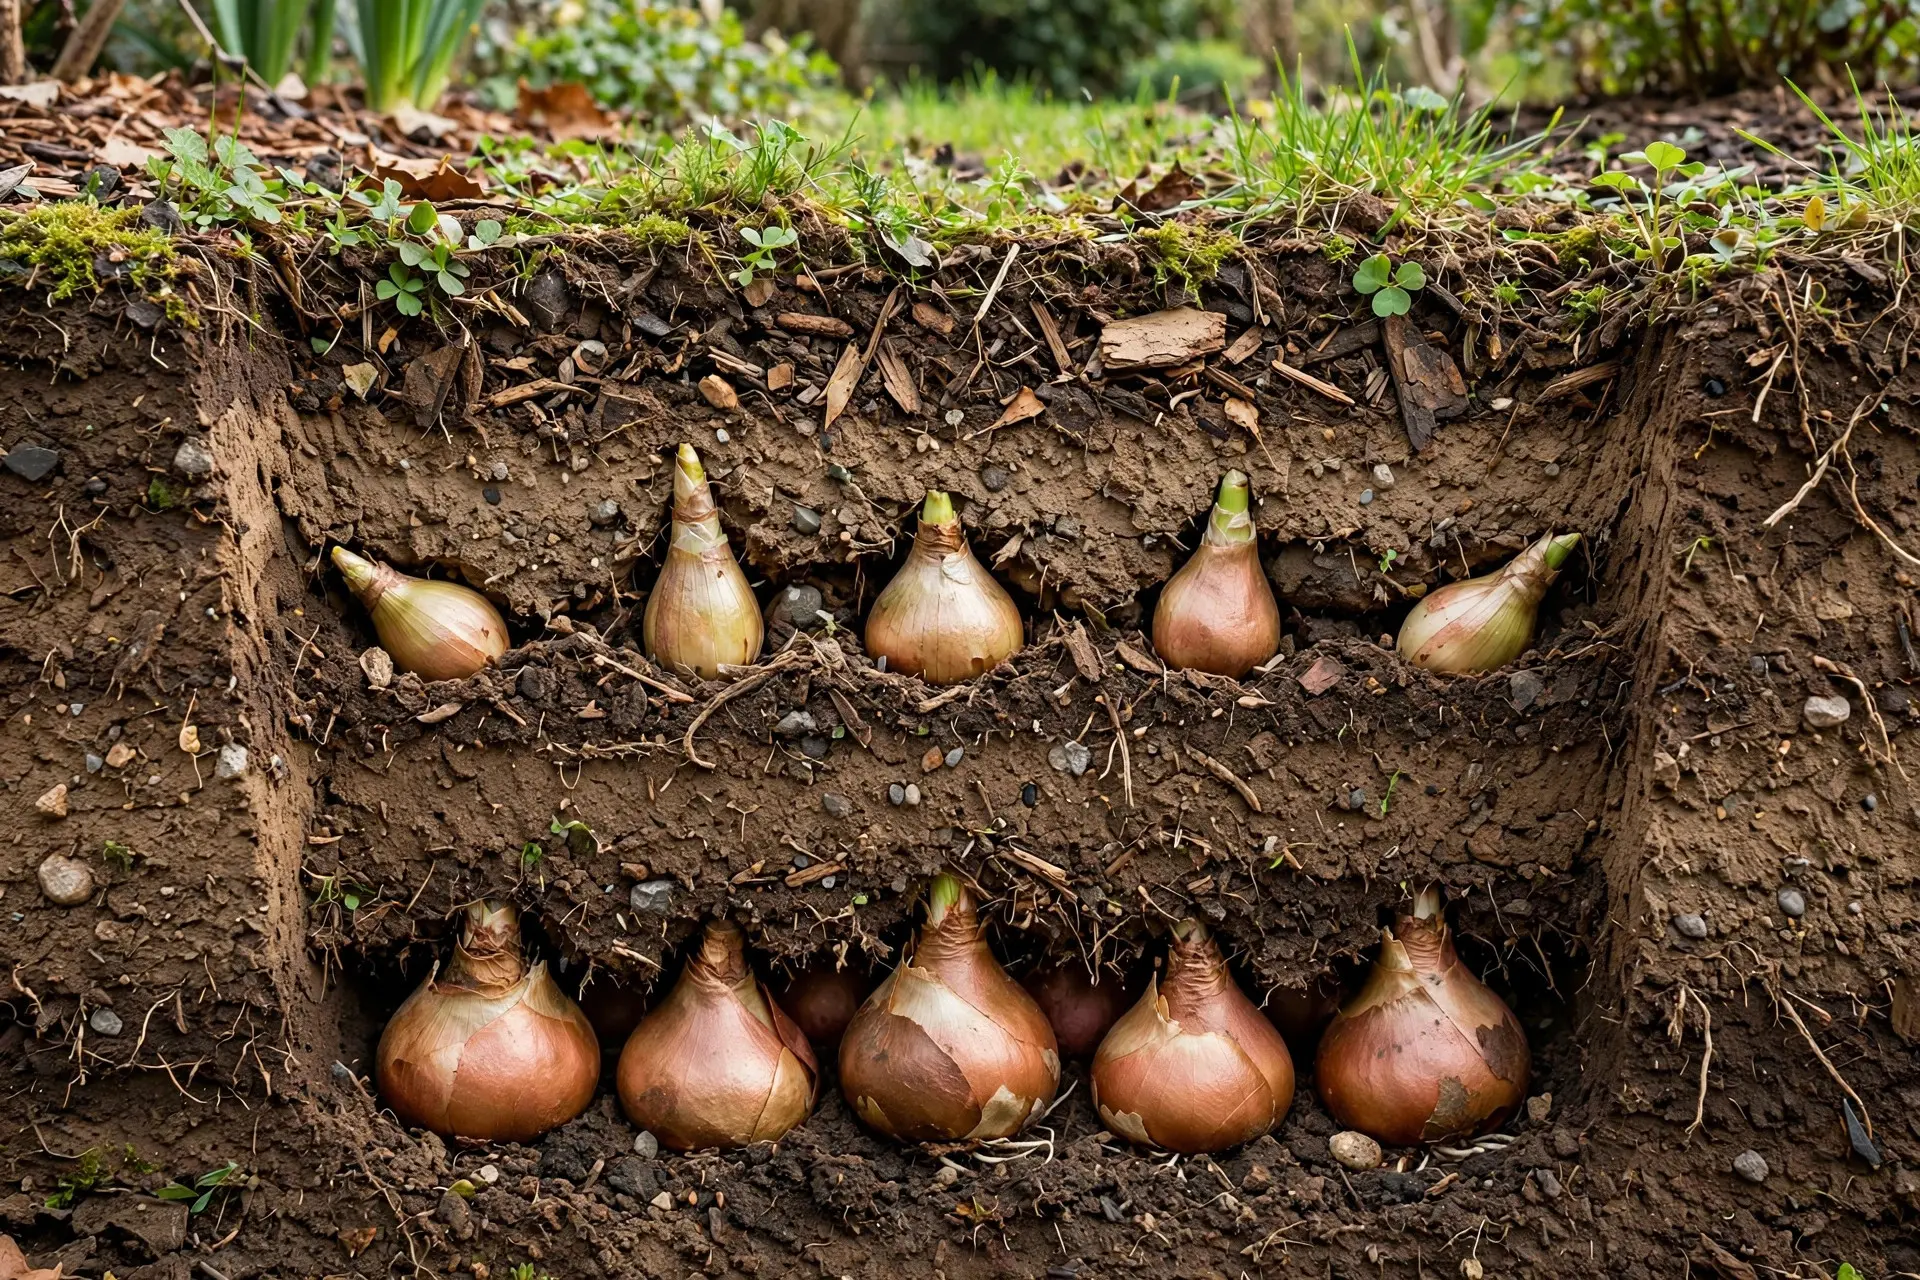
One detail that trips up almost every beginner: depth is measured from the base of the bulb to the soil surface, not from the tip. A 6 inch hole for a 2 inch bulb means the top of that bulb sits 4 inches below the surface. If you measured to the tip, you planted it too shallow.
Adjust for your soil
Soil type shifts the numbers slightly:
- Sandy soil: plant 1 inch deeper than the standard recommendation. Sand drains fast and offers less insulation.
- Clay soil: plant 1 inch shallower. Clay holds water, and a bulb sitting in cold wet soil all winter is a bulb that rots.
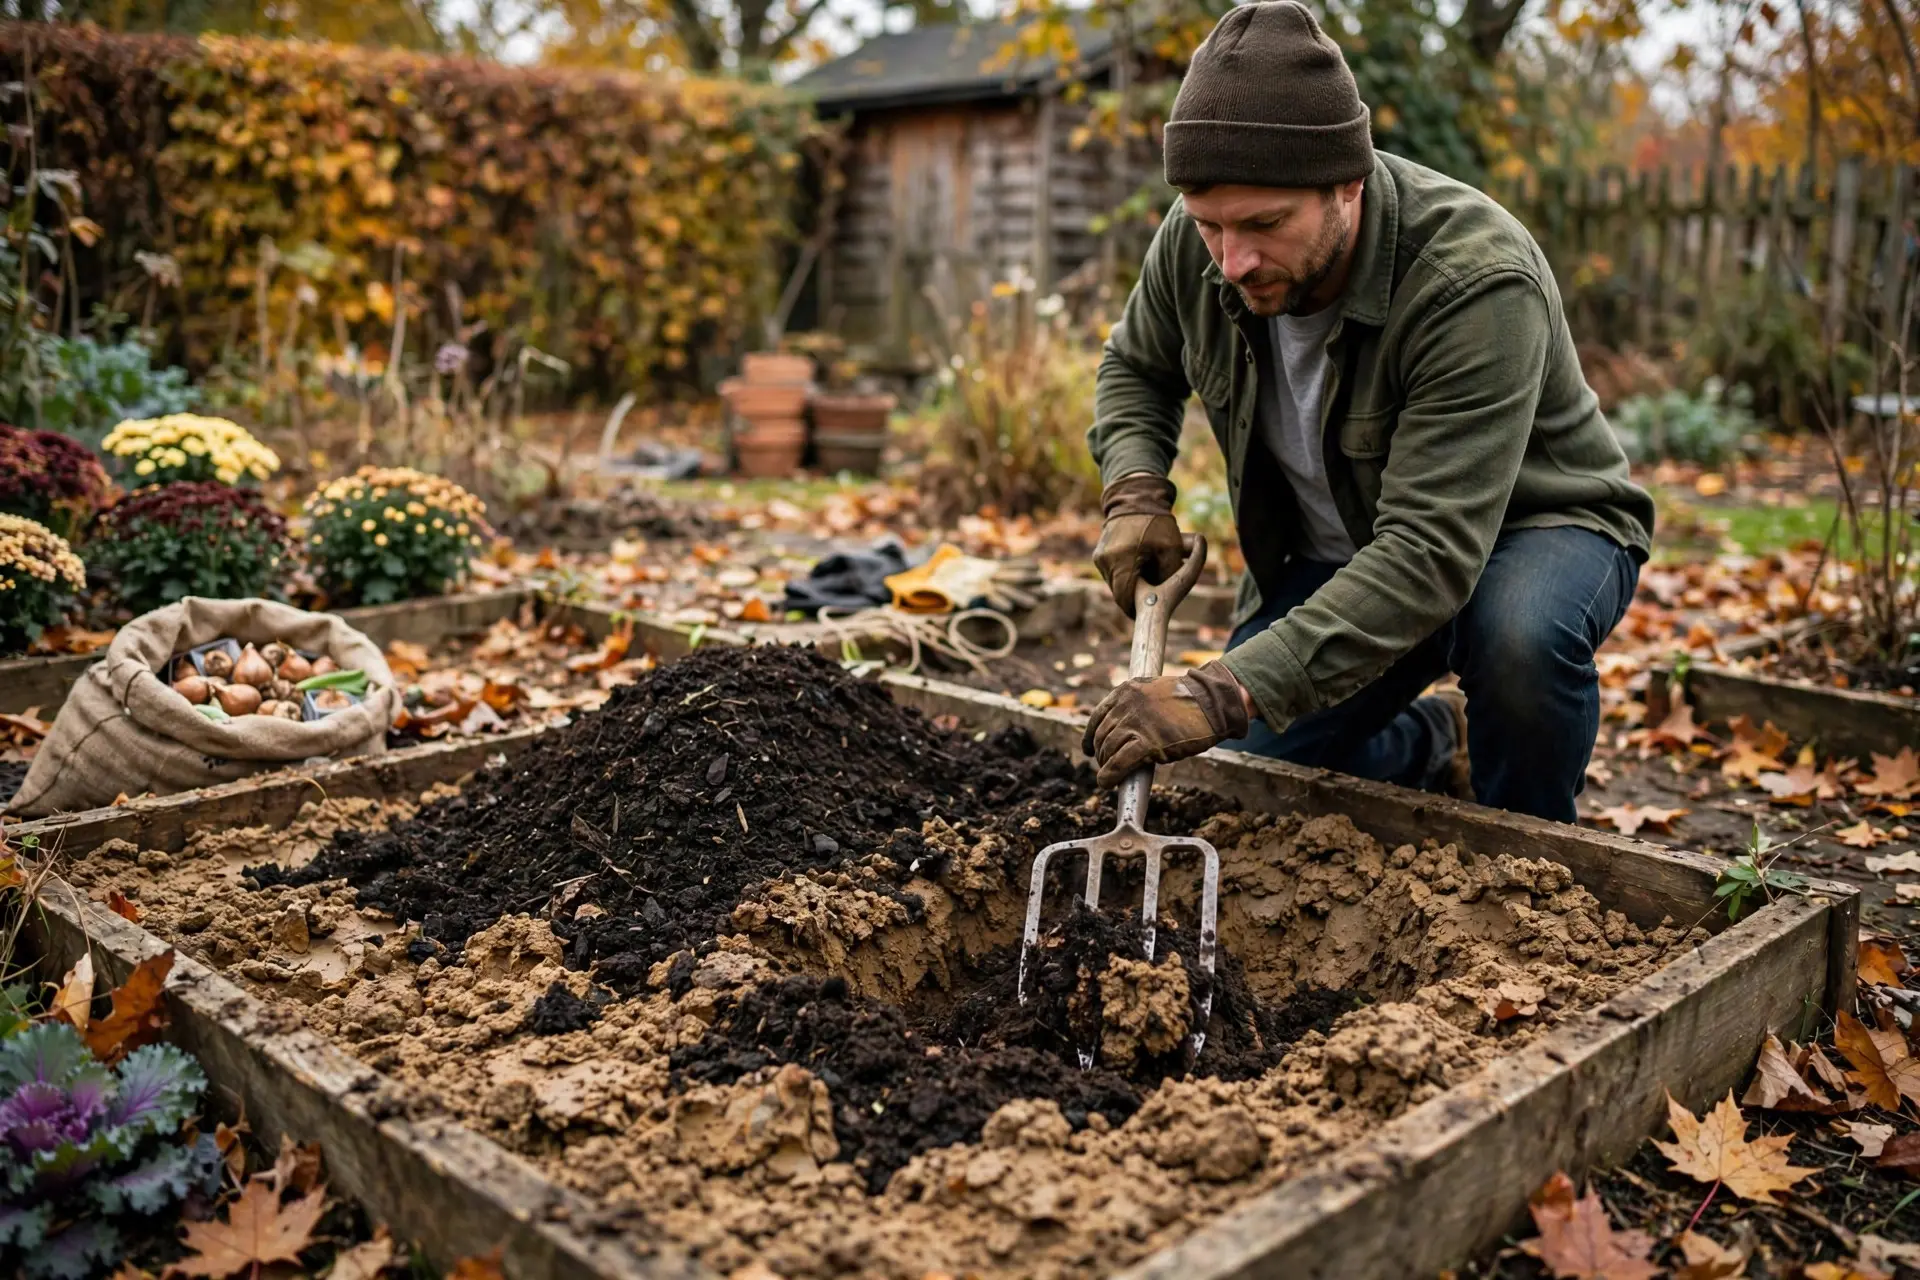
If your soil is heavy clay and stays wet, drainage matters more than depth. Work in compost, or plant on a slight mound, or put the bulbs in containers instead. Rot kills more bulbs than cold ever does.
How Far Apart: Spacing That Looks Natural
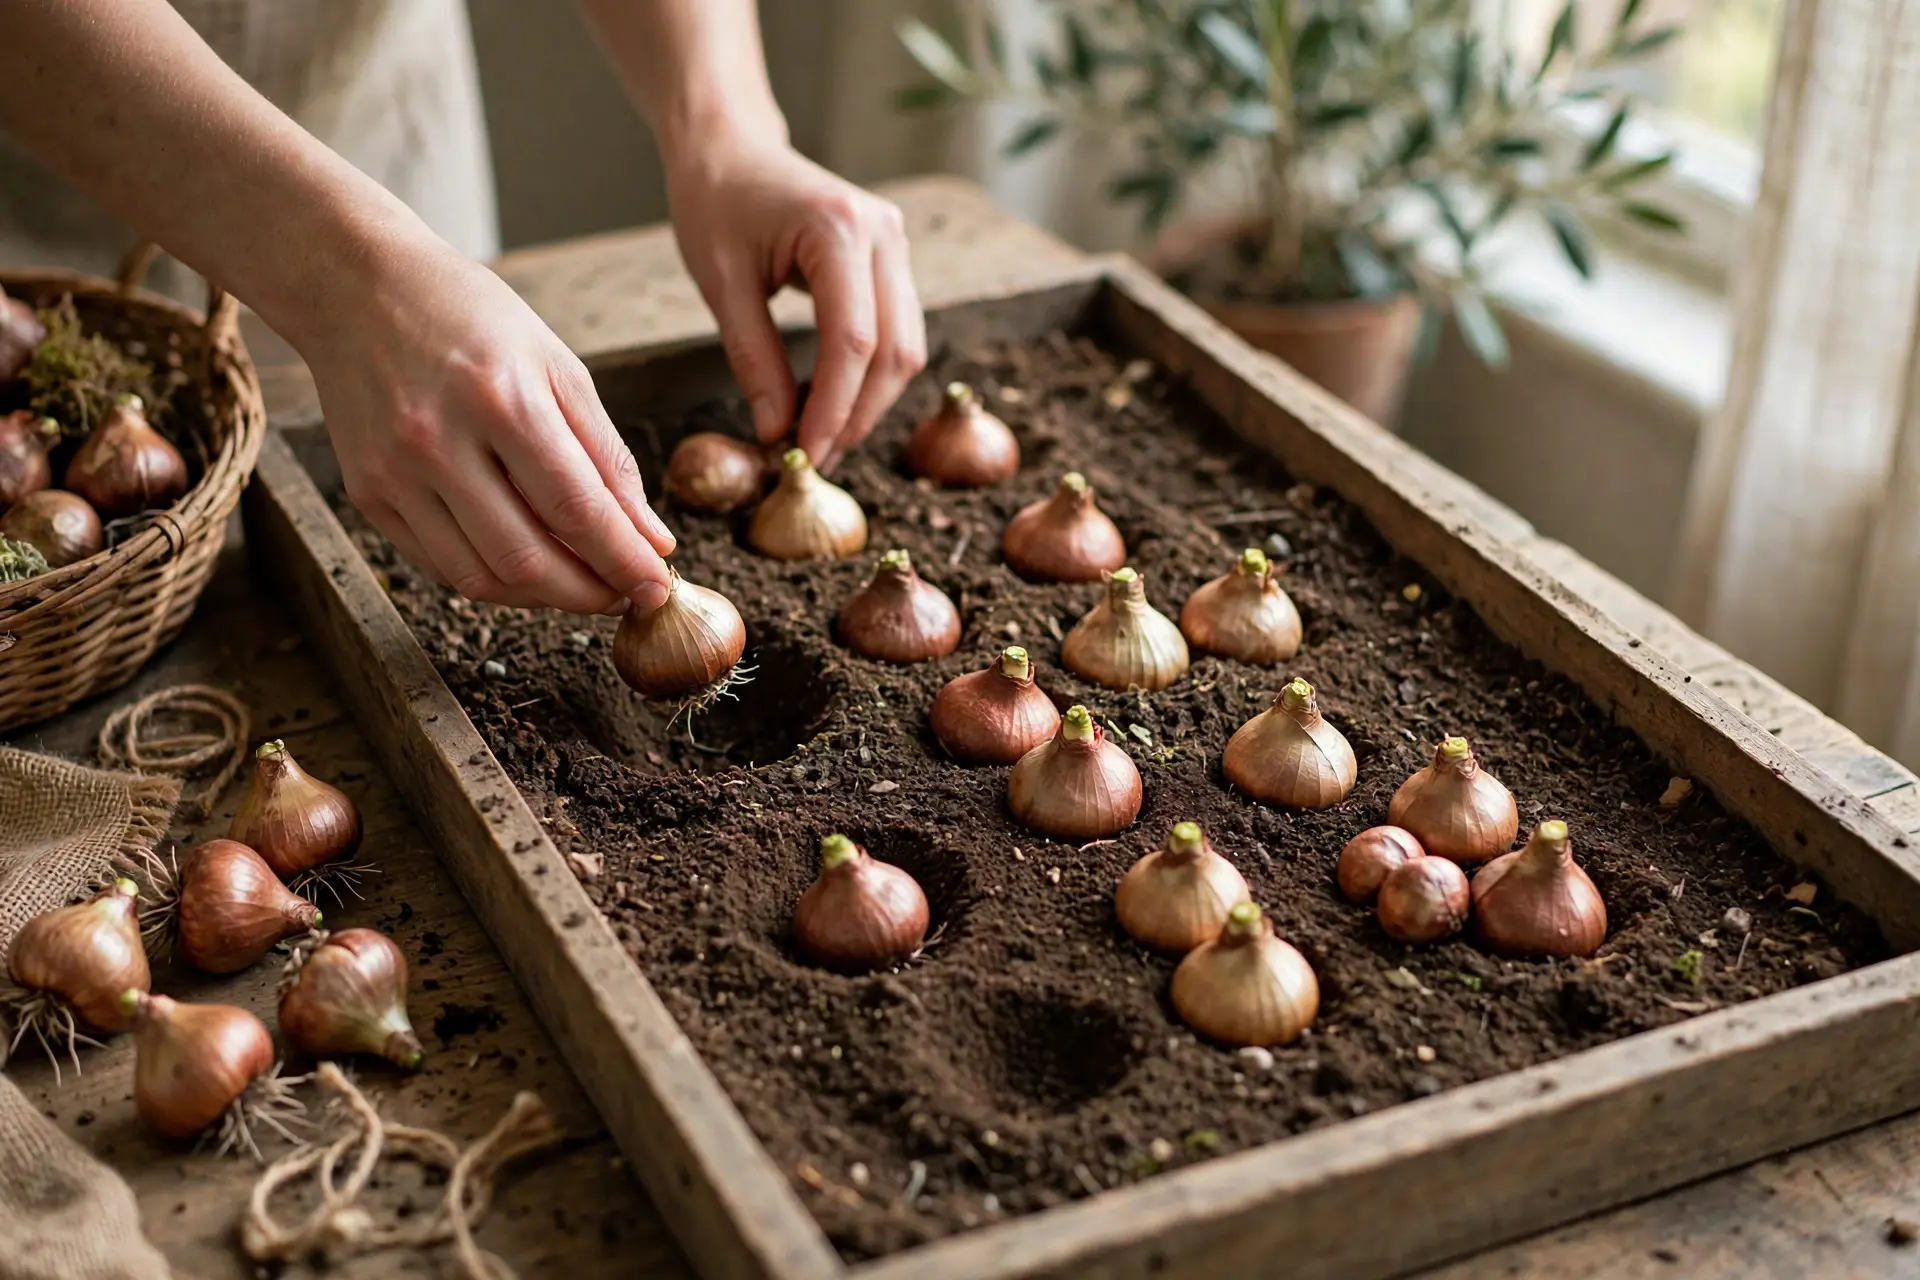
Spacing is where good bulb displays are won. The standard guidance is 5 to 6 inches apart for large daffodils and tulips, and 2 to 3 inches apart for smaller bulbs like crocus, muscari, and snowdrops.
But here is the part that changes how the bed looks: plant in drifts, not rows. A straight line of tulips reads as a municipal planting. A loose, irregular cluster of the same bulbs reads as a garden.
The practical method is to dig one wide hole rather than many small ones. Excavate an area roughly the size of a dinner tray to the right depth, set the bulbs across it at your chosen spacing, and backfill the whole thing at once. It is faster than individual holes, the depth stays consistent, and the resulting clump looks the way bulbs look when they spread on their own.
Plant in odd numbers. Groups of 7, 9, or 15 look more natural than 6 or 10. And plant more than feels sensible. Bulbs are small, spring gardens are hungry for color, and a shy planting of a dozen tulips disappears into a large border.
Which Way Up, and Other Things That Sound Obvious
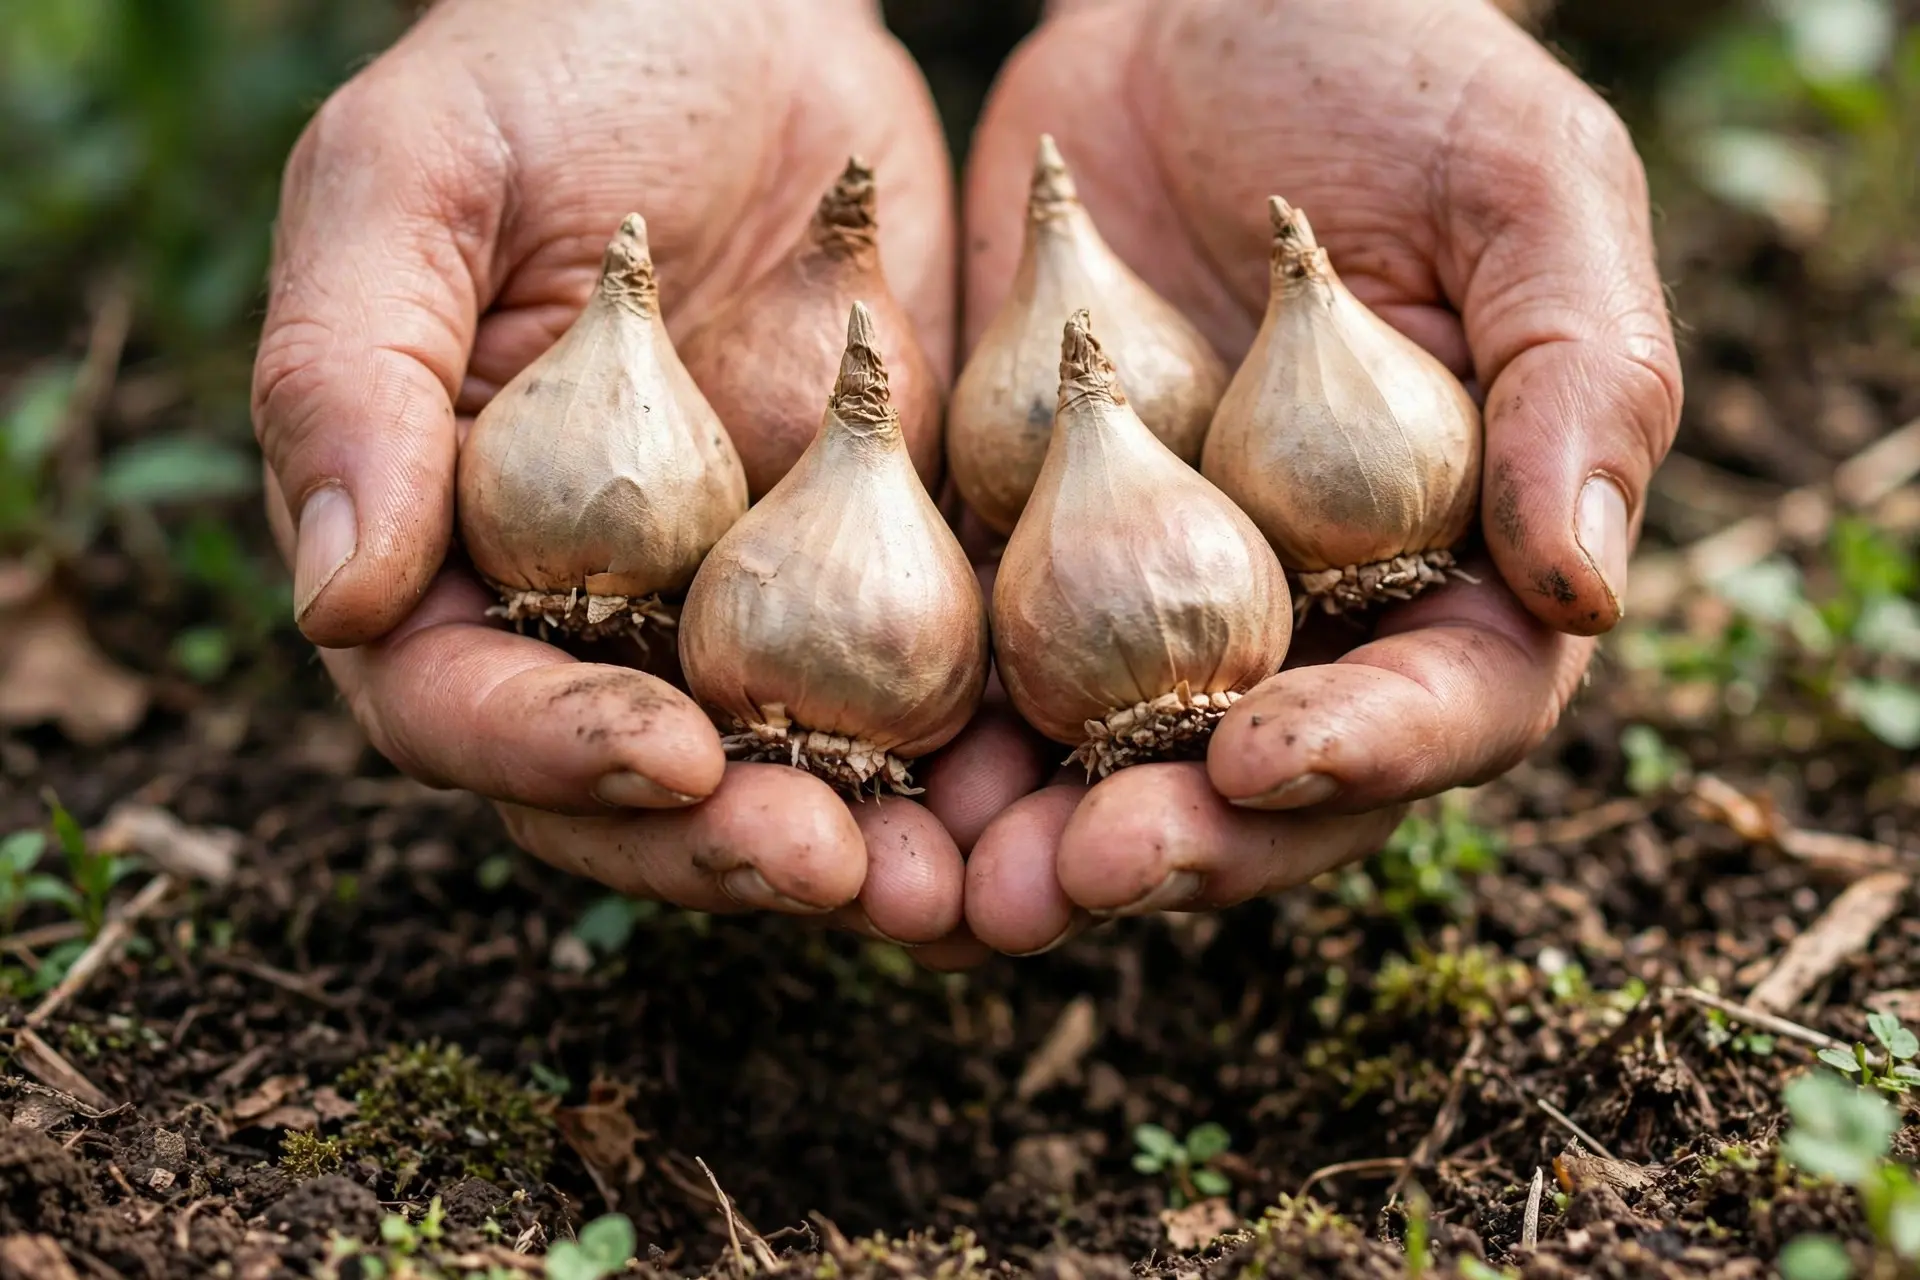
Pointed end up, flat root plate down. Most bulbs make this clear. A few, like anemones and some fritillaria, are genuinely confusing. If you cannot tell, plant the bulb on its side. It will sort itself out, which is more than can be said for most garden problems.
A few more things worth doing right the first time:
- Check each bulb before it goes in. Firm is good. Soft, mouldy, or squashy goes in the bin. One rotting bulb can affect its neighbours.
- Water once after planting. This settles the soil around the bulb and starts root growth. After that, autumn rain usually handles it.
- Mark where you planted. In March you will not remember, and you will put a spade through them. A short stake or a note on your phone is enough.
- Skip the bone meal ritual. A bulb already contains the energy for its first flower. Good soil matters more than a supplement, and bone meal attracts animals that dig.
Designing With Bulbs Instead of Just Planting Them
Most people plant one type of bulb, get three weeks of flowers, and then look at bare soil for two months. The fix is to plan for a sequence rather than a moment.
Stagger the bloom times
Bulbs are usually labelled early, mid, or late season. Choosing some of each stretches the display across most of spring instead of concentrating it in one fortnight. Crocus and snowdrops open first, daffodils follow, mid season tulips come next, and late tulips and alliums close it out.
Layer bulbs in the same hole
Because different bulbs want different depths, you can stack them. Put the large tulips at the bottom of a deep hole, add soil, place daffodils or smaller bulbs above them, add more soil, and finish with crocus near the top. Each one grows past the layer below it. One patch of ground then produces three waves of flowers.
Plant where you will actually see them
Spring is cold and wet and nobody walks to the back of the garden in March. Put your bulbs along the path to the front door, under the window you look out of while making coffee, and in pots by the front porch. The same bulbs planted somewhere you pass every day are worth several times the ones at the far fence.
Use containers for control
Bulbs in pots let you move color exactly where you want it and solve the drainage problem for clay soil gardens. Layer them the same way, use a container with real drainage holes, and place the pot somewhere sheltered over winter. When the flowers finish, the pot moves out of sight and something else takes its place.
After the Flowers: The Part That Decides Next Year
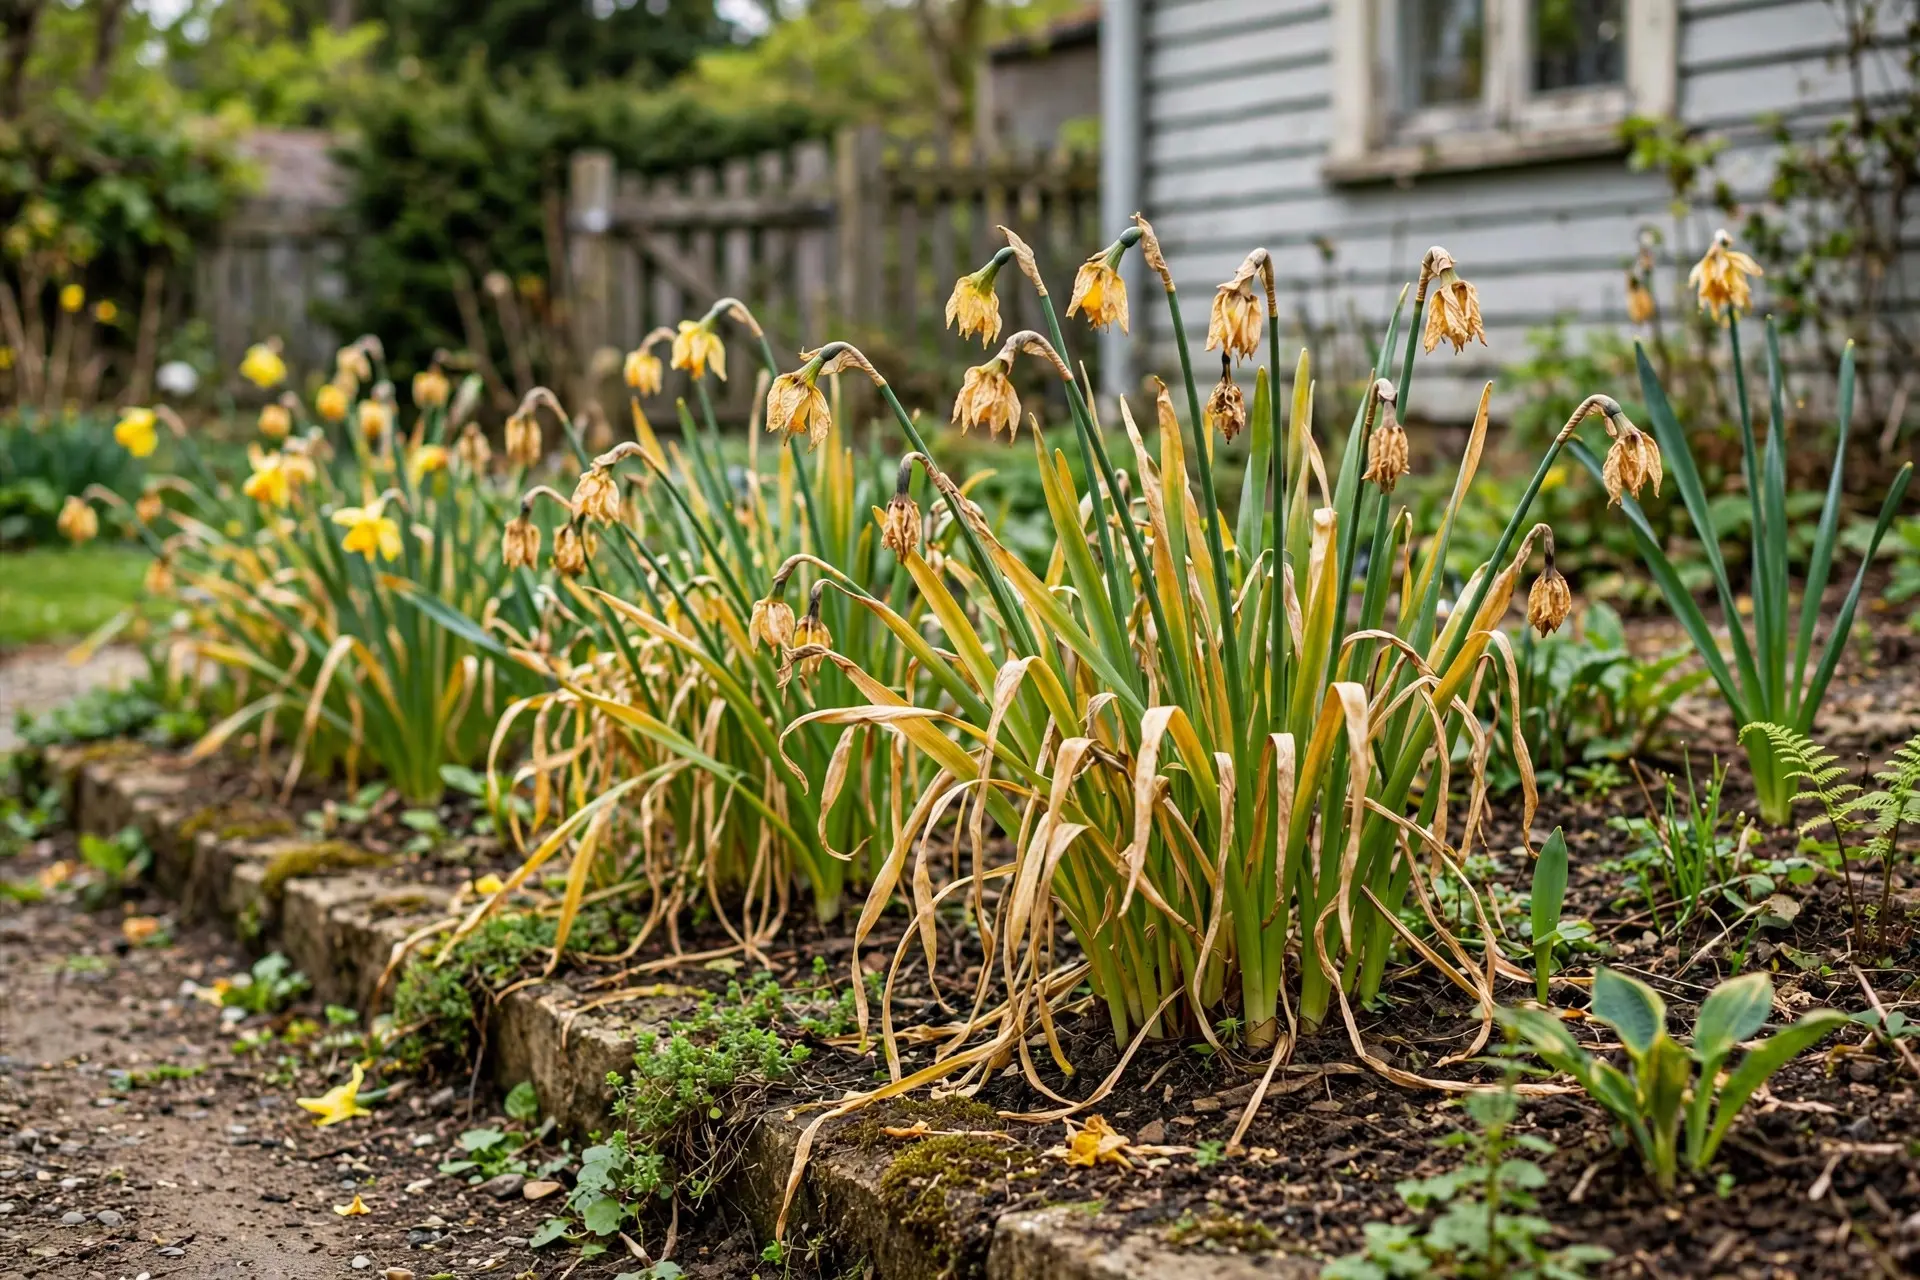
What you do in late spring determines whether the bulbs come back. The leaves are how the bulb recharges for next season, so cutting them down while they are still green starves it.
- Remove the spent flower head so the plant does not put energy into seed.
- Leave the foliage alone until it yellows and pulls away easily.
- Do not tie the leaves into knots. It looks tidy and it reduces the light they can gather.
- Plant perennials nearby that leaf out in late spring to hide the dying bulb foliage. Hostas and hardy geraniums do this well.
Worth knowing: daffodils generally return and multiply for years with little help. Many hybrid tulips are less reliable, often giving a spectacular first spring and weaker ones after. If you want tulips every year without fuss, either choose species or botanical types, which naturalize better, or accept that you will be replanting some each autumn. Planning that into your garden design saves disappointment later.
Keeping Animals Out
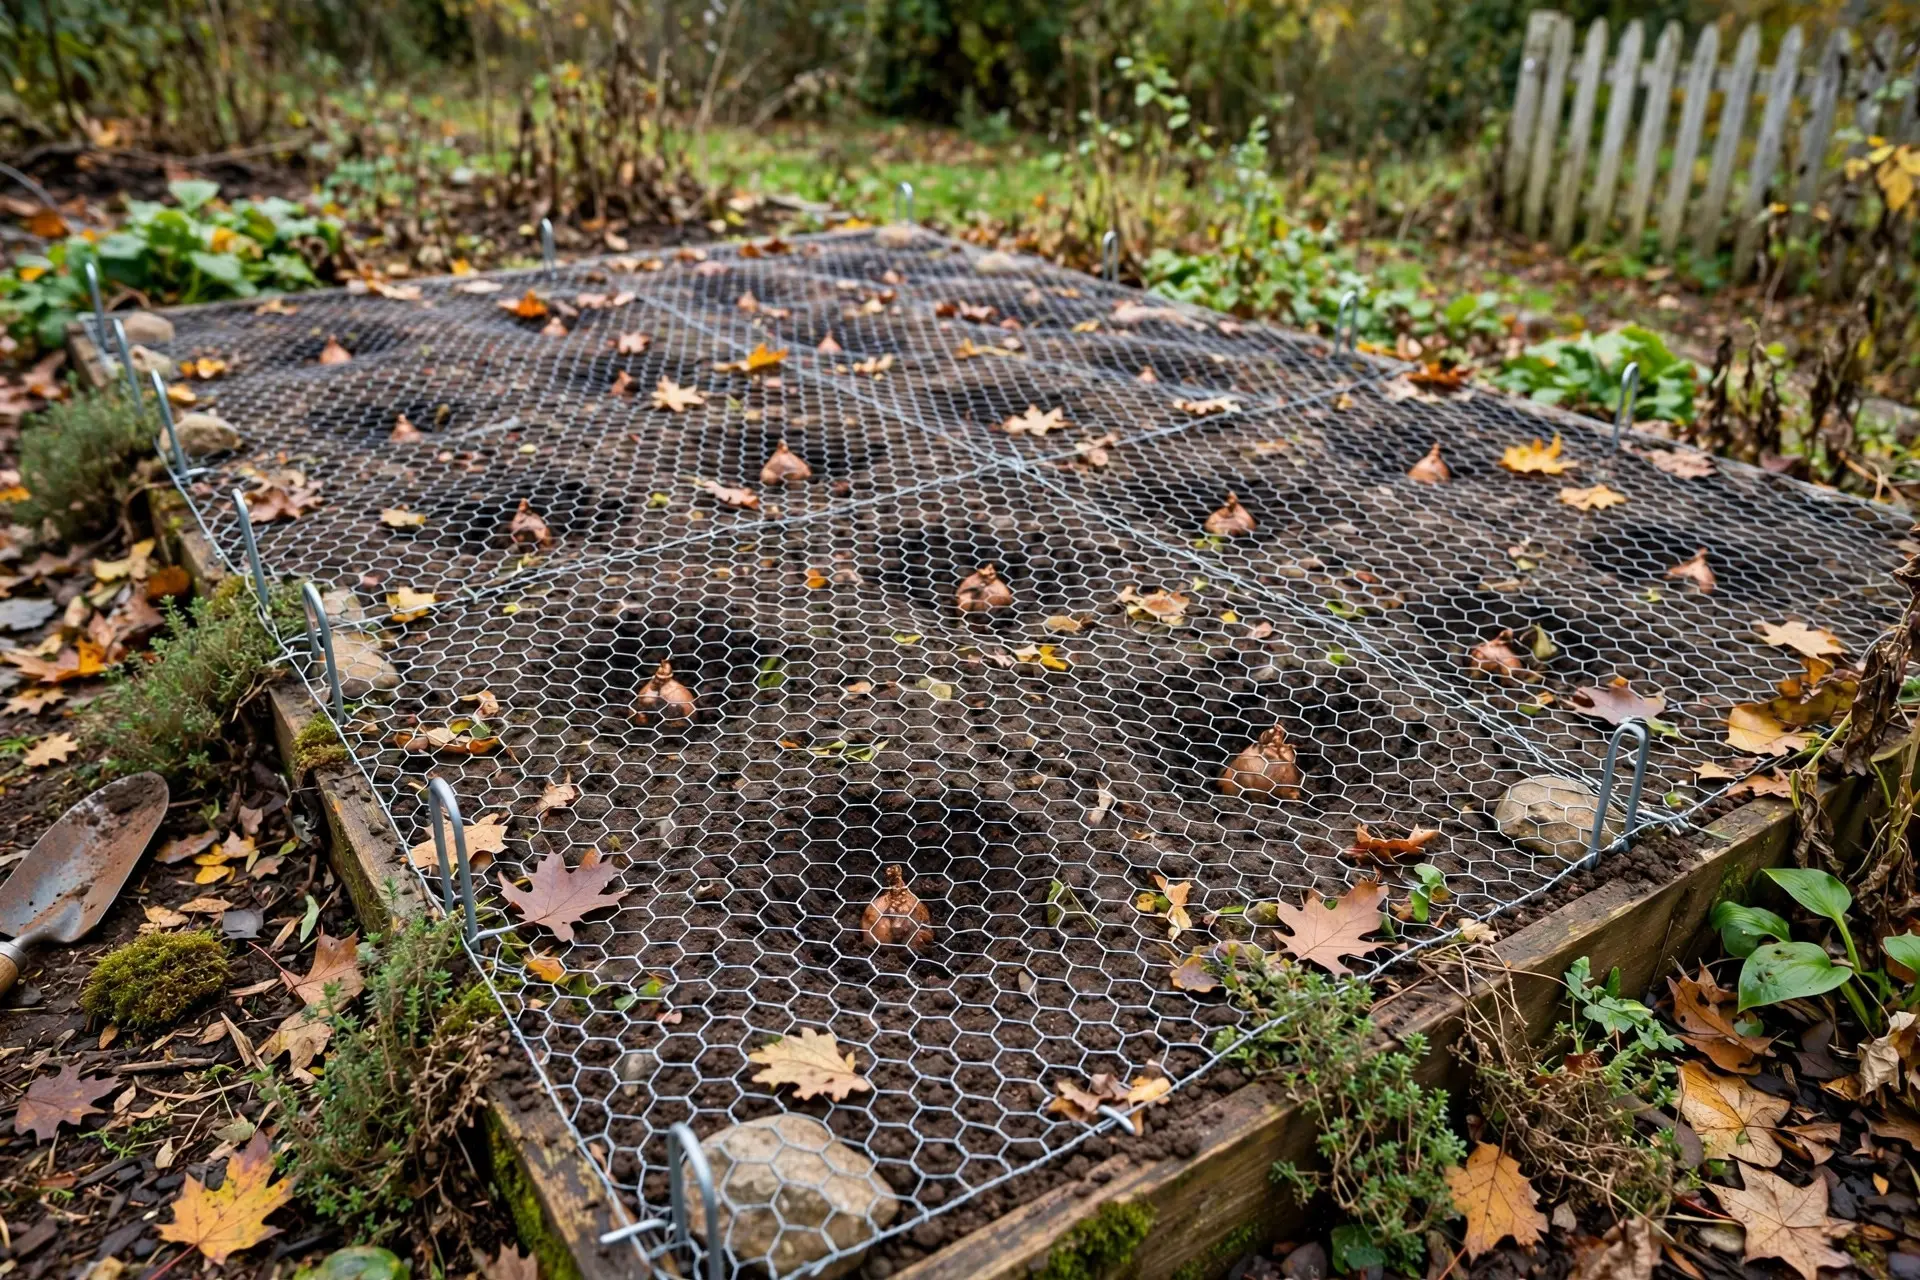
Squirrels dig up tulips. Deer eat them. This is not a problem you solve after the fact.
The simplest approach is to plant what they avoid. Daffodils, alliums, fritillaria, and muscari are generally left alone, which is why established gardens tend to drift toward daffodils over time. If you want tulips anyway, laying wire mesh over the planting area before mulching stops digging while still letting shoots through, and planting at the deeper end of the range makes bulbs harder to reach.
Clear away the papery bulb skins after planting too. They smell like food and advertise exactly where you were digging.
Frequently Asked Questions
When is it too late for fall bulb planting?
The practical cutoff is when the soil freezes solid and you can no longer dig. Aim to plant while nighttime temperatures sit between 40 and 50 degrees Fahrenheit. If you find forgotten bulbs late in the season, plant them anyway. A late bulb has a better chance in the ground than in a bag.
How deep should I plant tulip bulbs?
Standard tulips go 6 to 8 inches deep, measured from the base of the bulb to the soil surface. Species tulips go about 4 inches. Add an inch in sandy soil, subtract an inch in clay.
How far apart should bulbs be planted?
Large daffodils and tulips want 5 to 6 inches between them. Smaller bulbs like crocus and muscari want 2 to 3 inches. Plant them in irregular drifts rather than rows, and in odd numbered groups, for a more natural look.
Can I plant bulbs in pots instead of the ground?
Yes, and it is a good option for heavy clay soil or small gardens. Use a container with real drainage holes, layer different bulbs at their correct depths, and keep the pot somewhere sheltered through the coldest part of winter.
Why did my bulbs come up with leaves but no flowers?
The usual causes are planting too shallow, too much shade, or foliage that was cut back before it yellowed the previous year. Many hybrid tulips also naturally weaken after their first season, which is normal rather than a mistake on your part.
The Short Version
Wait for nights between 40 and 50 degrees. Dig two to three times the bulb’s height, measured to the base. Space large bulbs 5 to 6 inches apart, small ones 2 to 3. Plant in drifts, in odd numbers, where you will walk past them. Then leave the leaves alone in spring and let the bulbs pay you back for years.