Backsplash Height: How High to Take Tile Behind a Counter

Backsplash height is the one kitchen decision people make last and regret first. The tile gets picked for its color, the installer asks how high it should go, and the answer gets decided on the spot. Then the toaster sits in front of a bare strip of drywall, or the tile stops two inches below the hood and looks like the budget ran out.
The good news is that your kitchen has already chosen most of the numbers for you. Standard cabinet heights leave a fixed gap behind the counter, and that gap decides what reads as finished. Here are the real measurements, the three heights that actually get used, and how to pick one before the tile is cut.
The gap your cabinets already created
Before you choose a height, measure the space you are filling. In a kitchen built to standard sizes, the numbers land like this:
- Base cabinet box: 34.5 inches tall
- Countertop slab: 1.25 to 1.5 inches thick
- Finished counter surface: about 36 inches off the floor
- Underside of upper cabinets: 54 inches off the floor
- Open wall between them: 18 inches
That 18 inch gap is the whole reason the standard backsplash height exists. It is not a design rule somebody invented. It is just the leftover wall between two pieces of cabinetry. If your uppers were hung at 16 or 20 inches above the counter, your number changes, so measure your own wall instead of trusting the figure above.
Check it in three places too. Floors are rarely level, and a kitchen that is out by half an inch across a long run will show it in the top tile course.
The three backsplash heights that actually get installed
4 inches: the short ledge
A 4 inch backsplash is the old default, usually cut from the same slab as the countertop. It covers the joint where the counter meets the wall and nothing else.
It works when the counter material is something you want to show off and the wall color is doing real work in the room. It fails as splash protection. Water from a sink and grease from a pan both travel higher than 4 inches, so you are signing up to repaint that strip every couple of years.
18 inches: counter to cabinet
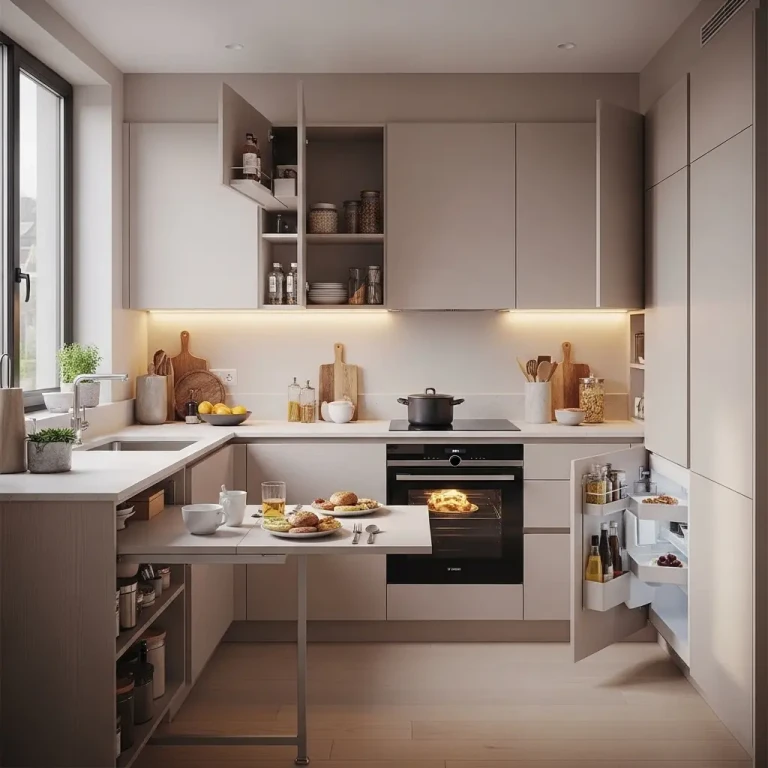
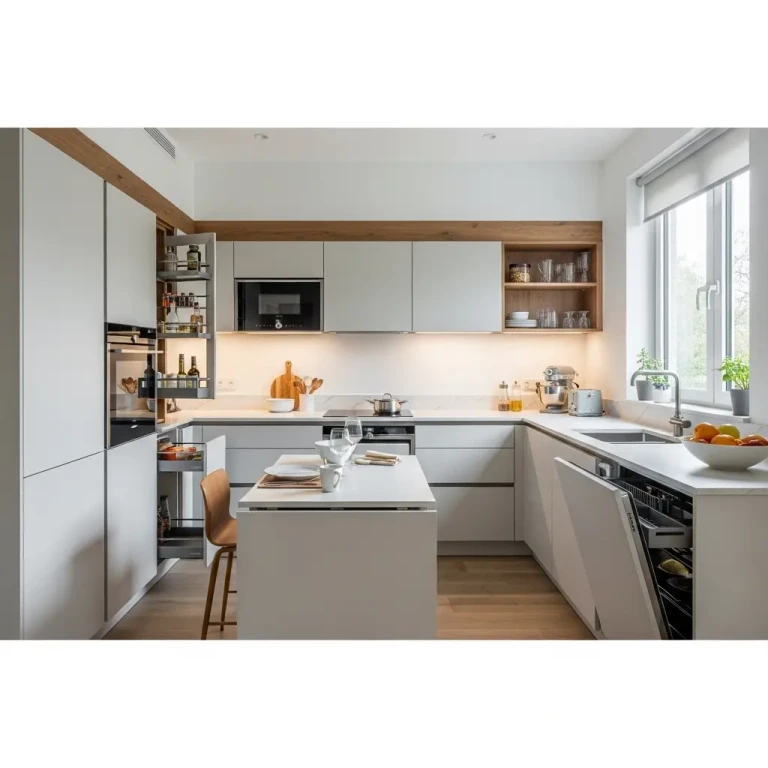
This is the safe answer and the most common one. Tile runs from the countertop straight up to the underside of the upper cabinets, so every edge dies into something solid. No exposed tile edge, no trim piece to choose, no judgment call about where to stop.
It is also the cheapest way to get the look of a tiled kitchen. On a typical 12 foot run of counter you are buying roughly 18 square feet of tile instead of 40 or more.
Full height: counter to ceiling or hood
Full height means the tile keeps going past the cabinet line. On an 8 foot ceiling with 42 inch uppers that is 60 inches of tile on the open wall sections. With 30 inch uppers and a soffit, full height usually means tiling to the soffit, not the ceiling.
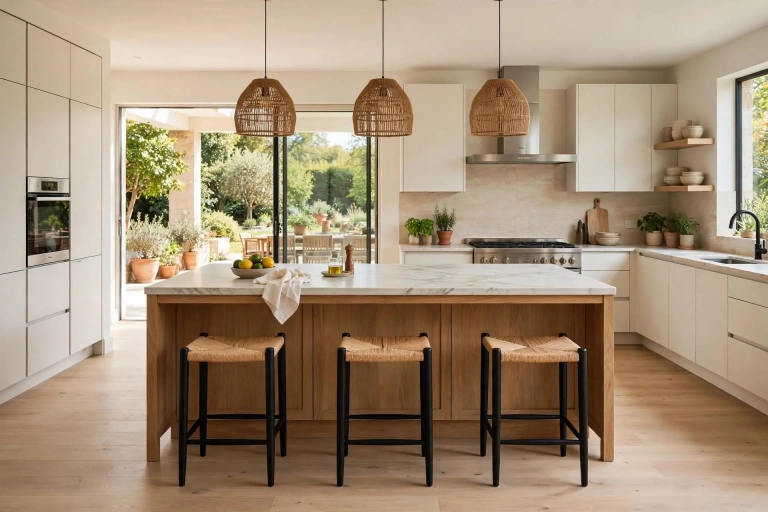
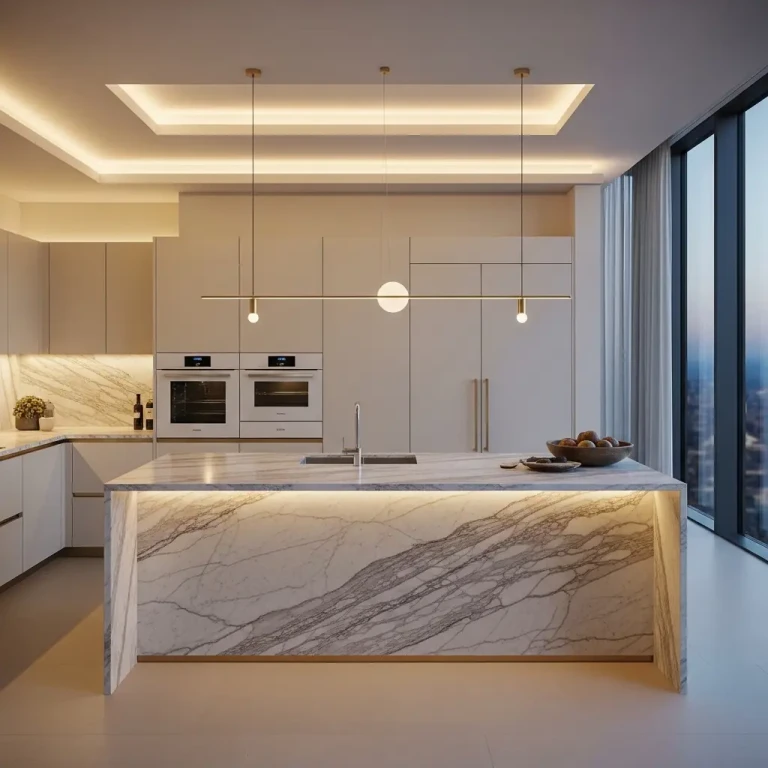
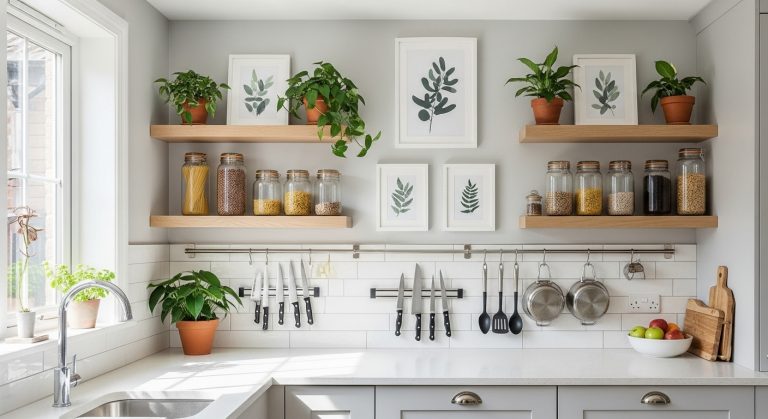
This is where slab backsplashes and large format tile belong, because you get to see the veining or pattern do something. It is also the only version that makes a kitchen with open shelving instead of upper cabinets look intentional.
How to pick your backsplash height in one pass
Run your kitchen through these three questions in order and stop at the first yes.
Go full height if any of these are true
- You have open shelving or no uppers on at least one wall
- You bought a slab, large format tile, or anything with a pattern that needs room to read
- There is a window over the sink and the wall around it is awkward
- You are tiling behind a range with a wall mounted hood
Go 18 inches if
- You have continuous upper cabinets above the counter
- Your tile is small, busy, or heavily patterned and more of it would be loud
- Budget matters and you would rather spend the difference on the counter
Go 4 inches only if
- Your countertop material is the feature and you want an uninterrupted slab look
- You are keeping a wall treatment you already love
- You accept that the wall above it will need maintenance
If two answers feel equally right, pick the taller one. Nobody looks at a finished kitchen and wishes the tile had stopped sooner.
The range wall is a separate decision
This is the part that trips people up. The wall behind a cooktop is almost never 18 inches tall, because there is no cabinet there. A wall mounted hood sits 24 to 30 inches above the cooking surface, which puts the bottom of the hood at roughly 60 to 66 inches off the floor.
That means the tile behind your range has to cover 24 to 30 inches of wall even if the rest of the kitchen only needs 18. You have two workable options:
- Tile the range wall full height and the rest at 18 inches. Clean, common, and it reads as deliberate because the taller section lines up with the hood.
- Tile everything full height. More tile, but no transition to think about.
What does not work is stopping the range wall tile at 18 inches and leaving painted drywall between the tile and the hood. That is the single most common backsplash mistake, and it is permanent until somebody re-tiles. Confirm your hood position first. Our guide to range hood size and mounting height covers the clearances that decide it.
Where the tile should stop sideways
Height gets all the attention, but the side edges are where a backsplash looks unfinished. A few rules that hold up:
- End at an inside corner or a cabinet edge, never in the middle of open wall.
- At a counter run that ends in open space, carry the tile to the outside edge of the counter and return it or use a trim piece. Stopping it short by an inch looks like an error.
- Around a window, either tile tight to the casing or carry the tile into the reveal. Picking one and committing matters more than which you pick.
- Behind a sink with no upper cabinet above, tile at least as high as you would elsewhere, then take it to the window or ceiling.
What changes if your uppers are not at 54 inches
Not every kitchen is standard, and the deviations matter more than people expect.
- Uppers hung at 16 inches: common in older homes and in kitchens built for shorter users. Your gap is 16 inches, so a 4 inch backsplash looks even stubbier by comparison.
- Uppers hung at 20 to 22 inches: sometimes done to fit a tall appliance or a microwave shelf. At that height the open wall starts to feel like a real surface, and full height usually wins.
- Counters at 38 or 39 inches: if you raised the counter for height, the gap often shrinks. Measure before ordering.
- No uppers at all: there is no 18 inch answer. Pick a line that relates to something else in the room, like a window head or a shelf, and tile to it.
If you are still planning cabinetry, settle the boxes first. Our breakdown of standard kitchen cabinet dimensions shows which heights are worth keeping and which are worth breaking.
Getting the tile quantity right
Once you have a height, the quantity is simple arithmetic, and it is worth doing before you order.
Measure each wall run in inches, multiply the length by your chosen height, and divide by 144 to get square feet. A 12 foot run at 18 inches is 144 by 18, which is 2,592 square inches, or 18 square feet. The same run at full height behind 42 inch uppers is closer to 60 square feet.
Then add waste. Ten percent is the usual allowance for a simple straight set. Go to 15 or 20 percent for a herringbone, a diagonal layout, or anything where most cuts land on an angle. Buying from a second batch later almost never matches, so the overage is cheap insurance. If you want the full calculation including cuts and outlets, see how many tiles you actually need.
Mistakes that only show up after install
- Forgetting the outlets. Receptacles in the backsplash zone usually sit with their bottom edge 4 to 6 inches above the counter. Tile layout that ignores them puts a sliver cut right at eye level.
- Tiling before the counter is in. The tile should sit on the finished counter, not on the wall behind where the counter will be. Order of operations is counter first, then tile.
- No caulk at the counter joint. That seam moves. Grout there cracks within a year. Use a color matched flexible caulk.
- Ignoring under cabinet lights. If lights or their wiring are mounted to the cabinet bottom, the top tile course can end up partly hidden. Settle your under cabinet lighting placement before the tile goes up.
Frequently asked questions
What is the standard backsplash height?
Eighteen inches, measured from the countertop to the underside of the upper cabinets. That number comes from standard cabinetry, with the counter at about 36 inches off the floor and the uppers hung at 54 inches. Measure your own gap, because it varies.
Is a 4 inch backsplash out of style?
It is less common in new kitchens, but it is not wrong. It still makes sense when the countertop material is the thing you want people to notice. Just understand you are choosing a look over splash protection, and the painted wall above it will need touching up.
Should the backsplash go all the way to the ceiling?
Only where there is no cabinet in the way. On a wall with continuous uppers, the tile stops at the cabinet. Full height to the ceiling makes sense on open walls, behind a range with a wall mounted hood, or in a kitchen using open shelving instead of upper cabinets.
How high should the tile go behind the stove?
To the bottom of the hood, which usually sits 24 to 30 inches above the cooking surface. Stopping the tile short and leaving painted drywall between it and the hood is the mistake to avoid. Confirm the hood height before ordering tile.
Does a taller backsplash make a kitchen look bigger or smaller?
Taller tile in a light, low contrast color tends to make a small kitchen read as taller and calmer, because there are fewer horizontal lines breaking up the wall. A busy or dark tile taken to full height does the opposite. The height is less important than the contrast.
The short version
Measure the gap between your counter and your uppers. If you have continuous cabinets and a busy tile, fill that gap and stop. If you have open walls, a slab, a window over the sink, or a hood over the range, go full height. And whatever you do on the main runs, make sure the tile behind the range reaches the bottom of the hood. That one decision separates a kitchen that looks finished from one that looks almost finished.