A Thanksgiving Dinner Table Setting Your Guests Will Photograph Before They Eat

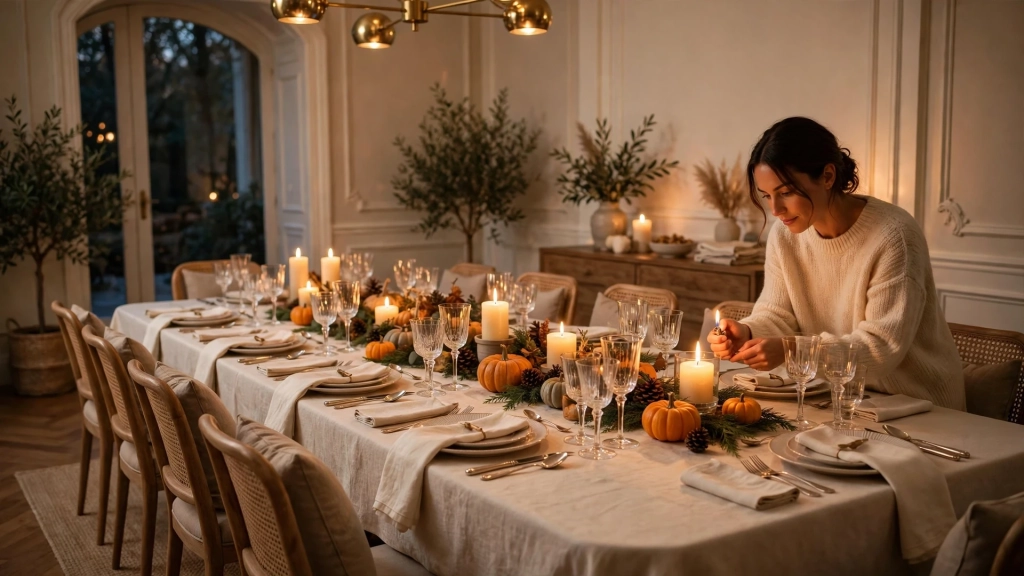
Last year my cousin Sara arrived with her phone already in her hand. She had not even taken off her coat before she stopped in the dining room doorway and whispered, "Wait, I need a picture of this first." The turkey was still in the oven. The mashed potatoes were still in the pot. But the table looked so warm and inviting that nobody wanted to sit down and ruin it. That is the power of a well planned thanksgiving dinner table setting. It sets the mood before the first bite and tells your guests that tonight is special.
You do not need an interior design degree or a big budget to create that kind of moment. You just need a plan. Below you will find nine simple steps that take you from an empty table to a harvest table worth photographing. Each step builds on the one before it, and by the end you will have a table that looks beautiful in person and even better in photos.
Why Your Table Deserves a Real Plan
Most of us spend days thinking about the menu and almost no time thinking about the table. We set out plates at the last minute, grab whatever glasses match, and hope it all looks fine. The result is a table that feels rushed, even when the food is amazing. That is why a thoughtful thanksgiving dinner table setting matters more than most people realize. A little planning flips that around. When guests walk in and see a thoughtful table, they relax. They feel cared for. The meal becomes an occasion instead of just dinner.
A plan also saves you stress. If you decide on colors, layers, and layout a day or two early, you will not be running around the house an hour before guests arrive. Everything will have a home. You will actually enjoy the day instead of spending it in panic mode.
How to Build a Thanksgiving Dinner Table Setting in 9 Easy Steps
These nine steps follow the order that professional stylists use. Work through them one at a time and you cannot go wrong.
Step 1: Pick a Color Palette and Stick to It
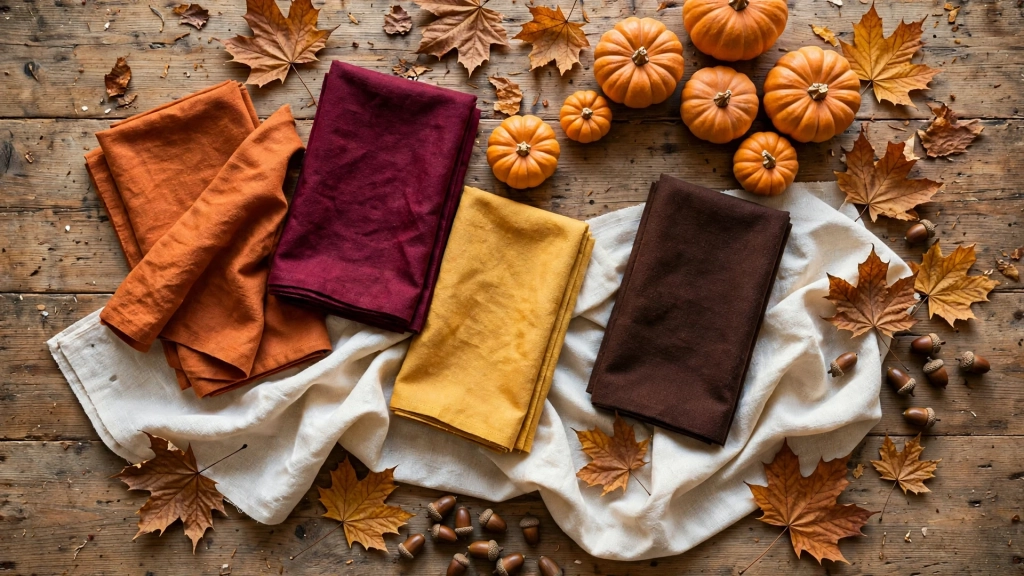
Every beautiful table starts with two or three colors. For Thanksgiving, warm tones work best. Think burnt orange, deep cranberry, golden yellow, and rich browns. Pair them with a neutral base like cream, ivory, or warm white so the colors have room to breathe.
Write your palette on a sticky note and carry it with you as you shop your own home. You probably own more in those colors than you realize. A rust colored throw blanket can become a runner. Cream candles from the bathroom can move to the dining room. Once you limit yourself to a palette, everything starts to look coordinated without any extra effort.
Step 2: Start With the Right Base Layer
Your tablecloth or bare table is the canvas. A natural linen or cotton tablecloth in cream or oatmeal softens the whole look and hides any scratches on the wood. If your table is beautiful on its own, skip the cloth and use a runner down the center instead. A runner leaves the wood visible at the edges, which feels warm and rustic.
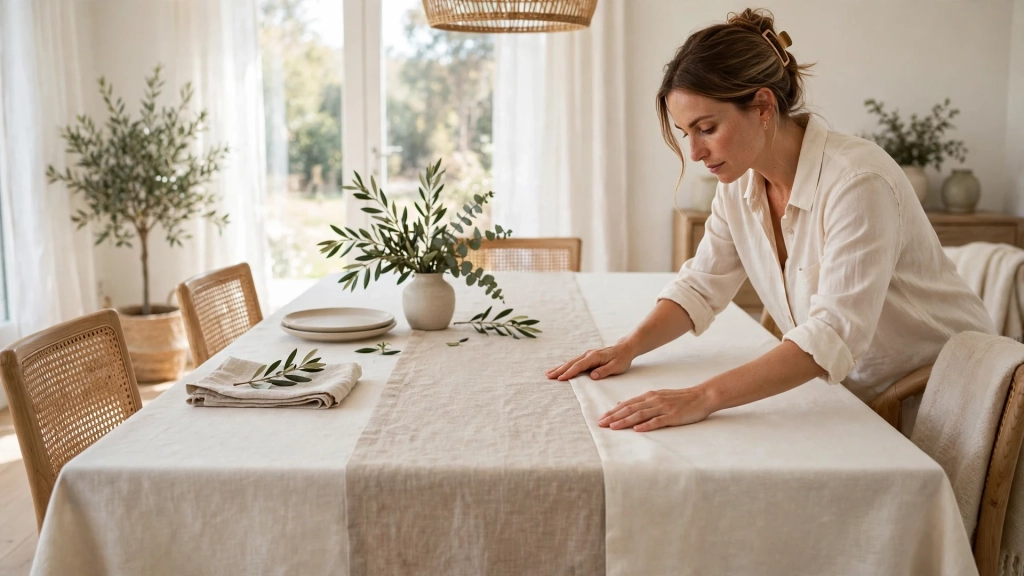
Make sure the cloth or runner is pressed. Wrinkles show up in photos more than you think. A quick pass with the iron the night before makes a surprising difference. This is one of those small details that separates a nice table from a stunning one.
Step 3: Layering Linens for a Perfect Thanksgiving Dinner Table Setting
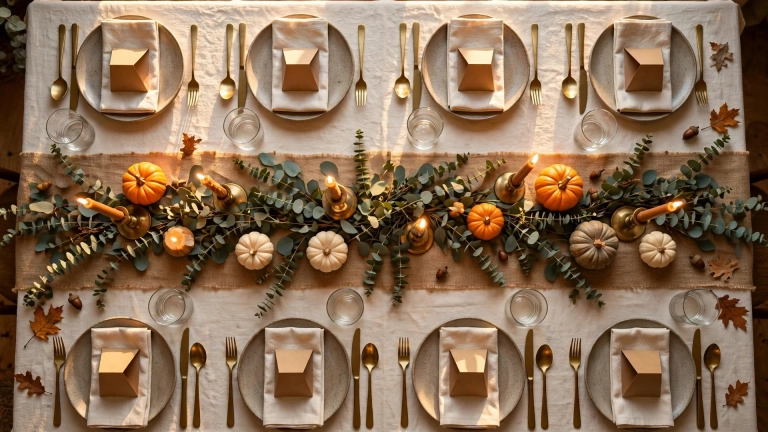
Layering is the secret that makes tables look rich instead of flat. Start with your tablecloth, then add a runner, then place a folded cloth napkin or a small square of fabric at each seat. Each layer adds depth and texture, and the eye loves that kind of richness.
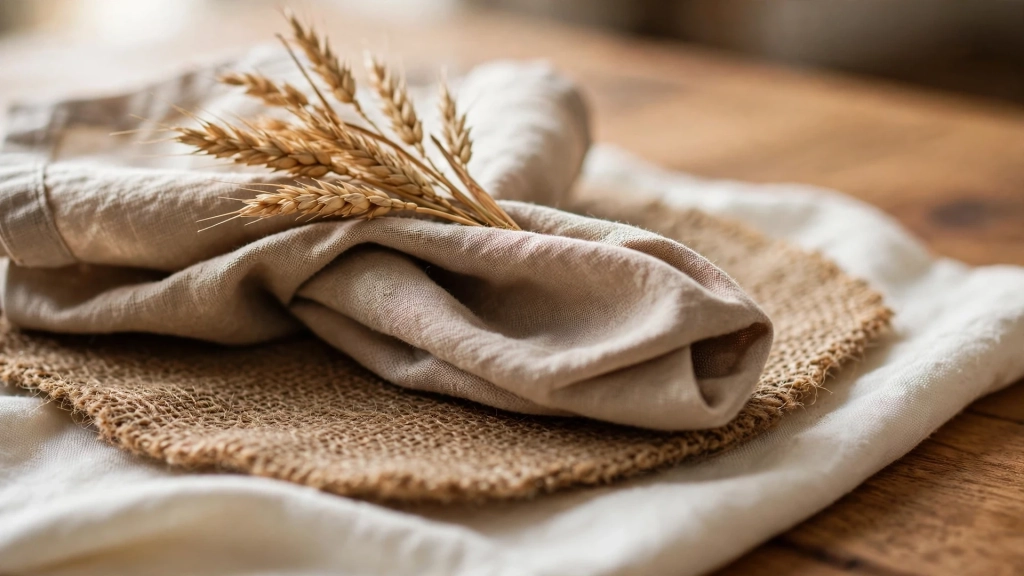
Mix textures on purpose. Pair smooth cotton with nubby burlap or soft linen. Tuck a sprig of dried wheat or eucalyptus into each napkin fold for a natural touch. These layers are what your camera will pick up first, so take your time and step back to check the overall look from the doorway.
Step 4: Set the Plates in the Right Order
A classic place setting follows a simple order that never fails. Place the charger or dinner plate in the center. Stack the salad plate on top if you are serving a first course. Put the bread plate to the upper left of the charger, and angle the butter knife across it.
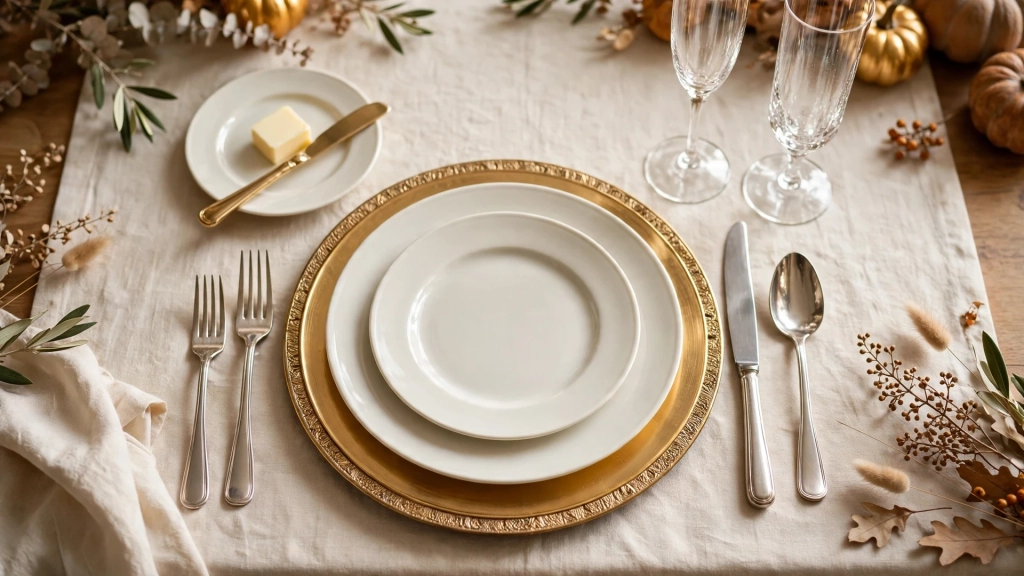
Keep about two feet of space per guest. Crowded place settings look cramped in photos and feel cramped in real life. If your table is small, skip the charger and use a large dinner plate alone. It is better to have fewer pieces with breathing room than a full formal setting where elbows bump.
Step 5: Get the Glassware and Flatware Right
Place forks to the left of the plate and knives and spoons to the right. The knife blade should face the plate. That is the whole rule for flatware, and it has not changed in a hundred years. If you are serving dessert, you can lay a small spoon horizontally above the plate.
For glasses, put the water glass directly above the knife and the wine glass to its right. Two glasses per setting is plenty. Polish them with a microfiber cloth so they sparkle. Water spots and fingerprints catch the light in photos, and a clean glass looks ten times more expensive than a spotted one.
Step 6: Fold Napkins Like You Mean It
The napkin is the cheapest piece on the table, but it carries a lot of visual weight. A simple fold looks fine, but a little extra effort here pays off. Try the pocket fold, which creates a small pocket in the napkin for the flatware. It looks elegant and keeps the silverware tidy.
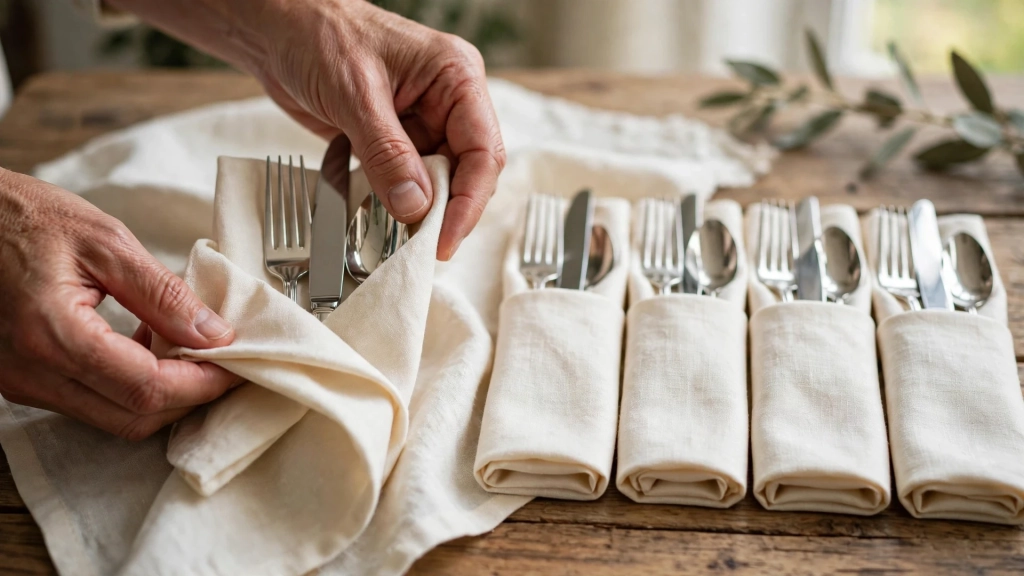
Another option is the simple roll tied with twine and a sprig of rosemary. It smells wonderful when guests untie it. Whatever fold you choose, do the same fold at every seat. Consistency is what makes a thanksgiving dinner table setting look professional instead of thrown together.
Step 7: Build a Centerpiece Guests Can See Over
The biggest mistake people make is a centerpiece so tall that guests cannot see each other. Keep your centerpiece low, around twelve inches or shorter. A long wooden tray filled with pumpkins, pinecones, candles, and greenery runs down the center of the table and looks amazing from every seat.
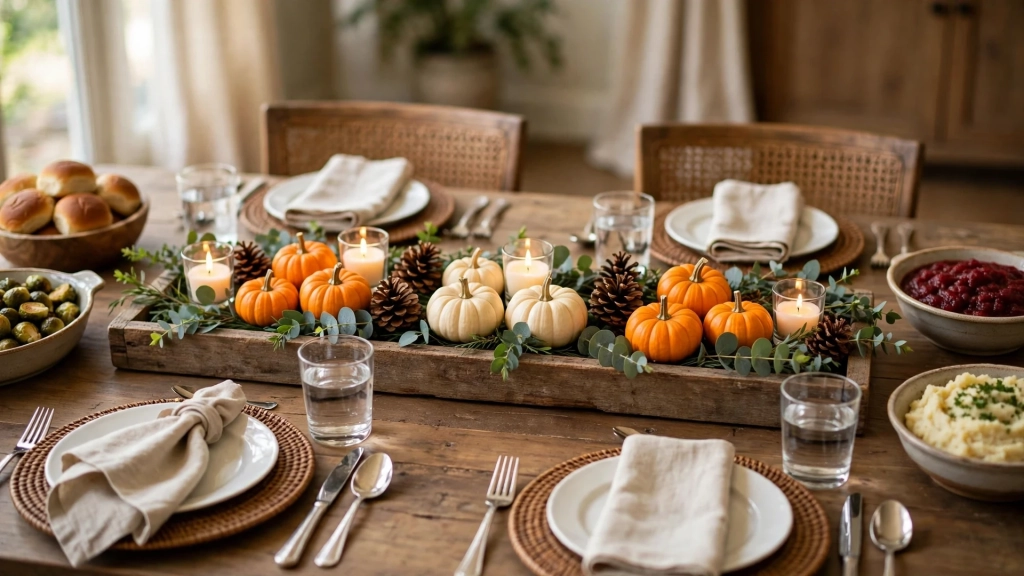
Use odd numbers of items for a natural look. Three pumpkins beat four. Five candles beat six. Leave gaps between the pieces so serving dishes can land in the open spots during dinner. A centerpiece should frame the food, not fight it for space.
Step 8: Add Warm Light at the Last Minute
Lighting is what turns a nice table into a magical one. Candlelight flatters everything, from the food to the faces around the table. Mix pillar candles of different heights with a few tea lights scattered between them. Battery operated candles work just as well and remove any worry about kids or pets.
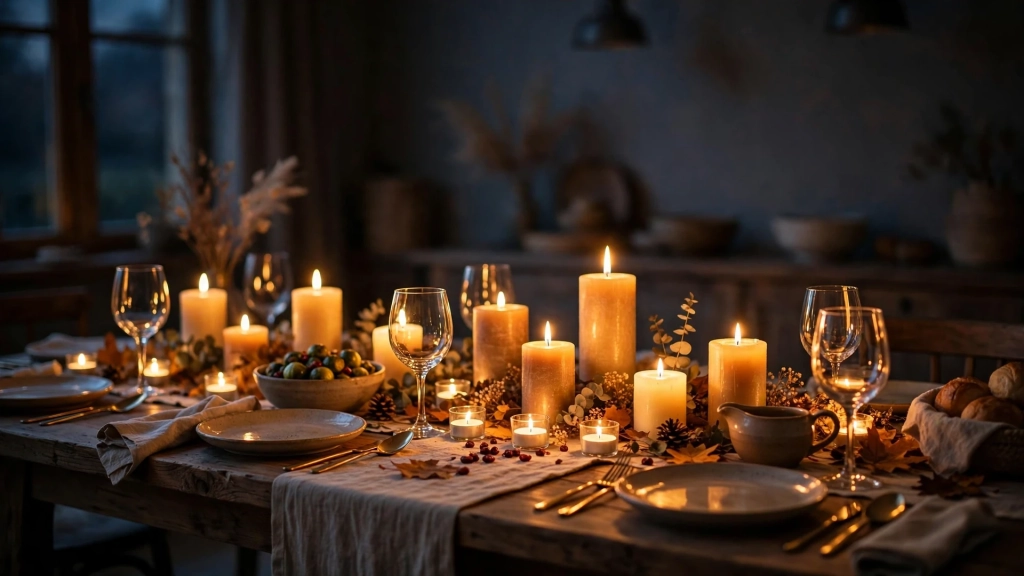
Turn on the candles about fifteen minutes before guests sit down. If your dining room has a dimmer, lower the overhead light and let the candles do the work. This single change will make your thanksgiving dinner table setting glow in photos, because warm light softens every color on the table.
Step 9: Finish With Place Cards and a Personal Touch
Place cards solve the awkward dance of everyone hovering over the table wondering where to sit. They also double as a sweet keepsake. Write names on kraft paper tags and tie them to a small pumpkin or a cinnamon stick with twine. Guests love taking these home.
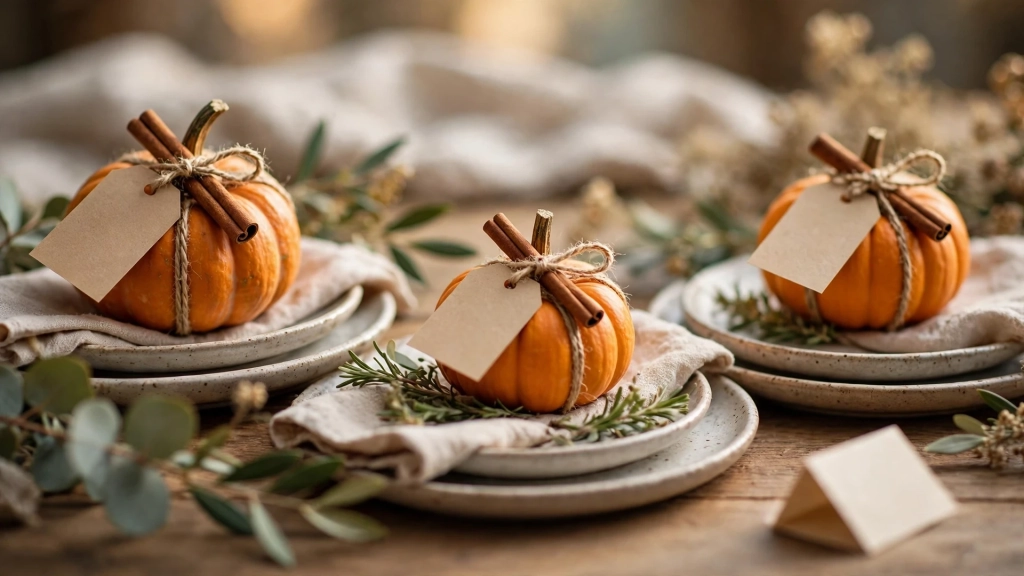
Add one final personal touch, like a small handwritten note at each seat saying what you are thankful for about that person. It takes ten minutes and it will be the thing people remember long after the pie is gone. Your thanksgiving dinner table setting is now complete, and it tells a story about care.
Mistakes That Ruin a Good Table
Even with a great plan, a few common mistakes can spoil the look. The first is using too many colors. Stick to your palette and resist the urge to add that one extra shade. The second is a tablecloth that is too short. It should hang at least eight inches over the edge, or skip it entirely.
The third mistake is forgetting the chairs. Wipe them down, push them in evenly, and add a cushion or throw if they look worn. Photos capture the whole scene, not just the tabletop. A quick chair check takes five minutes and keeps the background of every photo clean.
Set Everything the Night Before
The best hosts set the table the night before Thanksgiving. Lay out every plate, glass, and fork. Fold every napkin. Build the centerpiece and light a test candle to check the glow. Cover the whole table with a clean sheet to keep dust off.
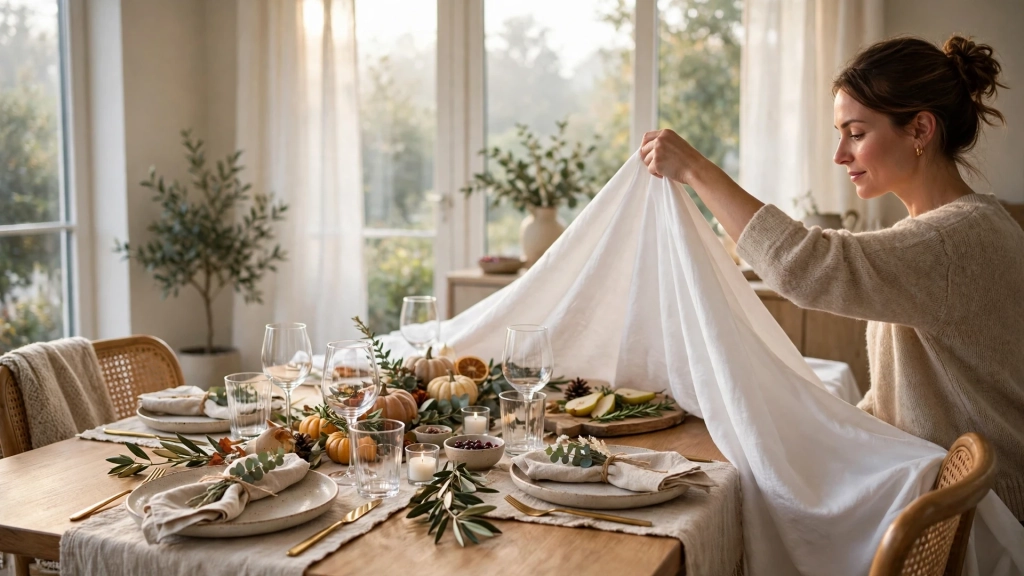
On Thanksgiving morning, all you do is remove the sheet, fluff the napkins, and light the candles. Your future self will be so grateful. While the turkey roasts, you can actually sit down with a cup of coffee instead of sprinting around the dining room. A thanksgiving dinner table setting that is finished early is a gift to yourself.
Enjoy the Moment You Created
When the doorbell rings and your guests walk in, pause for a second and look at your table with fresh eyes. You built this. Every layer, every candle, every folded napkin is there because you decided this meal deserved your best. Let people take their photos. Smile when someone asks how you did it.
Then sit down, pass the rolls, and enjoy the evening. The table did its job the moment everyone felt welcome. That is what all of this was really about, and it is worth every minute you spent on it.