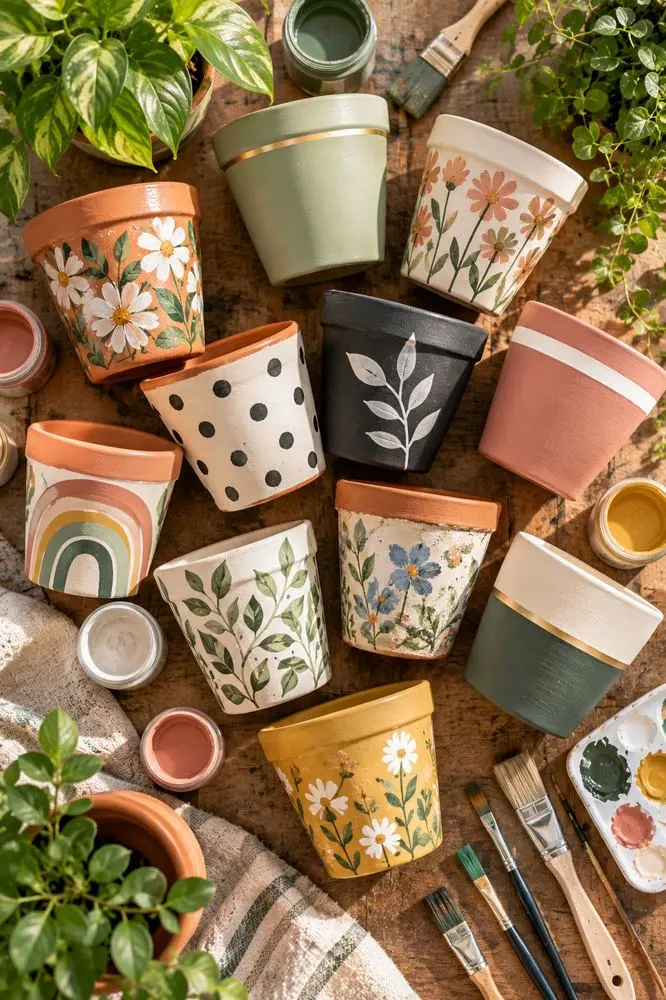

A can of paint and a plain plastic or terracotta pot can turn into one of the easiest, cheapest ways to change how your whole porch, windowsill, or garden looks. Painted plant pots are everywhere on Pinterest right now, and it is easy to see why. They cost almost nothing, they do not require any special skill to start, and they make even a bare balcony feel finished.
But here is the part most pot painting articles skip. A pretty design means nothing if it peels after the first rainstorm or fades to nothing after one summer in the sun. This guide gives you both sides: a real mix of painting ideas across different styles, and the actual steps that make the paint stick, survive the weather, and still look good months later.
Why Painted Pots Are Having a Moment
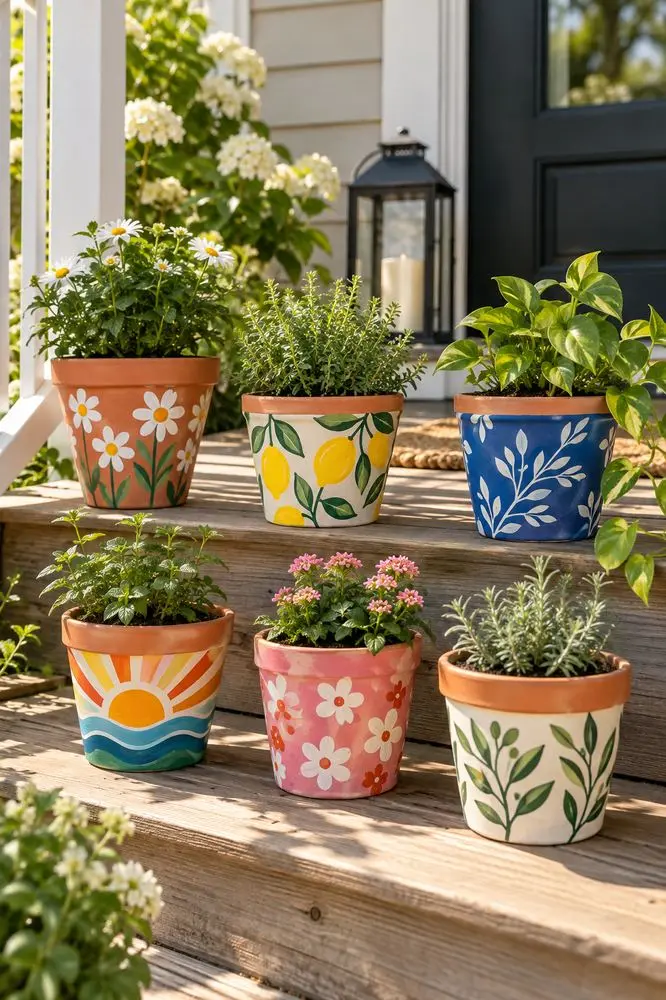
Plain nursery pots are cheap, but they rarely look good on their own. Painting them turns a $2 pot into something that looks like it belongs in a home decor magazine, without the price tag of buying decorative planters. It is also one of the few crafts that works for almost any skill level. A beginner can do simple dots or stripes in twenty minutes. Someone more confident with a brush can take on detailed florals or hand lettering. That range is exactly why the idea spreads so well on Pinterest: there is a version of it for everyone. If you already love working with clay pots, our DIY terracotta decor ideas has more projects worth trying next.
What You Need Before You Start
Before jumping into designs, it helps to understand two things that most articles on this topic barely mention: picking the right paint for your pot material, and prepping the surface so the paint actually bonds to it.
Picking the Right Paint for Terracotta, Plastic, or Ceramic
The pot material changes which paint will actually work.
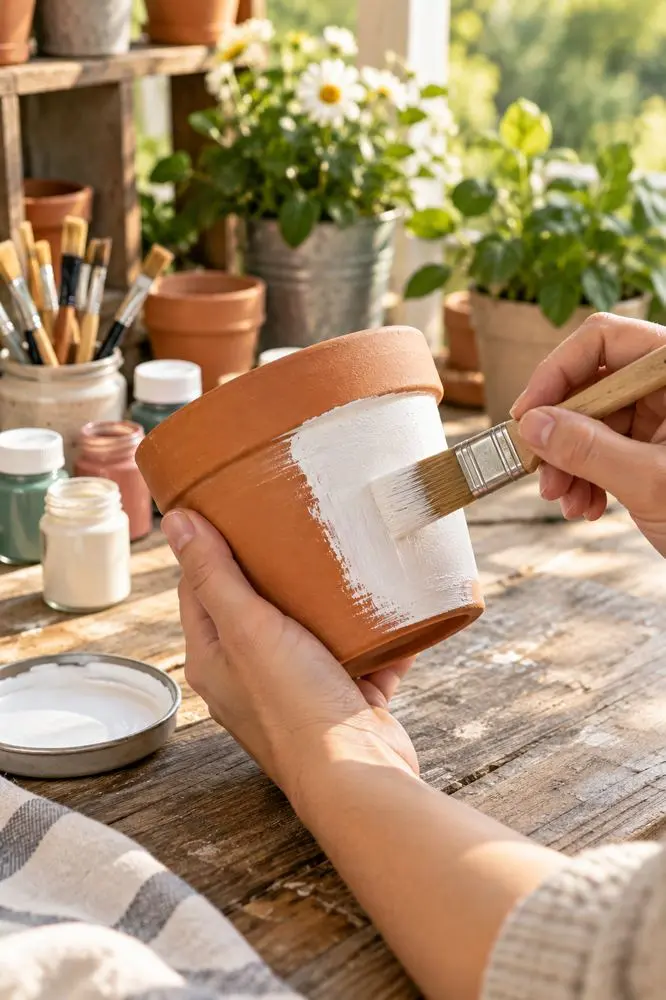
Terracotta and clay pots are porous, which means they soak up moisture and paint. Acrylic craft paint works well here because it grips the rough surface easily. For pots that will live outside, look for acrylic paint labeled “outdoor” or “exterior,” since regular indoor craft paint fades and chalks faster in direct sun.
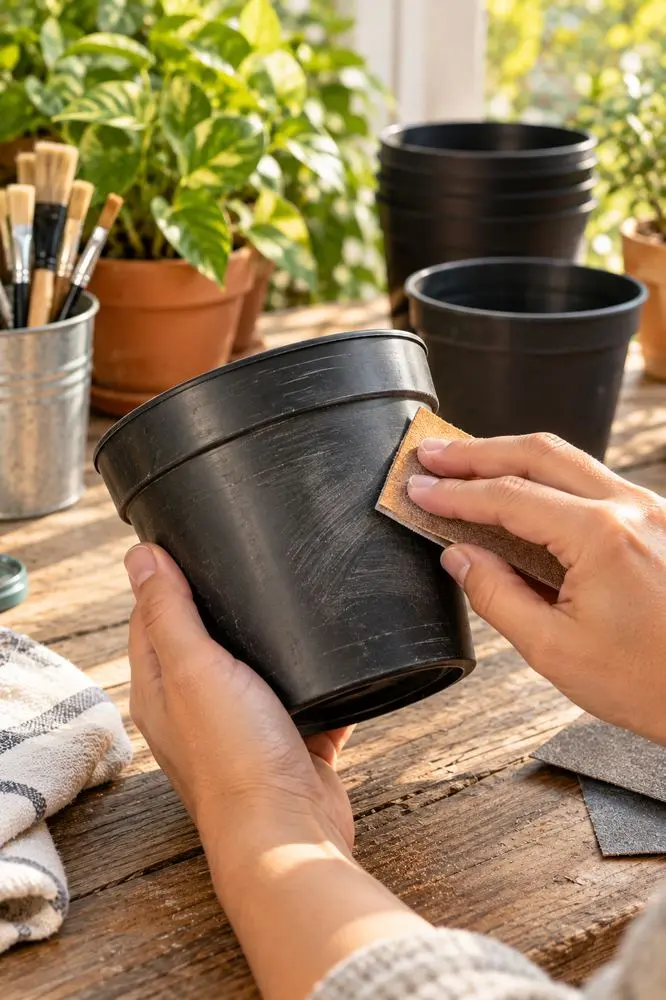
Plastic pots are the trickiest surface because paint does not stick to plastic on its own. You need a paint made for plastic, or a multi-surface acrylic paint combined with a plastic-bonding primer first. Skipping the primer step is the most common reason painted plastic pots chip within weeks.
Ceramic and glazed pots need the smoothest-adhering paint of the three. Multi-surface acrylic paint or specialty ceramic paint both work, but the glaze should be lightly sanded first so the paint has something to hold onto.
Prepping the Pot So the Paint Actually Sticks
Skipping prep is the single biggest reason painted pots fail. Wash the pot with warm water and a little dish soap to remove dirt, dust, and any oily residue, then let it dry completely. A damp pot will trap moisture under the paint and cause peeling later.
For terracotta, a thin coat of primer or even watered-down white glue helps seal the porous surface so your paint colors stay true instead of soaking in unevenly. For plastic, a light sanding with fine sandpaper followed by a plastic-bonding primer makes a real difference. For ceramic, a light sand and a wipe-down with rubbing alcohol removes any invisible residue that blocks paint from gripping.
Painting Ideas by Style
Once your pot is prepped, the design part is where you can really have fun. Here are ideas grouped by style, from the simplest to the more detailed, so you can pick something that matches your skill level and the look you want.
Simple and Modern Designs
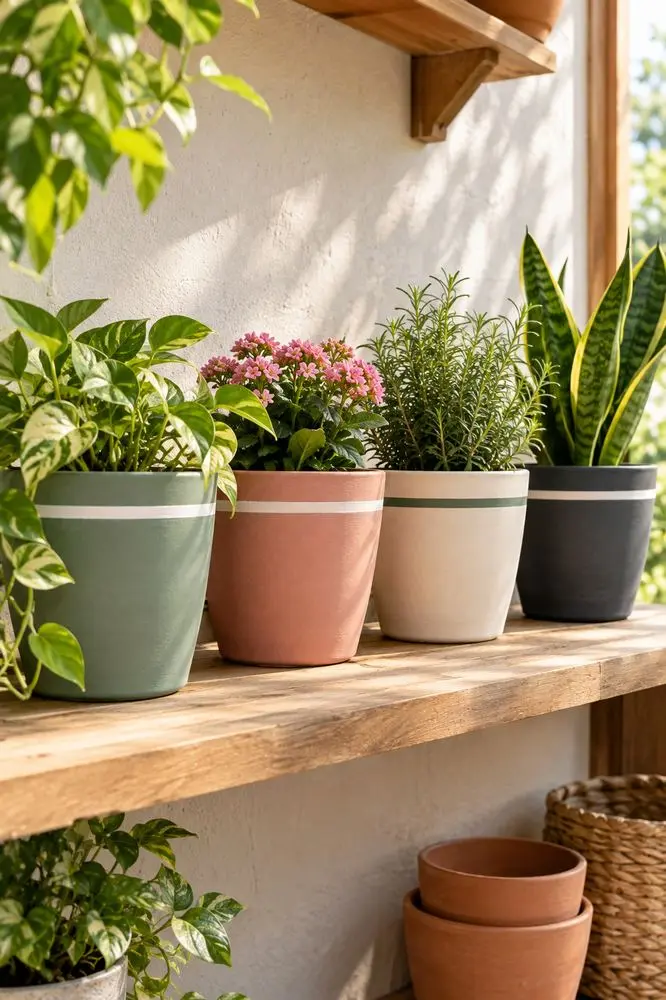
If you are new to pot painting or just want something clean, modern designs are the easiest place to start. Think solid color blocking with one contrasting stripe near the rim, a simple dip-dye look where the bottom half is one color and the top is left bare, or geometric shapes taped off with painter’s tape for crisp, straight lines. These designs rely on confident color choices rather than detailed brushwork, which makes them forgiving for first timers.
Bright and Playful Patterns
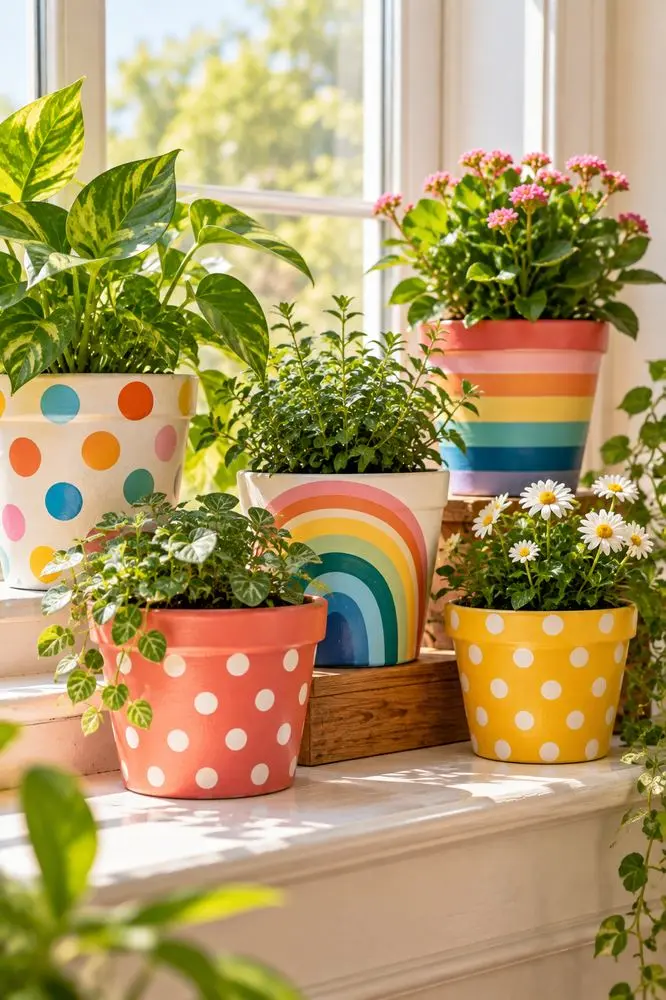
For a more cheerful look, polka dots, rainbow stripes, and confetti-style paint splatters are all easy wins. Dots are especially beginner friendly since you can make them with the end of a pencil eraser or a cotton swab dipped in paint, no steady brush hand required. These designs work great for kids’ rooms, plant nurseries, or any spot that could use a little color.
Nature Inspired and Botanical Designs
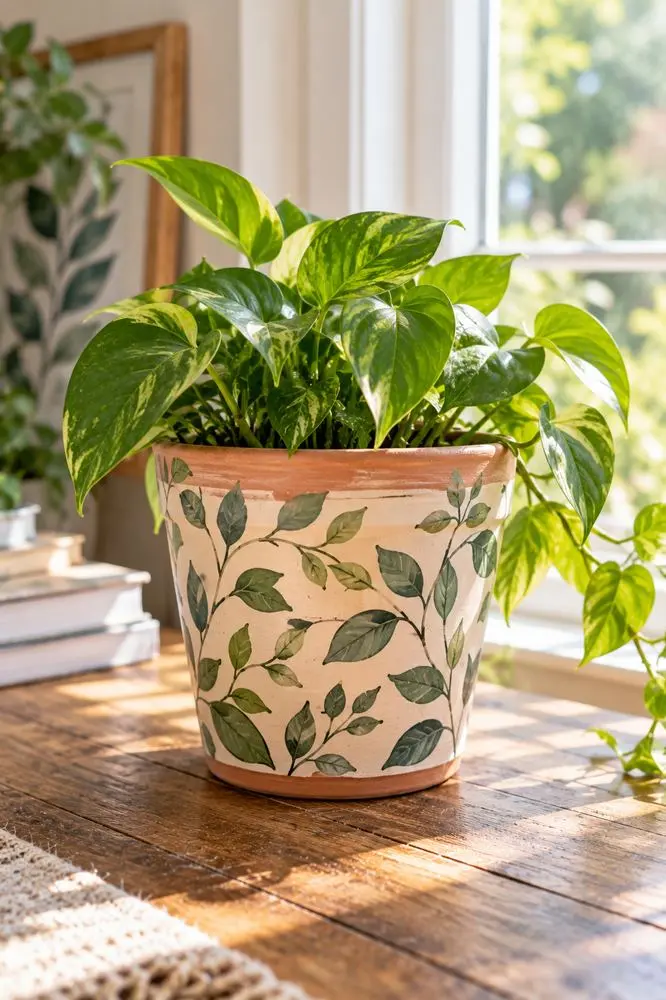
Painting a leaf, vine, or small floral pattern onto a pot that is already holding a plant creates a nice visual echo. Simple leaf silhouettes, painted with one solid color and a thin outline, look far more polished than their difficulty level suggests. Watercolor-style florals, where colors are allowed to blend slightly while wet, give a soft, hand painted look that photographs beautifully for Pinterest. Pair a botanical pot with the right plant using our indoor plant styling ideas for extra inspiration.
Elegant and Neutral Designs
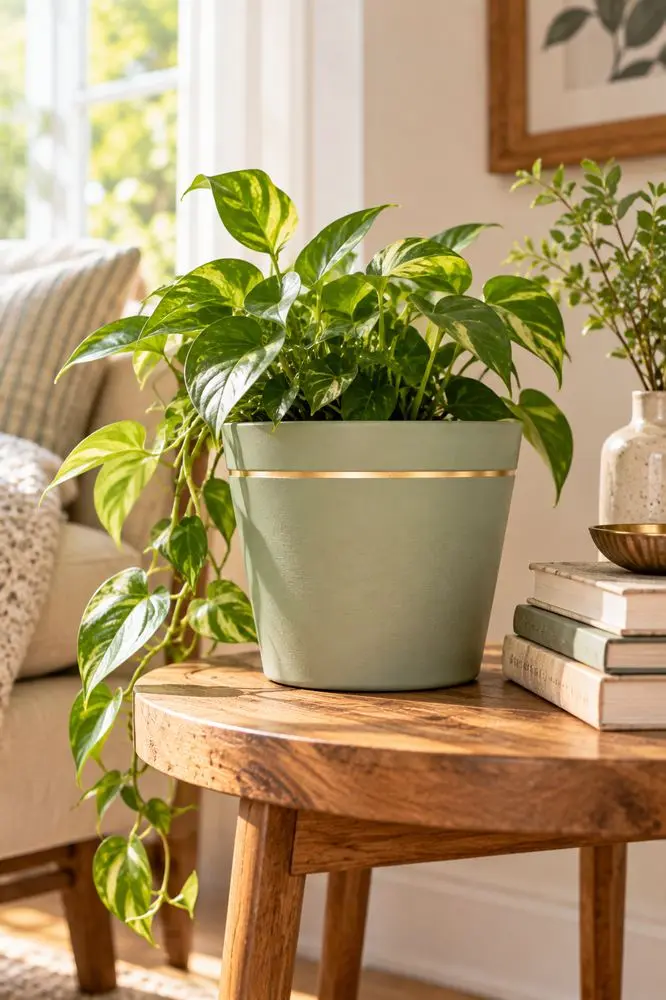
Not every painted pot needs to be bold. A soft sage green, warm terracotta-toned white, or muted clay pink can look intentional and elevated sitting next to natural wood or stone. Adding a single thin gold or black line near the rim gives a neutral pot a finished, boutique-store look without much extra effort.
How to Seal Your Painted Pot So It Doesn’t Chip or Fade
This is the step almost every other pot painting guide skips, and it is the difference between a pot that still looks good in six months and one that looks ruined after the first heavy rain.
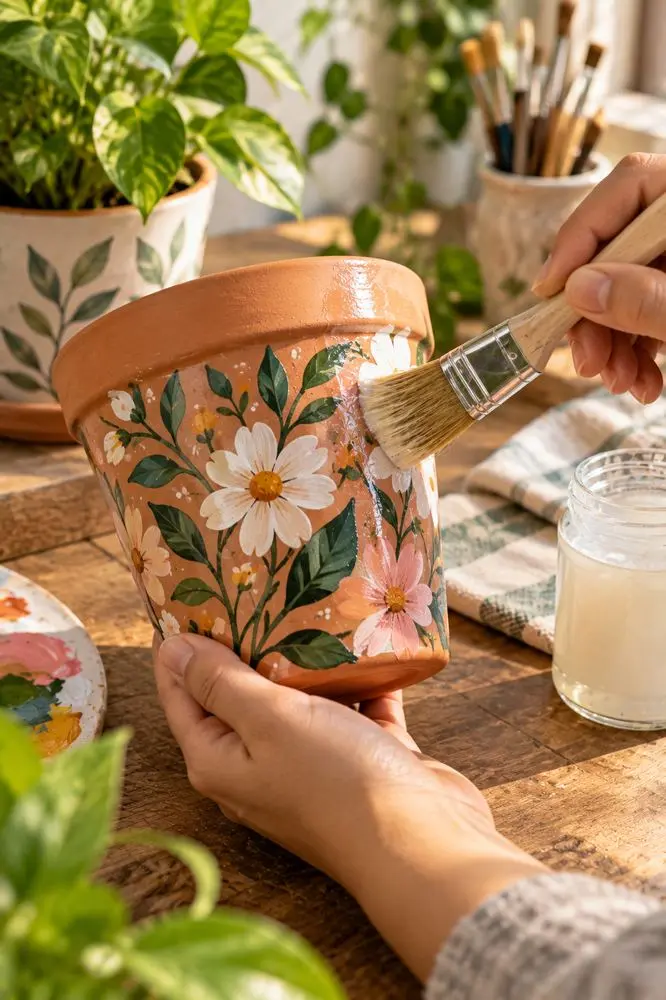
Once your paint is fully dry, usually 24 hours for acrylic paint, apply a clear sealant over the entire design. For pots that will stay outside, a spray-on polyurethane sealant made for outdoor use holds up best against rain and sun. For indoor pots, a matte or gloss mod podge finish works fine and is easier to apply with a brush. Apply two thin coats rather than one thick one, letting each coat dry fully, since a thick single coat is more likely to drip or crack later.
If your pot will regularly get wet from watering the plant inside it, also seal the inside rim, not just the outside. Water splashback over time is one of the most common reasons painted rims start peeling first.
Common Mistakes That Ruin a Painted Pot
A few small mistakes account for most painted pot failures, and all of them are easy to avoid once you know what to look for.
Painting over a dirty or damp surface is the most common one. Even a light layer of dust can stop paint from bonding properly, and any trapped moisture underneath will eventually cause bubbling or peeling.
Skipping primer on plastic pots is another frequent issue. Plastic is naturally low-adhesion, so paint that looks fine on day one can start flaking off within a couple of weeks without a bonding primer underneath.
Using regular craft paint on a pot that lives outside year round is a third common mistake. Indoor craft paint is not formulated to resist UV rays, so colors fade noticeably faster in direct sunlight than an outdoor-rated paint would.
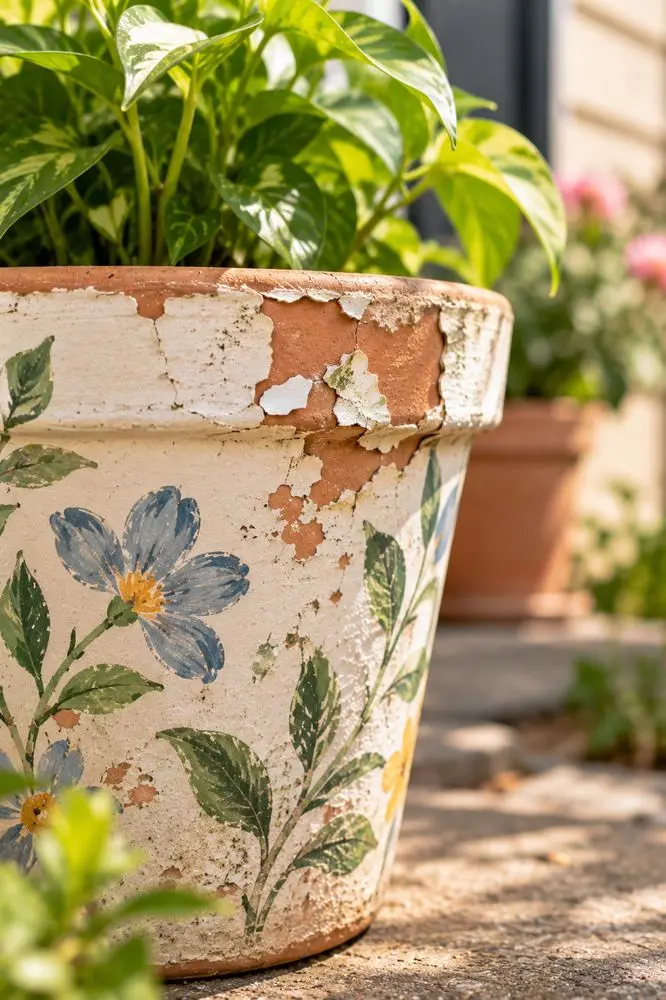
Finally, skipping the sealant step entirely, or applying it before the paint has fully dried, both shorten how long your design will last. Patience during drying time matters more than most people expect.
Indoor Pots vs Outdoor Pots: What Changes
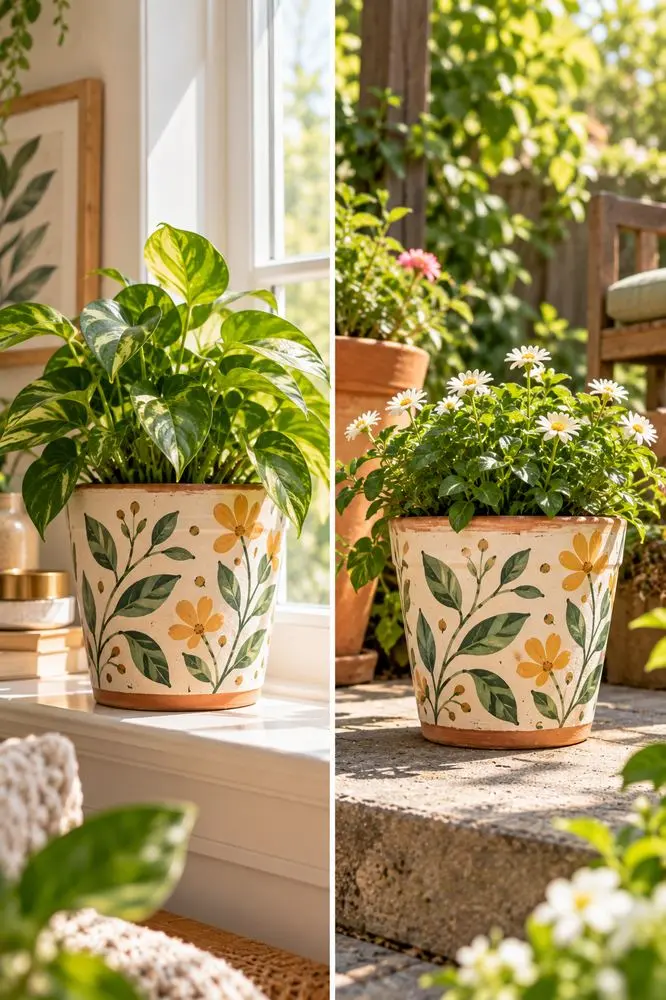
The style of your design does not need to change between an indoor and an outdoor pot, but the products you use should. Indoor pots are protected from rain, direct sun, and temperature swings, so standard acrylic craft paint and a light indoor sealant are usually enough.
Outdoor pots face real weather. Choose exterior-rated acrylic paint, or add a UV-resistant topcoat over regular acrylic paint, and always use an outdoor-rated sealant rather than an indoor one. If your climate gets freezing winters, bring painted terracotta pots indoors or into a garage during winter, since freeze and thaw cycles can crack unglazed clay even without any paint involved. For more ways to style your outdoor space once your pots are ready, take a look at our garden design ideas.
Frequently Asked Questions
What kind of paint should I use to paint plant pots?
Acrylic craft paint works for terracotta and ceramic. For plastic pots, use a paint made for plastic or a multi-surface acrylic with a plastic-bonding primer underneath. For anything staying outside, choose an outdoor-rated or exterior acrylic paint.
Do you need to seal painted flower pots?
Yes, especially if the pot will be outside or regularly splashed with water while watering the plant. A clear sealant is what keeps the design from chipping, peeling, or fading over time.
Will the paint wash off in the rain?
Unsealed paint can wash off or streak in heavy rain, particularly on porous terracotta. A proper outdoor sealant applied in two thin coats prevents this in almost all normal weather conditions.
Can you paint plastic plant pots?
Yes, but plastic needs extra prep. Lightly sand the surface, wipe it clean, and use a plastic-bonding primer before painting. Skipping this step is the main reason paint fails to stick to plastic.
How long does painted pot paint last outside?
With proper prep, outdoor-rated paint, and a sealant, a painted pot can look good outdoors for a year or more before it needs a touch up. Skipping prep or sealant can cut that down to just a few weeks.
Quick Takeaways
Pick paint based on your pot material, not just what you already have in a craft drawer. Prep the surface every single time, even if it looks clean. Seal the finished design in two thin coats rather than one thick one. Match your paint and sealant to whether the pot will live indoors or outdoors. Do these four things and your painted pot will look as good in six months as it did the day you finished it.