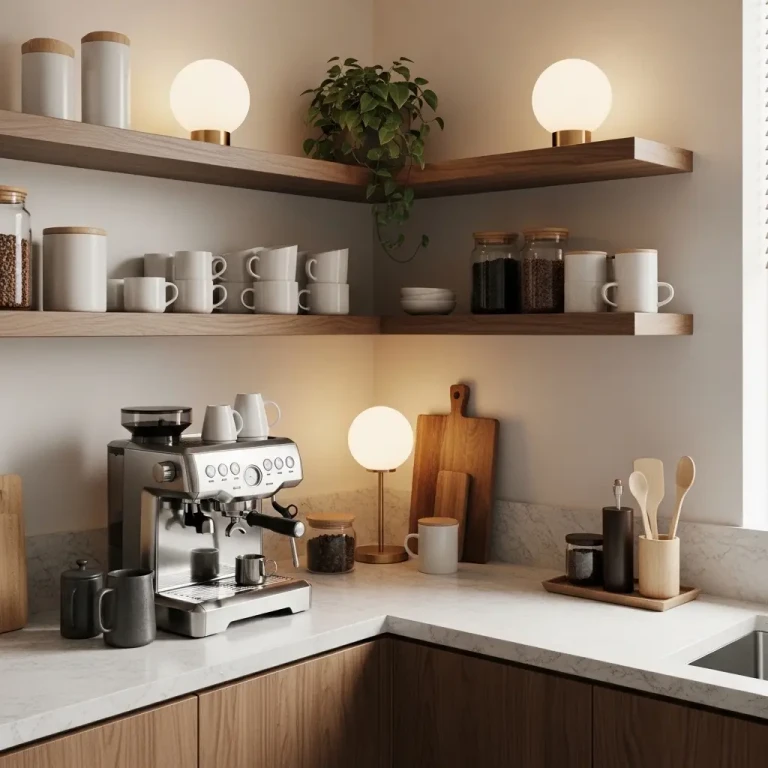
Kitchen Counter Height: 6 Rules the Pros Swear By

Kitchen Counter Height: 6 Rules the Pros Swear By
Maria had cooked Sunday dinner in the same spot for eleven years, so she never questioned it. Then her contractor handed her the remodel plans, and his first question stopped her cold. What height should the new counters be? She had never once thought about kitchen counter height. She only knew her lower back ached after rolling out dough, and her husband, who stands six foot two, hunched over the sink like a heron every single night. That evening they grabbed a tape measure. Her favorite mixing spot sat at thirty-four inches, two inches below the standard her new kitchen would get by default. No wonder her shoulders burned by dessert. This story repeats in thousands of kitchens, because the right height turns cooking from a chore into a joy, while the wrong one quietly wears your body down.
How the 36-Inch Standard Kitchen Counter Height Came to Be
The number did not fall from the sky. In the early nineteen hundreds, home economists started studying how people actually moved through the kitchen, and efficiency expert Lillian Gilbreth timed every step between the stove, the sink, and the icebox. As manufacturers standardized ranges and dishwashers to slide beneath a thirty-six inch counter, the whole industry locked the number in. Today the National Kitchen and Bath Association still lists thirty-six inches as the standard countertop height, and nearly every stock cabinet ships at thirty-four and a half inches so the finished surface lands at thirty-six once the slab goes on. That thirty-six inch number still anchors nearly every conversation about kitchen counter height today. But a standard is a starting point, not a verdict, and working pros treat it exactly that way.
The 6 Rules the Pros Swear By
Ask ten kitchen designers for their nonnegotiables and the same six keep coming up. They are simple, they cost nothing extra when you plan early, and they change how a kitchen feels every single day.
Rule 1: Fit the Counter to the Cook, Not the Average
A designer I know starts every project with a tape measure and the client’s favorite cutting board. She asks them to chop an onion on a folding table, then raises and lowers the table until their shoulders drop and their forearms rest flat. Most people land within an inch of a simple formula. Take your height in inches, divide by two, then add two or three. A five-foot-four cook often loves thirty-five inches, while a six-footer feels at home near thirty-eight. Tall homeowners who accept the default thirty-six spend years stooping over the sink, and shorter cooks strain to see into deep stockpots. Designers who study counter heights say a simple hands-on test beats any chart, so test before the cabinets get ordered. When two cooks of very different heights share one kitchen, give the main prep zone to the primary cook and add a second, lower zone for the other. Comfort is personal, and averages serve nobody perfectly.
Rule 2: Learn the Difference Between Kitchen Counter Height and Bar Height
These two numbers get mixed up more than any other pair in remodeling. Counter height means thirty-six inches, the same as your main counters. Bar height means forty-one to forty-three inches, the height of a raised breakfast bar or a pub table. Between them sits a third option called table height, thirty to thirty-two inches, which matches a standard dining table. The confusion costs real money, because stool shopping starts with the counter. Counter height stools measure twenty-four to twenty-six inches at the seat, bar height stools measure twenty-eight to thirty, and mixing them up leaves knees jammed under the overhang or feet dangling in the air. Pros name the height out loud at the showroom, point at the number, and write it on the order form. That one habit kills the most common ordering mistake in kitchen design.
Rule 3: Give the Baker a Lower Work Zone
Bakers live by a different number. Kneading dough and rolling pastry ask your arms to press down with real force, and that force comes easiest when the surface sits a few inches below your elbows. Many pros drop a dedicated baking zone to thirty to thirty-two inches, about the height of a kitchen table, and serious bread bakers sometimes go as low as twenty-eight. A marble or butcher block insert at this height turns a frustrating arm workout into smooth, easy strokes, and the cool stone keeps butter doughs from melting. If a full lower counter feels like too much commitment, a pull-out section or a sturdy rolling cart at table height does the job. Park the flour, the sugar, and the stand mixer within one step, and you have built a tiny bakery inside your kitchen.
Rule 4: Set the Island Height by How You Will Use It
An island is the hardest working surface in the modern kitchen, and it earns that title only at the right height. The right kitchen counter height for an island depends on what the island must do. A cooking and prep island usually matches the main counters at thirty-six inches, so you can slide a cutting board across without a lip. A dining island also sits at thirty-six, with twelve to fifteen inches of knee space under the overhang so chairs tuck in comfortably. A raised bar tier jumps to forty-two inches, which hides sink clutter from the living room but breaks the workspace into two levels. Two-level islands look dramatic in photos, yet one-level islands win for real cooking, because you can roll dough straight across the whole surface. Waterfall edges and thick mitered slabs can add an inch or two, so confirm the finished height, not the cabinet height, before anyone signs off.
Rule 5: Plan Seating and Stools From Day One
This rule gets skipped, then everyone pays for it at delivery. Stools cannot be an afterthought, because their height, depth, and swivel all depend on the counter they serve. Leave twenty-four to twenty-six inches of width per stool so elbows never collide, and keep fifteen inches of clear knee space from the counter edge to any support panel. Backless stools tuck fully under the overhang and keep sightlines open, while low-back stools support longer breakfasts without blocking the view into the kitchen. Measure from the floor to the underside of the counter, not just the top, because a thick slab eats an inch of legroom. Order one stool first, sit on it at the finished height, and live with it for a weekend before buying the full set. Your knees will thank you every morning.
Rule 6: Think About Aging in Place and Wheelchair Access
The best kitchens are built for the decades, not just the reveal photos. The Americans with Disabilities Act caps accessible work surfaces at thirty-four inches, with twenty-seven inches of clear knee space underneath, and those numbers make a wonderful target for a secondary prep area even if nobody uses a wheelchair today. A lowered section near the sink lets a seated cook chop vegetables in comfort, and it doubles as a kid-friendly zone where little helpers stir batter without a step stool. Lever handles, pull-out shelves, and a wall oven set at a comfortable reach complete the picture. Planning these details during a remodel costs almost nothing, while adding them later means tearing out finished work. Pros call this future-proofing, and every family eventually needs it.
Mistakes People Make With Kitchen Counter Height
The costliest error I see is couples who set the kitchen counter height by feel in the showroom, then forget that shoes, posture, and a thick cutting board all change the real working height. Test at home wearing the shoes you actually cook in. The second mistake is matching every surface to one number, which forces the baker to knead at elbow-breaking height and the tall cook to hunch at the sink. Zones beat uniformity every time. The third is forgetting the slab thickness, because a two-inch mitered edge on a thirty-four-and-a-half-inch cabinet gives you thirty-six and a half, not thirty-six. Measure finished heights, always. The fourth is ordering stools before the counters are installed, which is how dining rooms end up full of chairs nobody can sit on. Get the surfaces right first, and the seating falls into place.
Maria and her husband tested for a weekend, and the answer surprised them both. Her main prep zone dropped to thirty-five inches, his sink-side counter rose to thirty-eight, and a thirty-inch baking nook gave her dough-rolling arms a real break. The remodel cost the same as the standard plan would have. Get the kitchen counter height right and everything else in the kitchen gets easier, from weeknight chopping to holiday baking marathons. Measure twice, test with real food, and let the pros’ rules do the rest.